
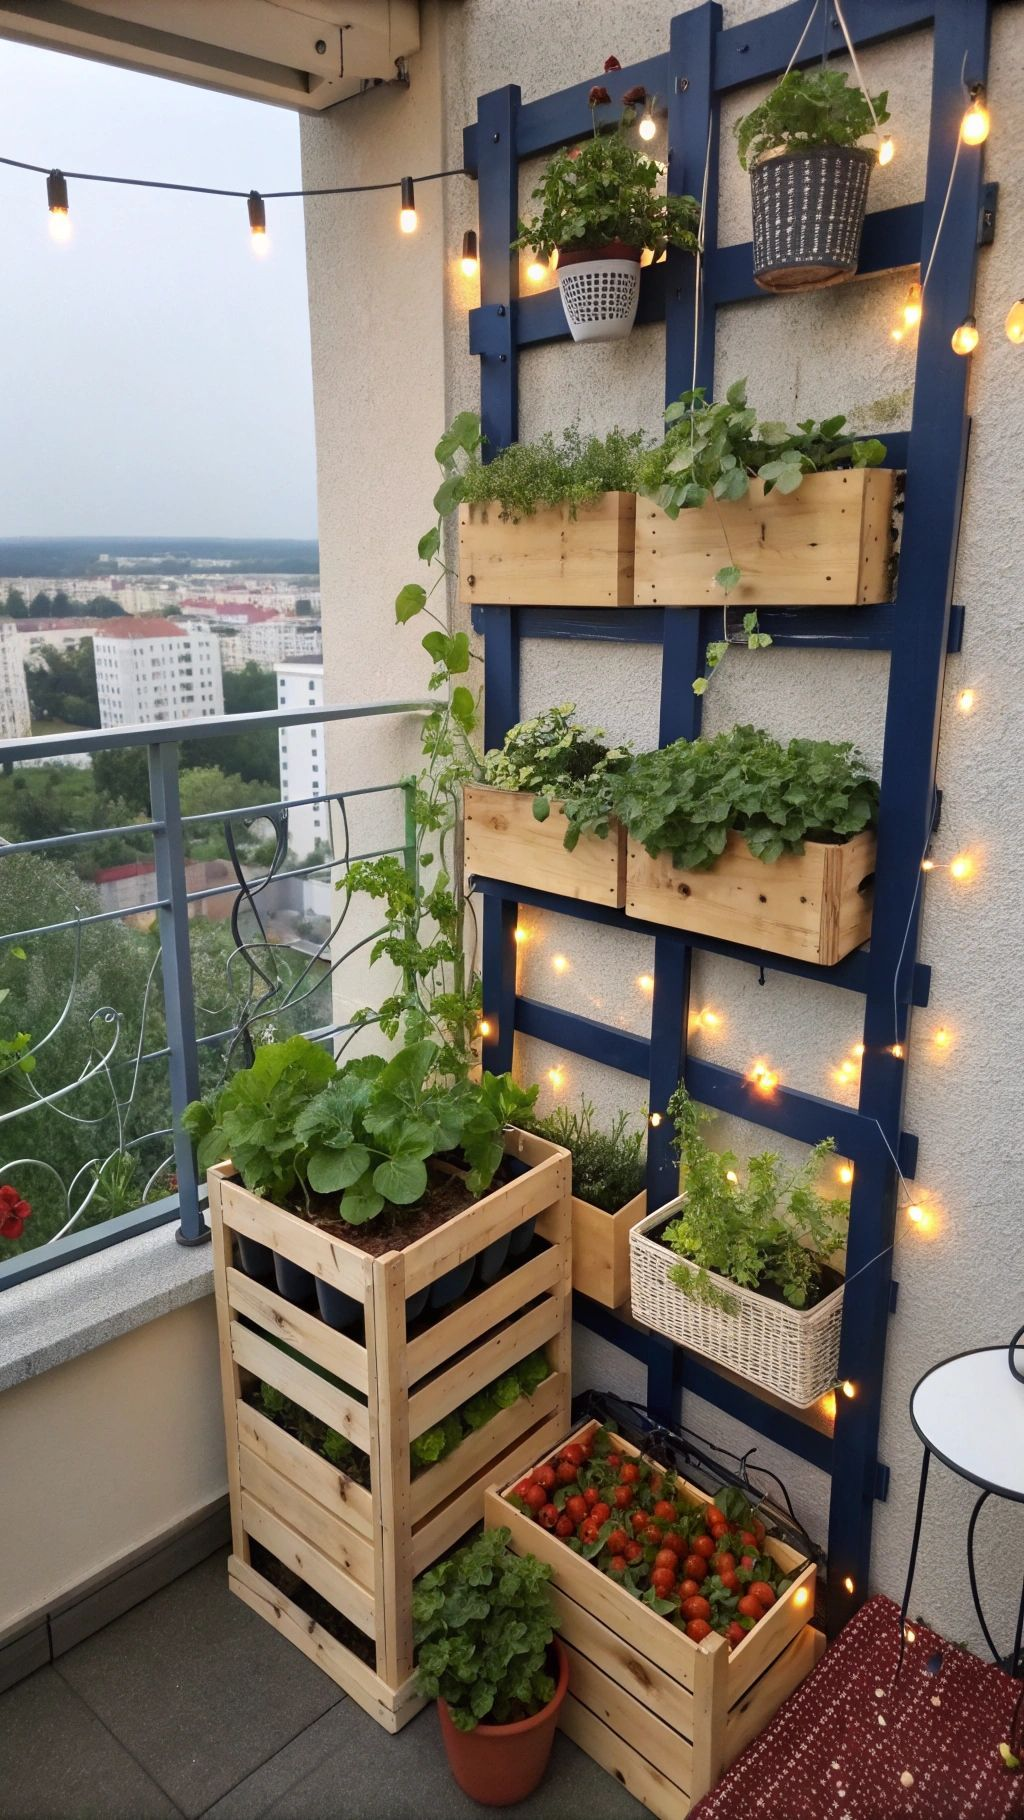
My first vegetable garden was a disaster of good intentions. I planted everything in one long row along the fence — tomatoes, zucchini, peppers, a couple of pumpkin vines I definitely didn’t have room for — because that’s what my grandpa did and it seemed simple enough.
By July, the zucchini had swallowed the peppers whole, the tomatoes were shading out everything behind them, and I was harvesting maybe a third of what that space could’ve actually produced.
Nobody tells you that a garden layout matters almost as much as what you plant in it.
That’s really what this post is about. Not “here are 24 pretty gardens” — plenty of sites will show you that — but which vegetable garden layout actually fits your space, your time, and how much you want to be out there weeding on a Tuesday night.
Whether you’ve got a 6×4 patio, a weird side-yard strip, or a quarter acre you’re finally ready to use, there’s a layout in here that’ll save you a season of trial and error.
I’ve broken these into small-space and container setups, raised bed layouts, traditional in-ground designs, grid-based square foot gardening, vertical options, and a few specialty layouts that look complicated but honestly aren’t once you understand the logic.
I’ll flag the ones that are genuinely beginner-friendly and the ones that need a little more commitment.
Small-Space & Container Vegetable Garden Layouts
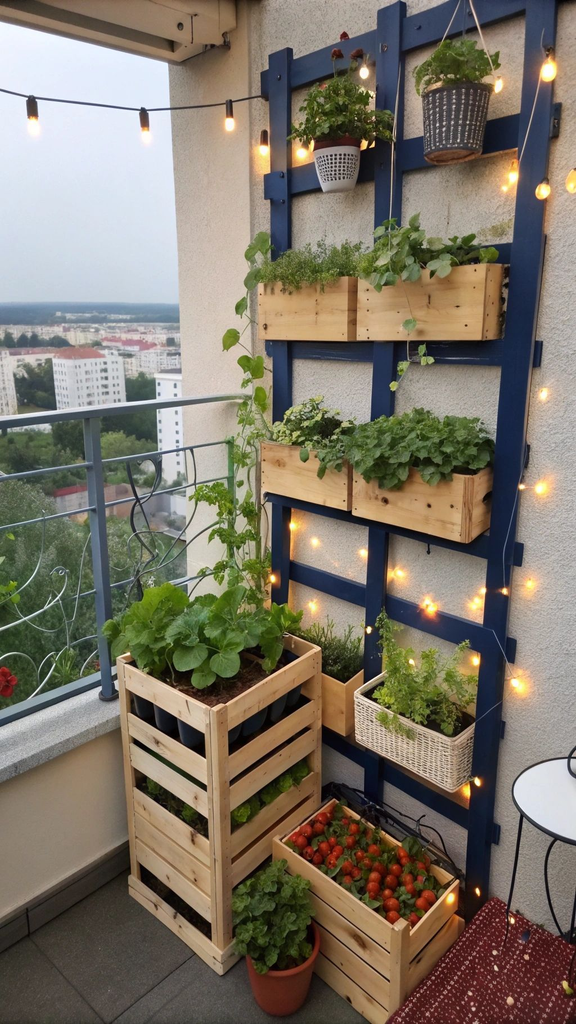
If you’re working with a balcony, a small patio, or just don’t want to commit a huge chunk of yard to vegetables yet, these layouts are where I’d start. None of them require digging up grass, which matters more than people think — my downstairs neighbor Priya spent a whole weekend renting a sod cutter for her first garden and now tells anyone who’ll listen to just build up instead of dig down.
1. The Container Cluster

This is exactly what it sounds like: a grouping of individual pots and containers, usually arranged by height, with taller plants (tomatoes, pole beans) toward the back or center and low growers (lettuce, herbs) around the edges.
The reason this works better than scattering pots randomly around a patio is airflow and light — clustering them still lets each pot get sun from at least two directions instead of one blocking the other.
The trade-off nobody mentions: containers dry out fast, especially dark plastic ones in full sun. I lost an entire container of basil to a heat wave because I assumed the soil would hold moisture like a raised bed does. It doesn’t, not even close.
Pro tip: Skip the decorative terracotta for anything you’re growing to actually eat in quantity. Terracotta is porous and wicks moisture out of the soil constantly, which means more watering and slower growth. Plastic or glazed ceramic holds water far better, and a $4 fabric grow bag often outperforms both.
2. The Vertical Balcony Rail Garden
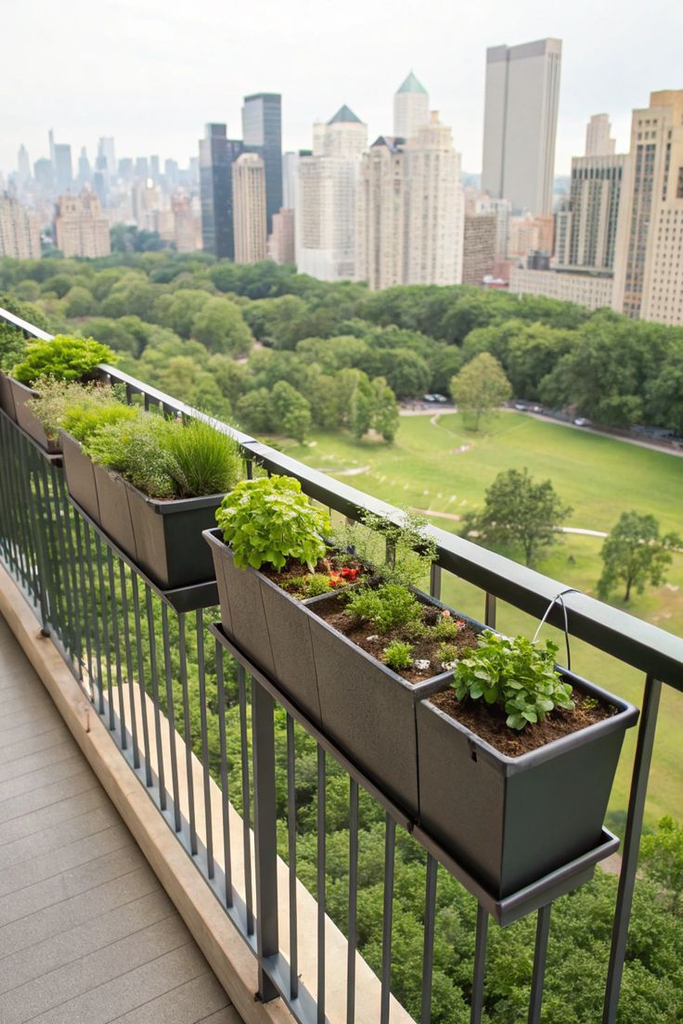
Rail-mounted planters that clip onto a balcony railing are one of the few layouts that add growing space without taking any floor space at all, which matters if your “garden” doubles as the only spot you have for a chair.
These work best for shallow-rooted crops — lettuce, spinach, strawberries, herbs — rather than anything that needs real root depth.
A reader on one of my old posts mentioned she lost a full row of rail planters in a windstorm because she didn’t realize how much a wet planter box weighs on a hook rated for far less. Worth checking your rail’s weight rating before you fill six boxes with wet potting soil.
3. The Stacked Tiered Planter
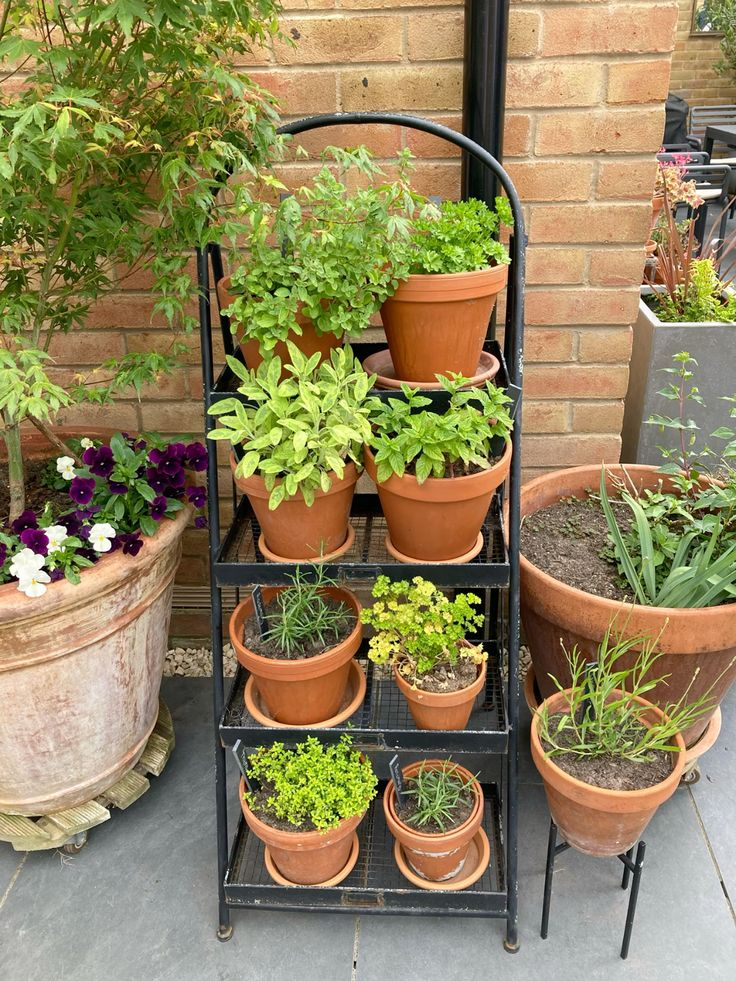
Tiered planters — the kind that look like a small staircase of pots — solve the “I have almost no square footage” problem by going up instead of out.
They’re genuinely one of the better small-space vegetable garden ideas for strawberries, lettuce, and compact herbs, since each tier gets its own light exposure rather than shading the tier below it.
Where these fall short is with anything that vines or gets tall. I tried cherry tomatoes on the top tier of mine once and the whole thing tipped in a gust because the weight was too high and too far forward. Stick to what stays low and compact.
4. The Windowsill & Kitchen Counter Micro-Garden
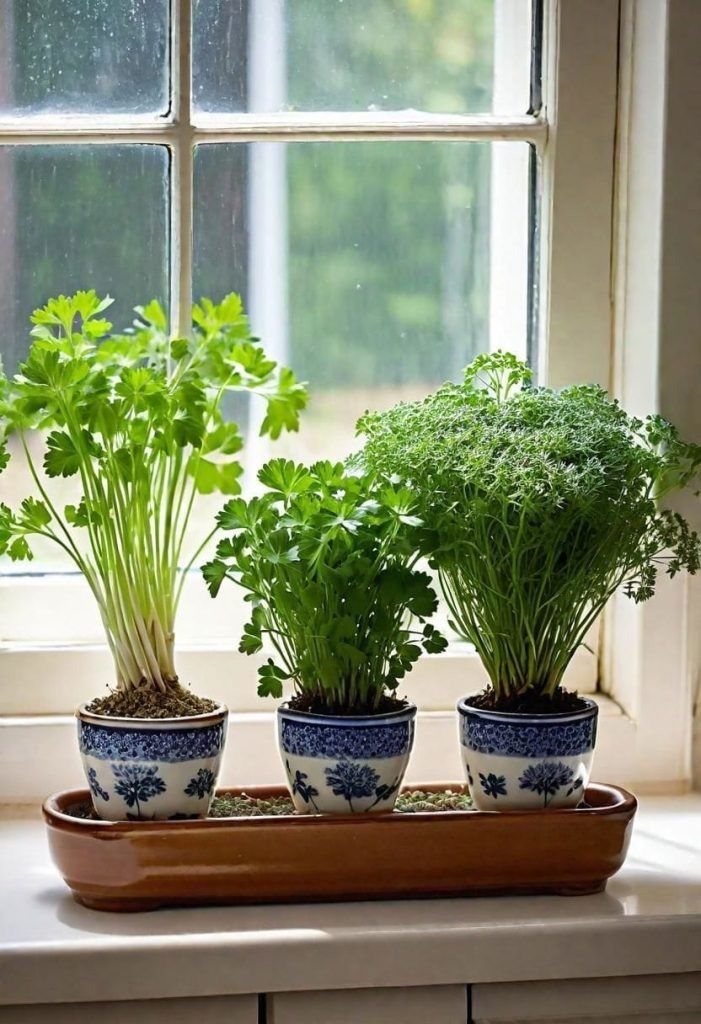
This isn’t a full vegetable garden, but I’m including it because it’s genuinely the layout most people should start with before committing to anything bigger.
A few pots of herbs, microgreens, or a compact patio tomato variety on a sunny windowsill teaches you your own habits — how often you actually remember to water, how much light your space really gets — before you spend money on raised beds.
The honest trade-off: you’re not going to feed a family off a windowsill. Treat this as a trial run, not the destination.
5. The Patio Container Trio (The “Salsa Garden”)
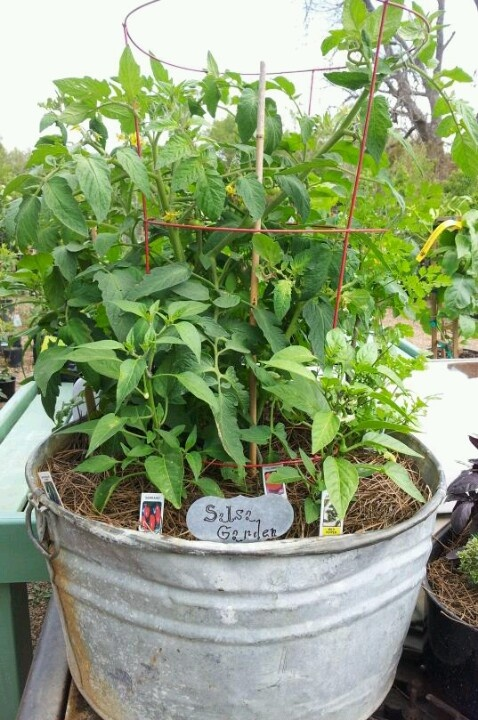
This is a themed container layout — usually one tomato, one pepper, and one cilantro or onion planted in three separate large containers (at least 5 gallons each) grouped together. I like recommending this one specifically because it gives beginners a clear, motivating goal instead of an abstract “grow vegetables” plan, and three containers is a manageable amount to actually keep alive.
The mistake I see constantly: cramming all three into one container to save space. Tomatoes are aggressive root competitors, and they’ll out-compete a pepper sharing the same soil almost every time.
| Layout Type | Space Needed | Startup Cost | Maintenance | Best For |
|---|---|---|---|---|
| Container Cluster | 4–20 sq ft | $30–150 | Moderate–high (daily watering in summer) | Renters, balconies, small patios |
| Rail Garden | 0 sq ft (vertical) | $20–60 | Moderate | Apartment balconies, tiny patios |
| Tiered Planter | 3–6 sq ft | $40–100 | Low–moderate | Strawberries, herbs, lettuce |
| Raised Bed (single) | 16–32 sq ft | $80–300 | Low–moderate | Most backyards, beginners |
| Traditional Row Garden | 100+ sq ft | $50–200 (tools/seed) | High | Larger yards, bulk harvests |
| Square Foot Grid | 16–64 sq ft | $60–250 | Low | Small yards, organized growers |
Raised Bed Vegetable Garden Layouts
Raised beds are where most people land eventually, and for good reason — you control the soil completely instead of fighting whatever’s already in your yard, drainage is usually better, and there’s less bending than an in-ground bed. My friend Marisol switched to raised beds after two seasons of fighting heavy clay soil in her backyard and said it was the first year she didn’t dread weeding.
6. The Single Rectangular Raised Bed
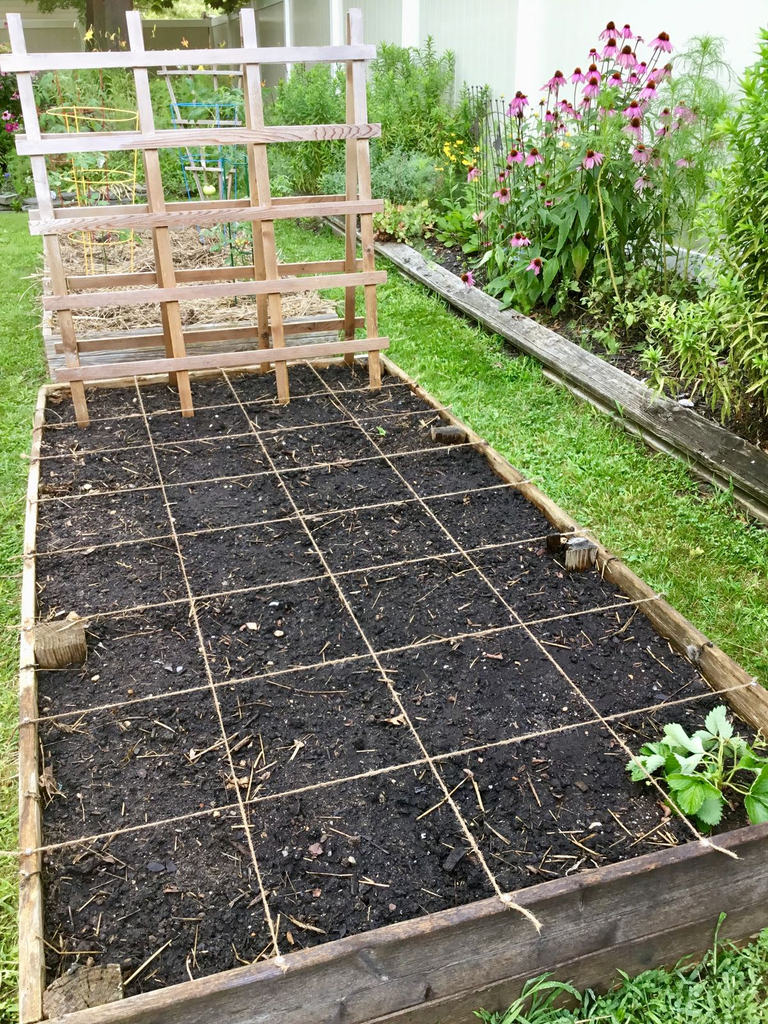
The classic 4×8 raised bed is popular for a reason: it’s small enough to reach the center from either side without stepping in the soil (compacting it), and it’s a manageable first build if you’re doing it yourself.
A 4-foot width is the real number to pay attention to — much wider than that and you’ll be compressing soil every time you reach for something in the middle.
7. The Multi-Bed Grid Layout
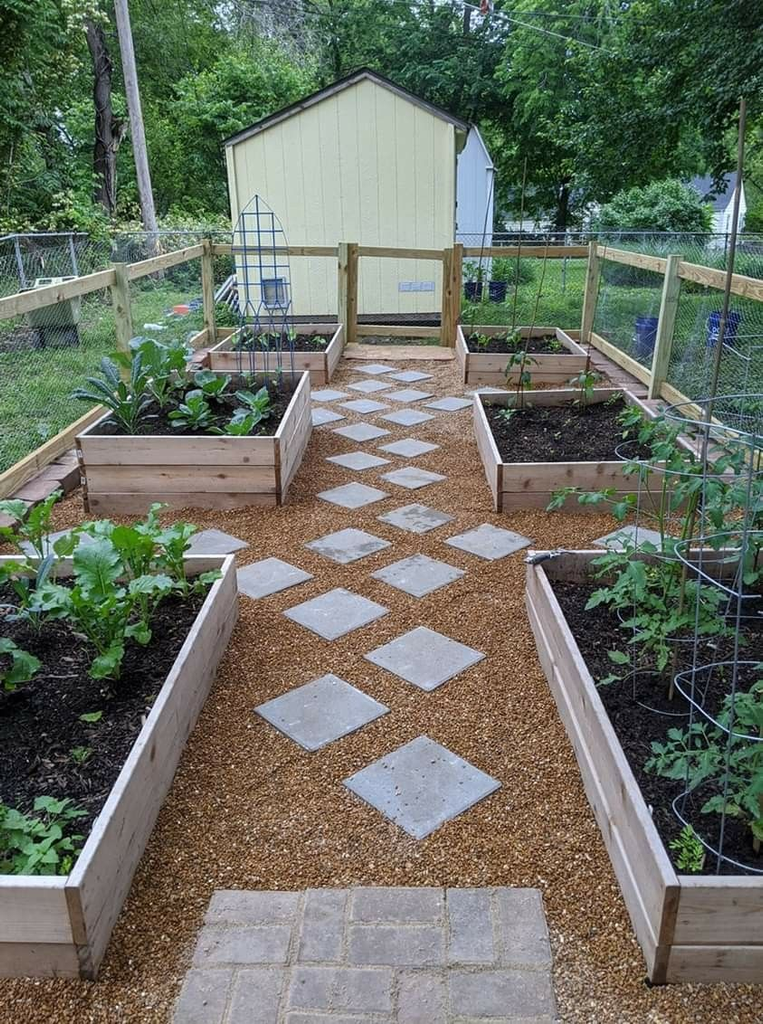
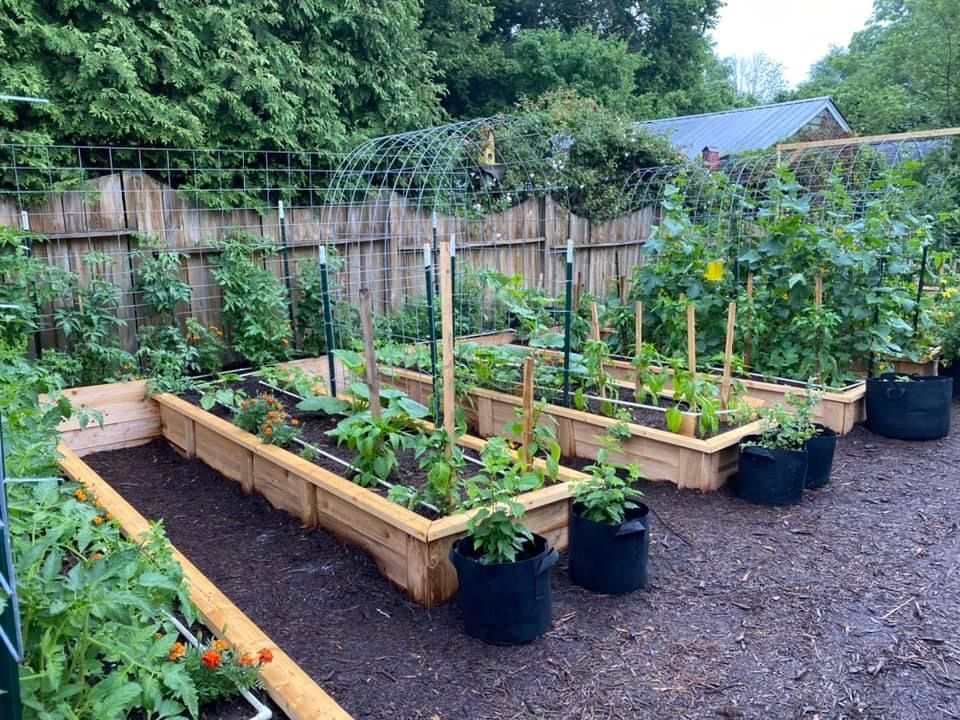
Once you’ve got one raised bed working, the natural next step is several beds arranged in a grid with walking paths between them — usually 18–24 inches wide, enough for a wheelbarrow.
This layout is genuinely one of the best for crop rotation, since you can move your tomato family crops (tomatoes, peppers, eggplant) to a different bed each year without redesigning anything.
Pro tip: Leave one bed empty or planted with a cover crop like clover each season instead of using every single bed every year. It sounds counterintuitive when you’ve paid for the lumber, but a rested bed consistently outproduces a bed that’s been planted continuously for three-plus years.
8. The Keyhole Raised Bed
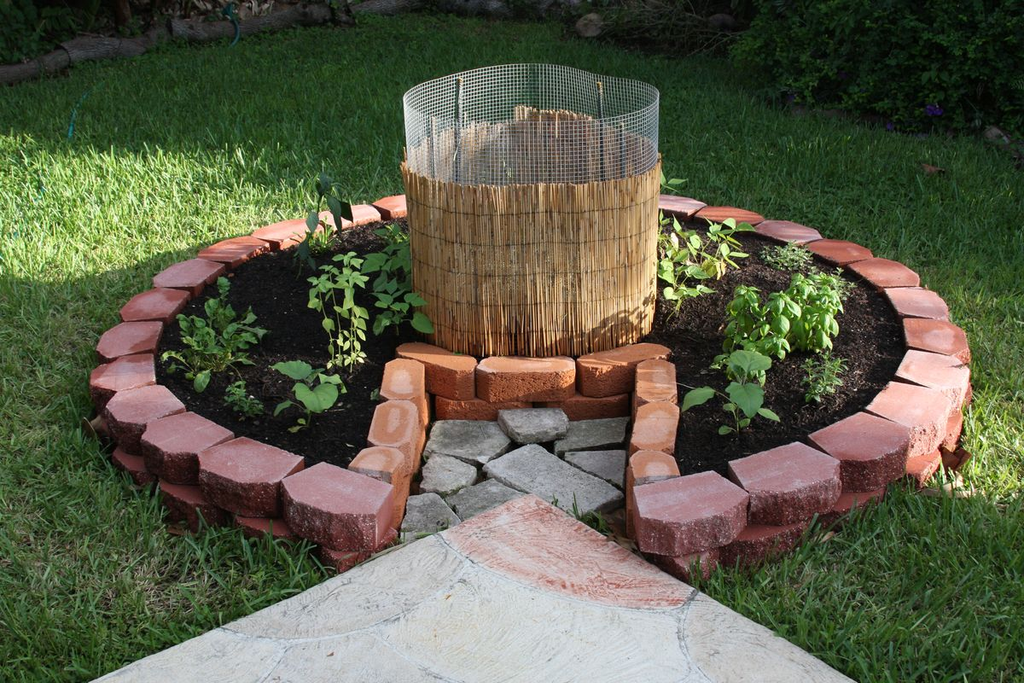
A keyhole bed is a circular or horseshoe-shaped raised bed with a notch cut into it so you can walk into the center, usually with a compost basket built right into the middle that feeds the surrounding soil as it breaks down.
It’s more work to build than a rectangle, but it solves the “I can’t reach the middle” problem permanently and composts in place, which cuts down on hauling.
9. The L-Shaped Corner Bed

If your usable space is an awkward corner — along a fence line that turns, or a side yard that wraps around a shed — an L-shaped bed uses that corner instead of fighting it with a rectangle that leaves dead space.
These need a little more planning around sun angles, since one leg of the L often gets more shade than the other depending on which direction it faces.
10. The Elevated Raised Bed (Waist-Height)
Elevated beds on legs are worth calling out separately from ground-level raised beds because they solve a completely different problem: bending and kneeling. If mobility is a real factor — a parent, a bad knee, anyone who’s decided gardening shouldn’t mean crawling around — this is the layout I’d point them to first, even though it costs noticeably more per square foot of growing space than a ground-level bed.
11. The U-Shaped Bed Cluster
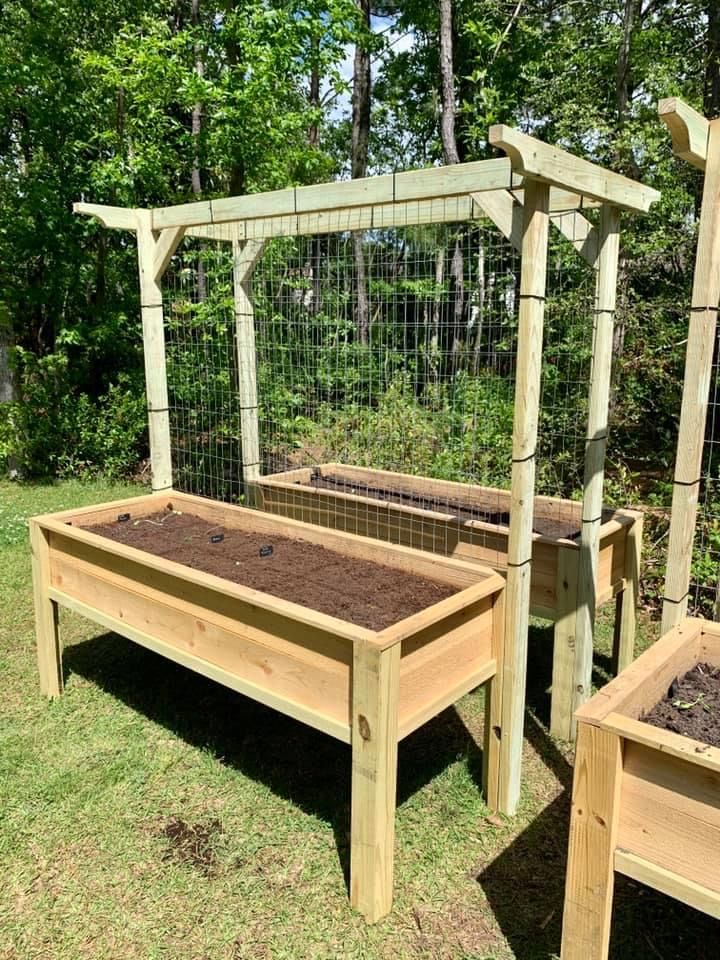
Three raised beds arranged in a U shape around a central seating or work area creates a layout that feels more like an outdoor room than a row of boxes.
It’s a nice option if you actually want to spend time in the garden rather than just harvest and leave, though it uses more total space for the same growing area than a straight grid does.
In-Ground & Traditional Row Vegetable Garden Layouts
If you’ve got real yard space and don’t mind more physical work, in-ground layouts are still the cheapest way to grow a large volume of food — no lumber, no soil purchase for the whole bed, just amending what’s already there.
12. The Straight Row Garden
This is the layout most of us picture when we hear “vegetable garden” — straight rows running the length of the plot, spaced based on what’s planted. It’s efficient for mechanical tools (a tiller fits between rows) and it’s genuinely the best layout if you’re growing at real bulk volume — a full row of green beans for canning, for instance — rather than a little of everything.
The trade-off is space efficiency. Rows waste a lot of ground to pathways compared to a bed-based layout, and in a small yard that adds up fast.
Pro tip: Run your rows north to south rather than east to west wherever your plot allows it. It gives every row more even sun exposure through the day instead of the southern rows shading the northern ones as the sun tracks across.
13. The Wide Row Layout

A variation on straight rows where each “row” is actually a 2–3 foot wide band of closely spaced plants instead of a single line, with paths only between the wide bands rather than between every plant.
This is a smart middle ground if you want more yield per square foot than traditional rows but you’re not ready to build raised beds.
14. The Contour Row Layout
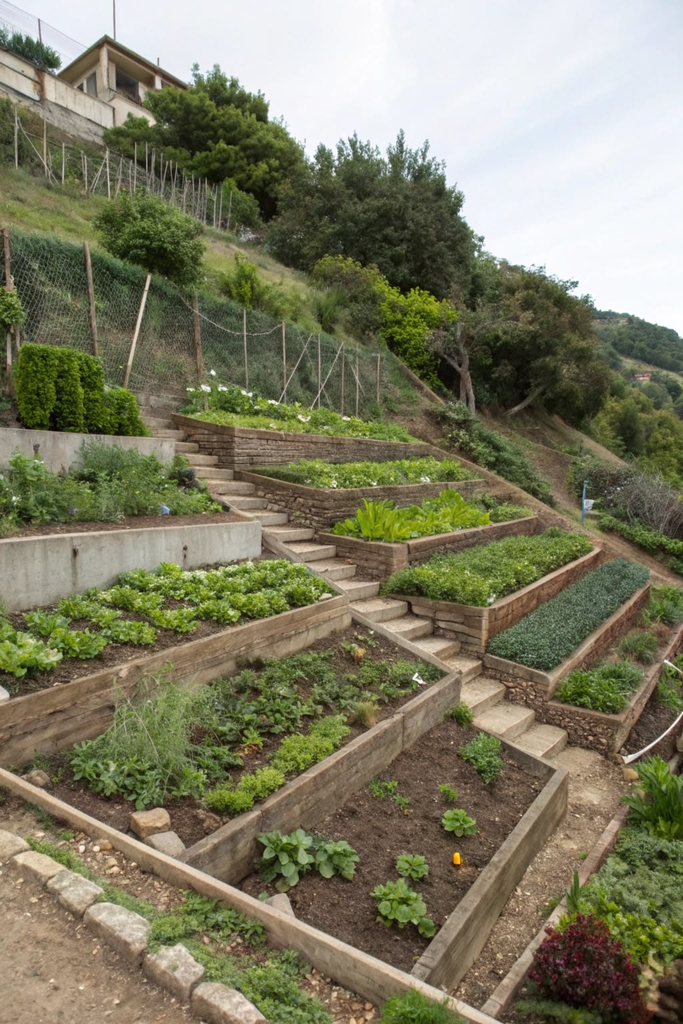
If your yard has any real slope, planting rows that follow the contour of the land rather than running straight up and down the hill prevents a surprising amount of soil erosion and water runoff — water tends to pool and soak in along a contour row instead of rushing straight downhill and taking topsoil with it.
It’s more work to lay out initially since you can’t just measure a straight line, but it’s the right call on anything beyond a gentle slope.
15. The Three Sisters Mound

An old companion-planting layout — corn, pole beans, and squash grown together in mounds, where the corn gives the beans something to climb, the beans fix nitrogen in the soil for the corn, and the squash’s broad leaves shade out weeds at ground level.
It’s more of a specialty layout than an everyday one, but if you’ve got the space for corn (which most small yards don’t), it’s a genuinely elegant use of companion planting rather than a gimmick.
Square Foot Gardening & Grid Layouts
Square foot gardening — dividing a bed into a literal grid of 1-foot squares, each planted with a specific number of a given crop — is one of the more organized approaches out there, and it’s the layout I recommend most to people who like a plan they can follow rather than winging it.
16. The Classic 4×4 Square Foot Grid

Sixteen individual 1-foot squares, each planted according to spacing rules (one tomato per square, four lettuce per square, sixteen carrots per square, and so on).
This is probably the single most beginner-friendly layout on this whole list because it removes the guesswork around spacing — you’re not eyeballing anything.
17. The Expanded 4×8 Grid
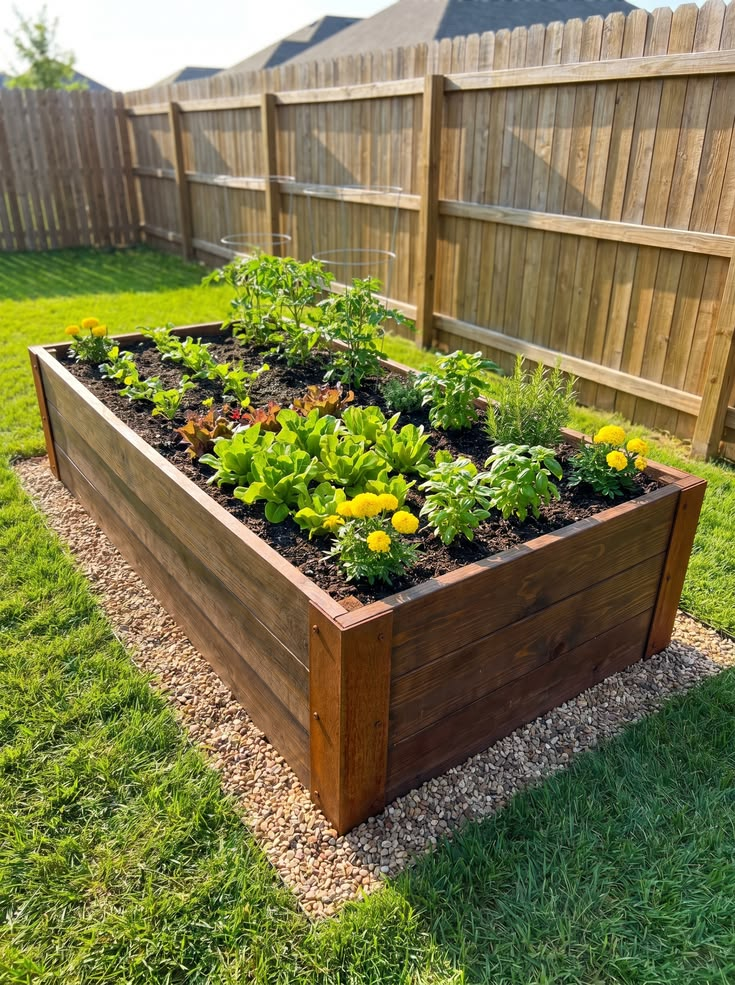
The same square-foot principle scaled up to 32 squares, usually split down the middle with a permanent path or a removable board for reaching the far side.
This is the natural upgrade once a 4×4 grid feels too small, and it’s still small enough to manage without a wheelbarrow-worthy path system.
18. The Grid With Trellis Border
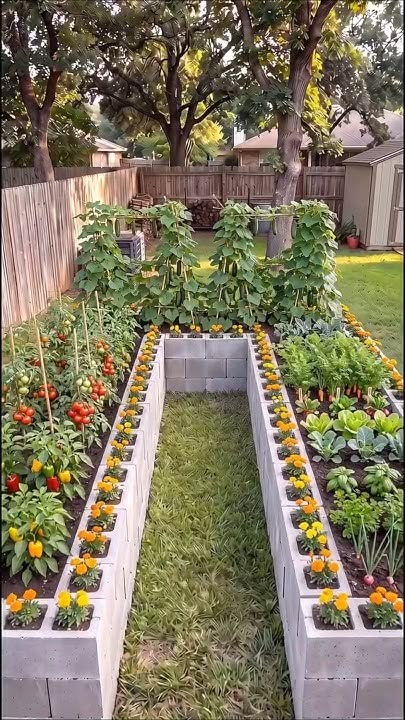
A square foot grid with a trellis running along the north edge (so it doesn’t shade the rest of the bed) lets you dedicate the border squares to vertical growers — cucumbers, pole beans, peas — while keeping the interior squares for low crops.
It’s a smart way to roughly double your effective growing area in the same footprint without going full vertical garden.
Vertical & Space-Saving Vegetable Garden Layouts
Vertical layouts exist for one reason: your growing space is limited horizontally but you’ve got height to spare, usually against a fence, wall, or trellis structure.
19. The A-Frame Trellis Tunnel

Two trellis panels leaned together into an A-shape (or hinged at the top) create a tunnel that vining crops like cucumbers and small melons can climb up both sides of, with the ground underneath sometimes usable for shade-tolerant crops like lettuce.
It’s one of the more dramatic-looking layouts on this list, and it genuinely maximizes a narrow footprint, but the panels need to be anchored well — a friend’s collapsed under the weight of a heavy cucumber harvest because she used lightweight garden stakes instead of something rated to hold real weight.
20. The Pallet Vertical Garden
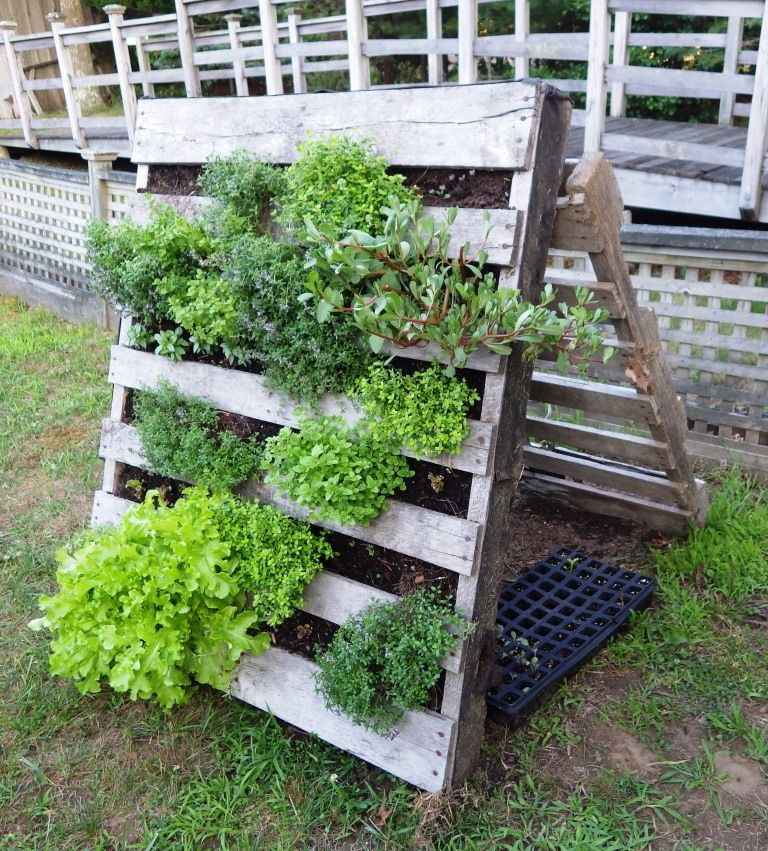
A repurposed wooden pallet, stood on end and lined with landscape fabric, with pockets of soil between the slats for shallow-rooted crops like lettuce, herbs, and strawberries.
It’s one of the cheapest layouts here if you can source a free pallet, though I’d flag that not every pallet is safe to use — look for ones stamped “HT” (heat treated) rather than “MB” (methyl bromide, a chemical fumigant), since that stamp tells you how the wood was treated.
21. The Living Wall / Pocket Planter System
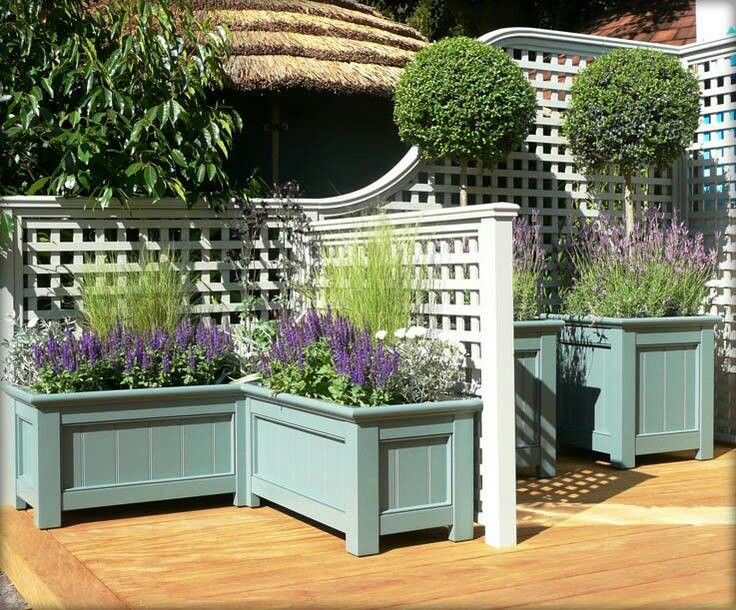
Fabric pocket planters mounted on a wall or fence, stacked in rows, work similarly to a pallet garden but with more control over each pocket’s soil and drainage.
These dry out faster than almost any other layout on this list because there’s so little soil volume per plant, so this is one where a simple drip irrigation line pays for itself in saved time within a season.
Specialty & Advanced Vegetable Garden Layouts
These take more planning upfront, but if you’ve already got the basics down and want something more efficient or more interesting, they’re worth the extra effort.
22. The Mandala / Circular Keyhole Cluster

A circular garden divided into wedge-shaped beds around a central point, often with a keyhole path cut into one or more wedges for access.
It looks more complicated than it is — the logic is the same as a keyhole bed, just repeated around a full circle instead of one horseshoe. This layout genuinely maximizes edge space (more of the bed is “edge,” which most crops prefer) compared to a rectangular grid of the same total area.
Pro tip: Circular beds are noticeably harder to cover with row cover fabric or netting when pests show up, since most of that fabric is cut for rectangles. If pest pressure is a real concern in your area, factor that into whether a mandala layout is worth the trade-off.
23. The Hugelkultur Mound

A raised mound built over a base layer of buried logs and branches, which slowly decompose and both feed the soil and hold moisture like a sponge over several years.
It’s a bigger upfront project than any raised bed — you’re essentially building a small hill — but the payoff is a bed that needs noticeably less watering and fertilizing once it’s established, usually by year two or three.
24. The Permaculture Guild Layout

Loosely modeled on how plants grow together in nature, a guild groups a central plant (often a fruit tree or large perennial) with companion plants around it that each serve a function — nitrogen fixers, pest deterrents, ground cover to suppress weeds.
This is the most advanced layout on the list and honestly not where I’d send a first-time gardener, but if you’ve already got a few seasons under your belt and you’re bored of annual replanting every year, it’s a genuinely different way to think about a garden.
What This Actually Costs
Since “what should I buy” questions always come up in the comments, here’s the rough breakdown by tier:
- Under $50: A container cluster with secondhand or basic plastic pots, a windowsill herb setup, or a single pallet garden if you can source the pallet free.
- $50–150: A single 4×8 raised bed built from cedar boards (the material cost that actually varies most), basic potting soil, and starter plants rather than seed if you want a head start.
- $150–400: A multi-bed grid layout with 2–3 raised beds, a small trellis system, or an elevated bed if mobility is the priority.
- $400+: A hugelkultur mound (mostly labor, but delivery fees for fill material add up), a full permaculture guild with a fruit tree as the anchor, or a multi-bed setup with drip irrigation built in from the start.
Drip irrigation on a timer is the one upgrade I’d tell almost anyone to budget for regardless of layout — it’s usually $30–80 for a basic kit and it’s the difference between a garden that survives a week you’re out of town and one that doesn’t.
Where I’d Start
If I were setting up a vegetable garden from zero again, knowing what I know now, I’d skip the straight rows entirely and go straight to a single 4×4 or 4×8 raised bed using the square foot method inside it.
It’s forgiving of mistakes, it doesn’t require redoing your whole yard, and it teaches you your own actual habits — how much you water, how much sun your yard really gets, which crops you keep up with and which ones you let bolt and forget — before you commit to something bigger like a multi-bed grid or a hugelkultur mound.
Everything on this list works. The right one is just whichever matches how much space, money, and honest attention you’ve got to give it this season.


Leave a Reply