
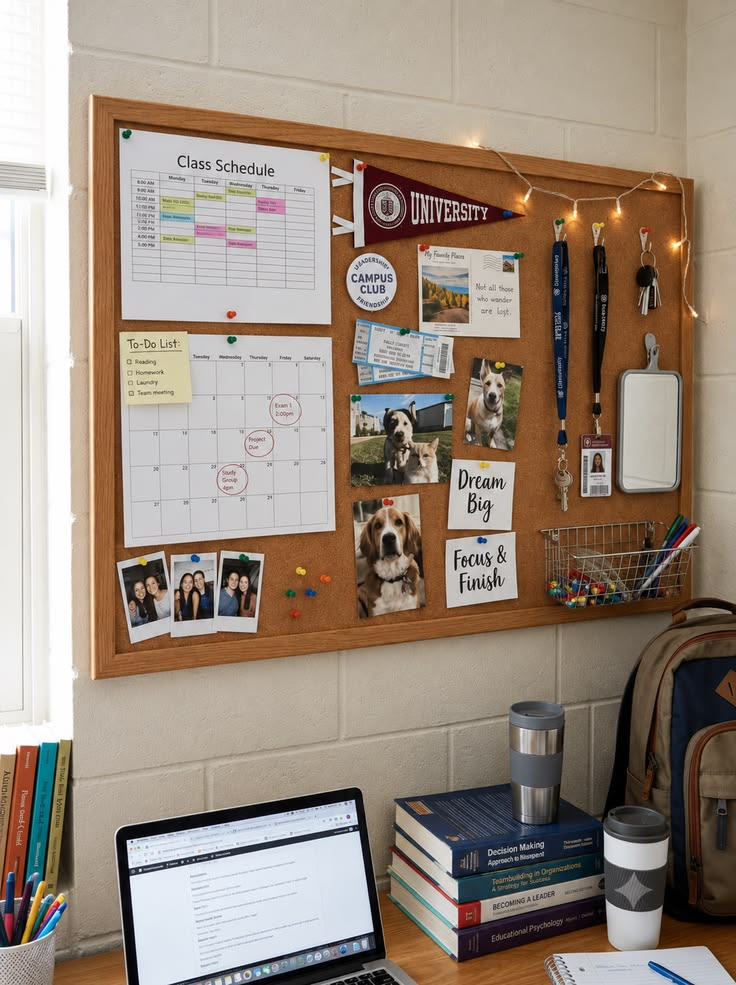
My freshman year bulletin board lasted exactly nine days looking cute before it turned into a landfill of syllabus printouts, one gum wrapper, and a single photo booth strip that had curled up at the edges from the radiator underneath it.
I didn’t touch it again until move-out. It wasn’t that I didn’t care about decorating my dorm — it’s that I’d treated the board as a one-time craft project instead of something I’d actually need to use every single week, and those are two very different design problems.
Dorm bulletin board ideas that photograph well and dorm bulletin board ideas that survive an actual semester of syllabi, concert tickets, and 2am sticky notes are not always the same thing, and that’s really the gap I want to close with this list. Some of these are pure aesthetic upgrades.
Some are functional fixes for the “why is this covered in curling paper by October” problem. Most of the best ones do both at once, which is really what you’re looking for in a space as small as a dorm room where every surface has to earn its spot.
I’ve split these into four groups — layout and structure, functional organization, aesthetic details, and seasonal refresh tricks — because a board that’s beautiful on move-in day but chaotic by midterms isn’t actually a win, and a board that’s perfectly organized but looks like a corporate breakroom isn’t either.
You want both, and the order you build them in actually matters.
Layout and Structure: Get This Right Before You Pin Anything
1. Divide the board into zones before you decorate it

The single biggest fix for a bulletin board that turns into chaos by week six is deciding, before you pin a single thing, which section is for what — say, top-left for your class schedule and deadlines, center for photos, and the right edge for random stuff like ticket stubs and notes from friends.
Without zones, a bulletin board just becomes whatever you stuck up most recently, layered over whatever was already there.
I didn’t do this my freshman year and my board became an unreadable mess of overlapping papers by October.
My roommate sophomore year, Behnaz, split hers into three taped-off sections with washi tape lines, and hers still looked intentional in May.
Pro tip: Leave one zone completely empty when you first set up the board. You will always acquire more stuff to pin than you think during the first month — concert tickets, a flyer for a club meeting, a note someone left on your door — and having a designated “catch-all” zone keeps that overflow from swallowing your carefully planned sections.
2. Cover the cork with fabric before you start pinning
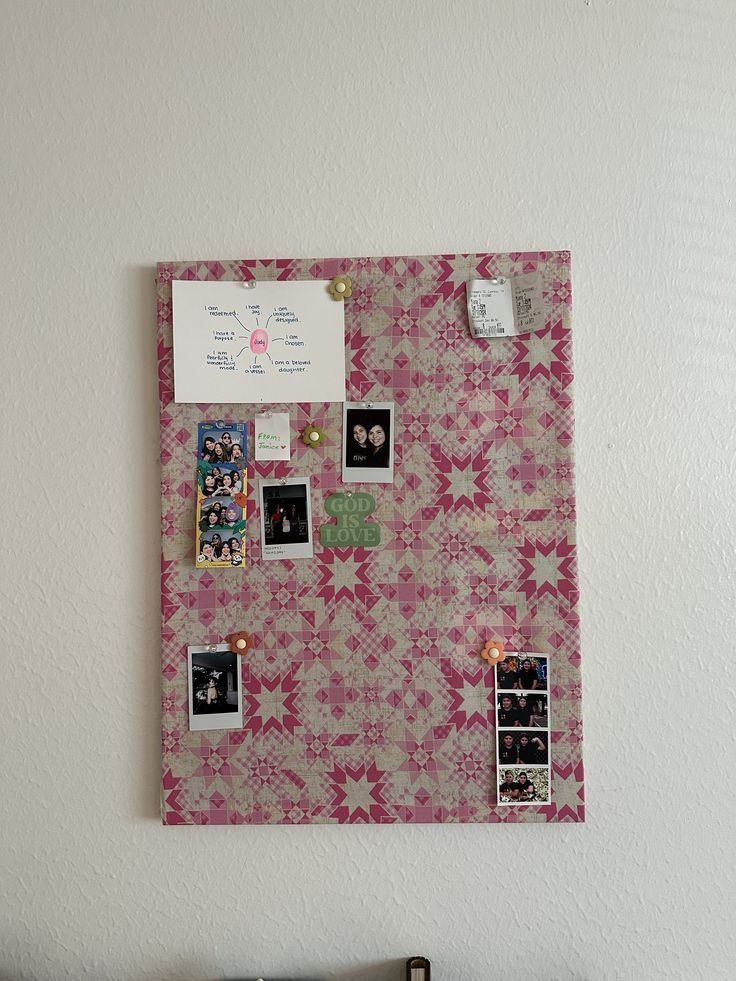
A plain cork board reads as a college-issued object no matter what you pin to it. Stretching a piece of fabric over the cork and stapling or hot-gluing it to the back instantly makes the whole board feel like an actual decor piece instead of a rental fixture, and pins still push through fabric-covered cork just fine.
The trade-off is that busy or dark patterned fabric can make anything you pin on top harder to see at a glance, which matters if you’re actually using the board to track deadlines.
A solid color or a subtle small print works better functionally than a bold pattern, even though the bold pattern often looks better in photos.
3. Mix cork with a strip of whiteboard or chalkboard paint
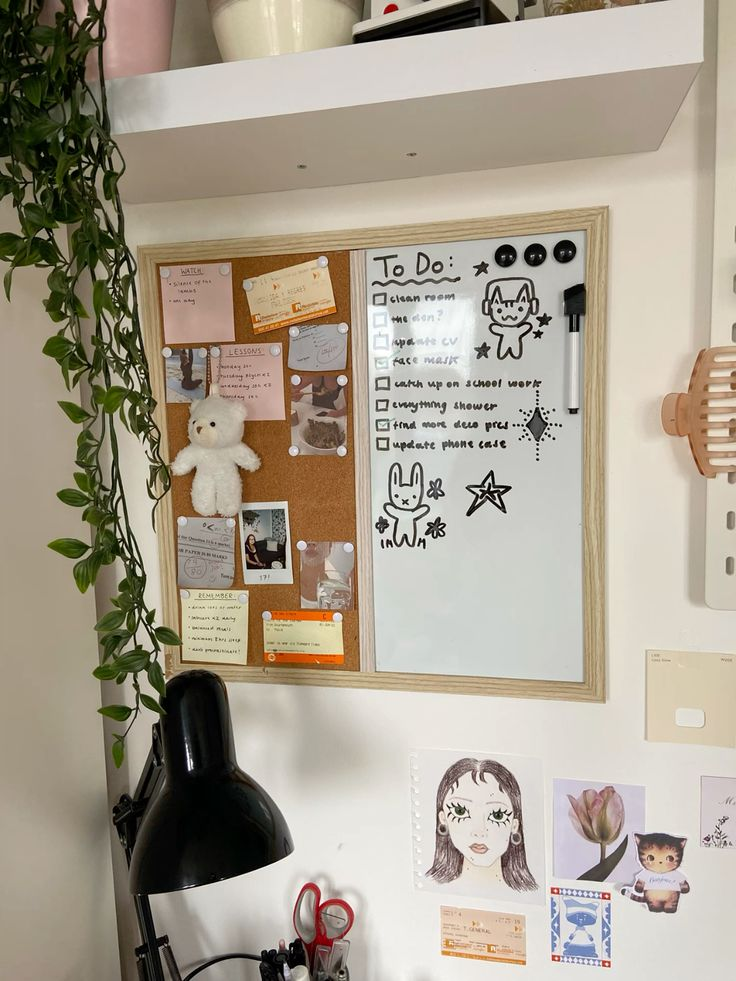
Adding a narrow whiteboard strip along the bottom or side of your cork board gives you a spot for a running to-do list or a quick note that doesn’t require a pin, which is genuinely faster for the stuff you update daily, like “buy stamps” or “call mom back.”
Peel-and-stick whiteboard strips exist specifically for this and don’t require any paint or permanent alteration.
| Board Surface Type | Cost | Best For | Downside |
|---|---|---|---|
| Standard cork | Usually already provided | General pinning, photos, papers | Looks generic without decoration |
| Fabric-covered cork | $8-$15 in fabric | Cohesive aesthetic, softer look | Patterns can obscure pinned items |
| Felt board | $15-$25 | Lightweight items, no pin holes needed | Can’t hold heavier items like frames |
| Magnetic + cork combo | $20-$35 | Metal clips, magnets, plus pins | Pricier, takes up more wall space |
| Peel-and-stick whiteboard strip | $10-$18 | Daily to-do lists, quick notes | Needs a dry-erase marker on hand |
Pro tip: If you add a whiteboard strip, tie a marker to the board frame with a short piece of string or ribbon. Markers that aren’t physically attached to the board disappear into desk drawers within a week and the whiteboard section quietly stops getting used.
4. Arrange individual cork tiles into a shape instead of buying one rectangle

Small adhesive cork tiles, usually sold in packs, let you build your own board shape — a cluster, a wave along the wall, even a rough heart shape above a desk — rather than being stuck with the single rectangular board your dorm provided.
This is a bigger project than the others on this list, but it’s the one that gets the most “wait, how did you do that” comments from roommates and visitors.
Pro tip: Check your housing agreement’s wall damage policy before doing this one specifically — some dorms are fine with adhesive tiles as long as they’re the removable kind, but a few restrict how much wall surface area you can cover, so it’s worth a quick read before you commit to a full tile mural.
Functional Organization: Ideas That Earn Their Space Past Week Three
5. A printed weekly class schedule pinned dead center
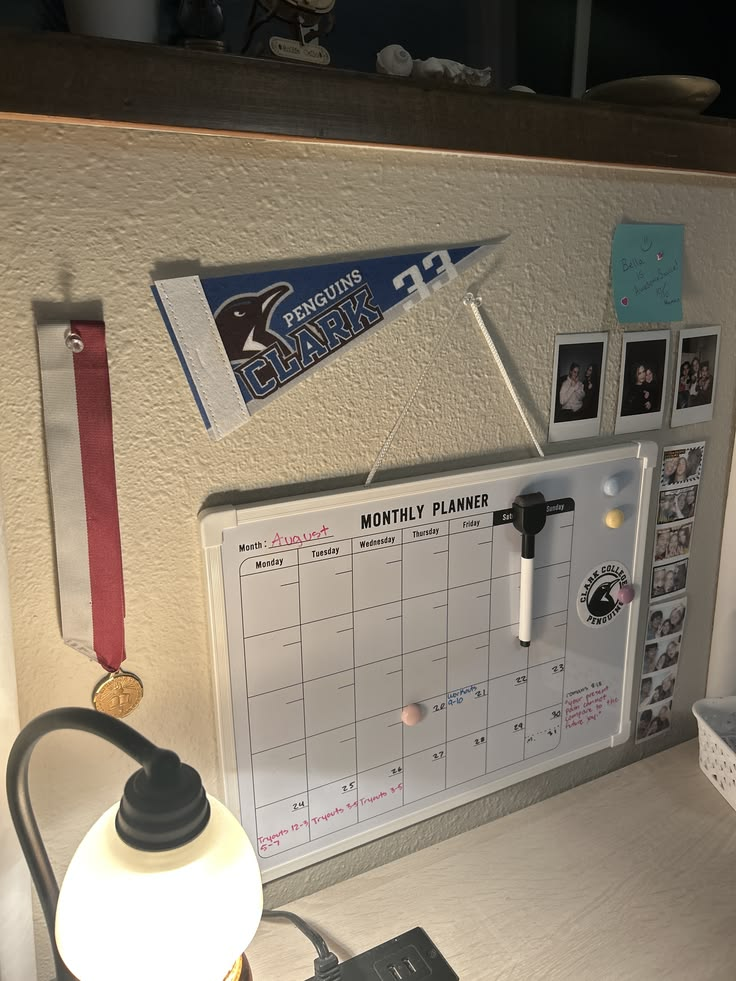
Putting your actual class schedule somewhere you’ll see it daily, rather than buried in a planner app, sounds almost too simple to count as a “decor idea,” but it’s one of the few things on this list that has genuine daily utility, and it anchors the whole board around something practical instead of purely decorative.
6. Colored push pins as a deadline system
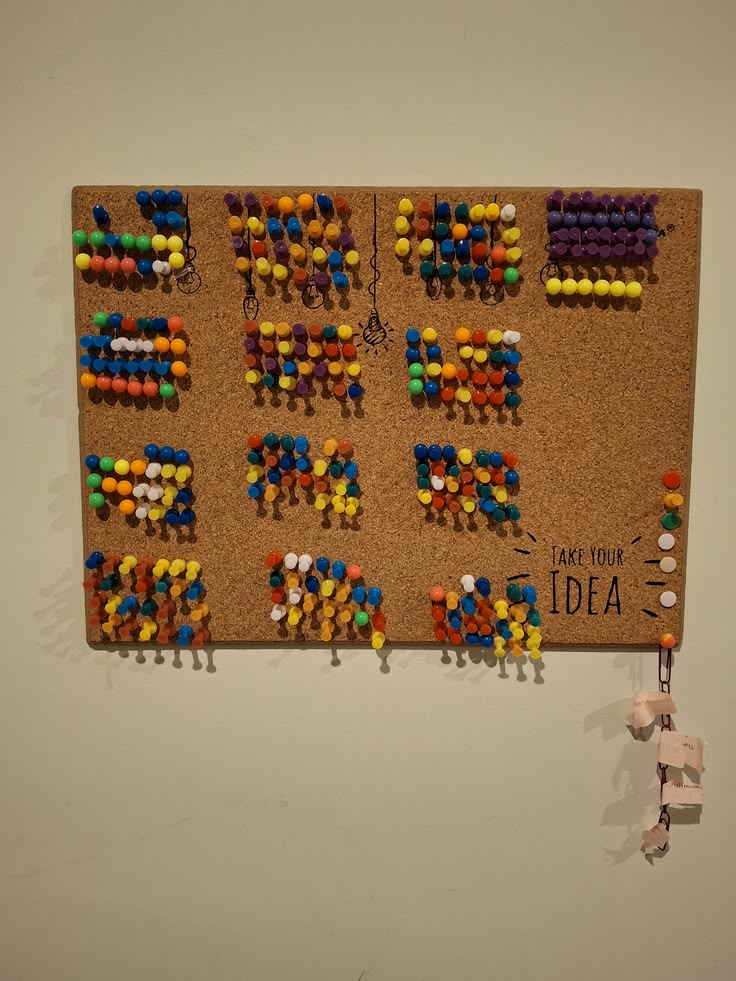
Assigning a specific push pin color to each class or category — red for exams, blue for assignments, green for social stuff — turns your board into an at-a-glance calendar you can read from across the room, without having to walk up and read individual papers.
It’s a system that costs about six dollars in a multipack of pins and takes zero ongoing effort once you set the color code.
Pro tip: Tape a small color key directly to the corner of the board itself, not just in your head — you will forget your own color system by week four, and a visible key takes the guesswork out permanently.
7. Small pinnable envelopes or pockets for loose items

Attaching a couple of small fabric or paper pockets to the board gives you somewhere for stamps, spare keys, or cash for laundry that would otherwise get lost in the pin-everything-flat approach.
It solves the specific problem of “small objects that don’t have a flat surface to be pinned to.”
8. A rotating “this week” card that you physically flip or swap
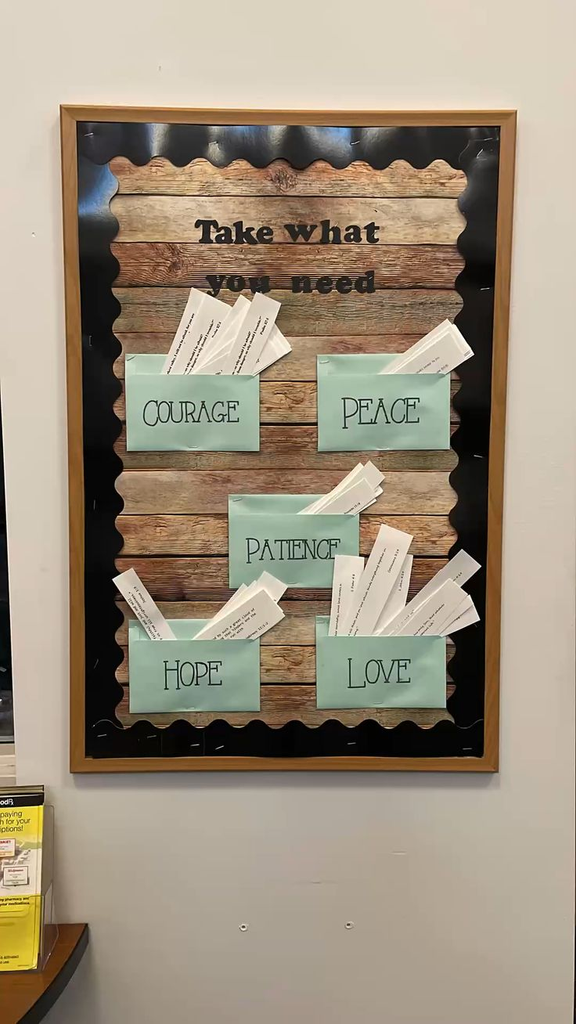
A small index card or laminated tag pinned in a prominent spot, updated each Sunday with the week’s top priorities, keeps the board relevant on a weekly cycle instead of becoming a static archive of stuff from three weeks ago.
It’s a tiny habit, but it’s the difference between a board you actually glance at each morning and one you’ve stopped seeing entirely because your brain has tuned it out.
Pro tip: Put this card at eye level, not at the top of the board — anything above eye height on a bulletin board gets visually skipped after the first week, no matter how important it is.
Aesthetic Details: The Stuff That Makes It Actually Feel Like Yours
9. A photo strip garland with mini clothespins

Stringing a length of twine across the board and clipping photo booth strips, small prints, or ticket stubs to it with tiny clothespins creates a rotating gallery that’s easy to update without repinning your whole layout every time you add a new photo.
This is one of the more Pinterest-familiar bulletin board decor ideas out there, but it earns the spot because it’s genuinely low-effort to maintain.
10. A washi tape border or grid instead of a bare frame
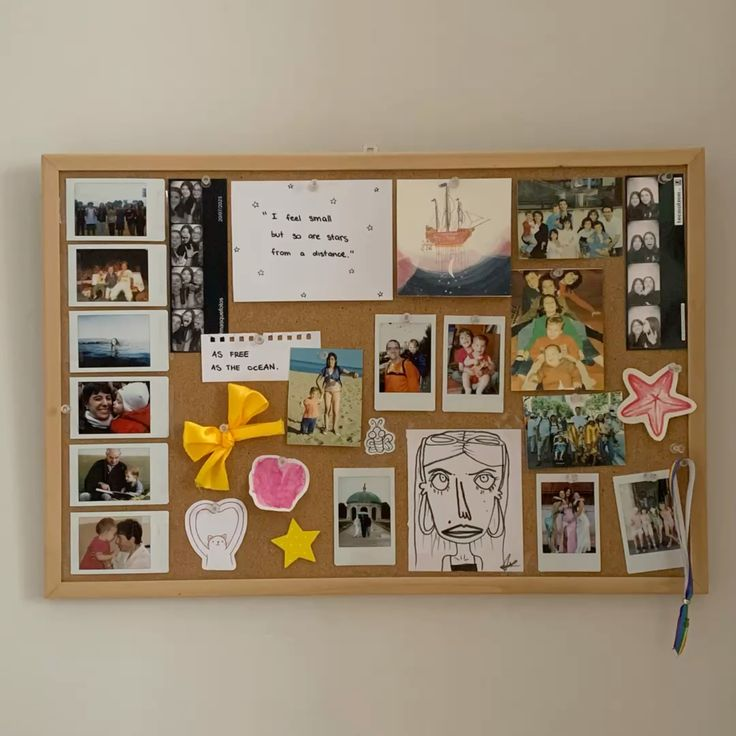
Running a strip of washi tape around the outer edge of the board, or taping off a light grid pattern across the fabric or cork, gives the whole thing a finished, intentional look for a couple dollars in tape.
It’s the lowest-effort, lowest-cost visual upgrade on this entire list, and it’s fully removable at move-out with zero damage.
Pro tip: Test your washi tape on a hidden corner of the board’s actual surface before committing to a full border — some cheaper washi tape brands leave a sticky residue on painted cork frames after a semester, even though they’re marketed as removable.
11. Mixed-size mini frames pinned like a gallery wall

Pinning a handful of small empty frames of different sizes directly onto the board, then slipping photos in and out of them as you like, gives you the structured look of a gallery wall with the flexibility of a bulletin board underneath.
It reads as more polished than loose photos pinned flat, at the cost of needing frames light enough that a push pin can actually support them.
12. Dried or pressed flowers along the top edge

A row of pressed flowers or a small dried flower swag pinned along the top of the board softens what’s otherwise a very rectangular, very functional object.
This is a detail I’d never have thought of myself — I saw it on a friend’s board during a dorm tour and immediately went and pressed flowers from a campus garden bed to copy it, badly, but it still looked better than a bare board.
13. A layered ribbon weave as the background
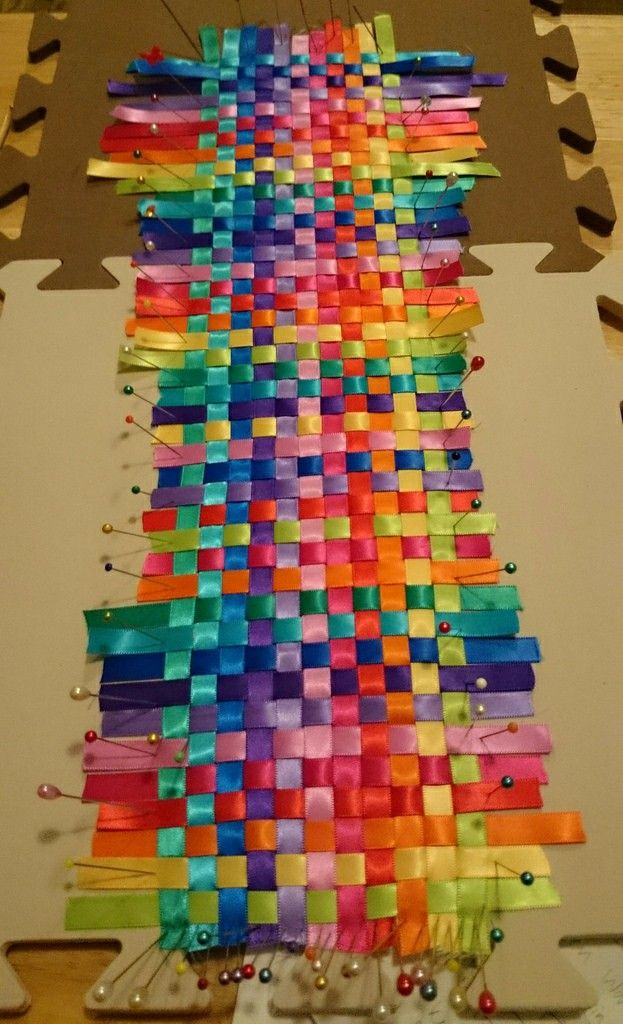
Weaving ribbon in a diagonal or crosshatch pattern across the board before you pin anything creates built-in “slots” where photos and notes can slide in without needing a pin at all, which is both decorative and functional at the same time.
It takes longer to set up than most ideas on this list, closer to twenty minutes than five, but it’s one of the few that’s genuinely both form and function in one step.
Pro tip: Use ribbon at least an inch wide — thinner ribbon looks fine on day one but tends to sag and lose its tension within a few weeks of stuff being slid in and out of the weave.
14. A postcard or travel ticket collage in one corner
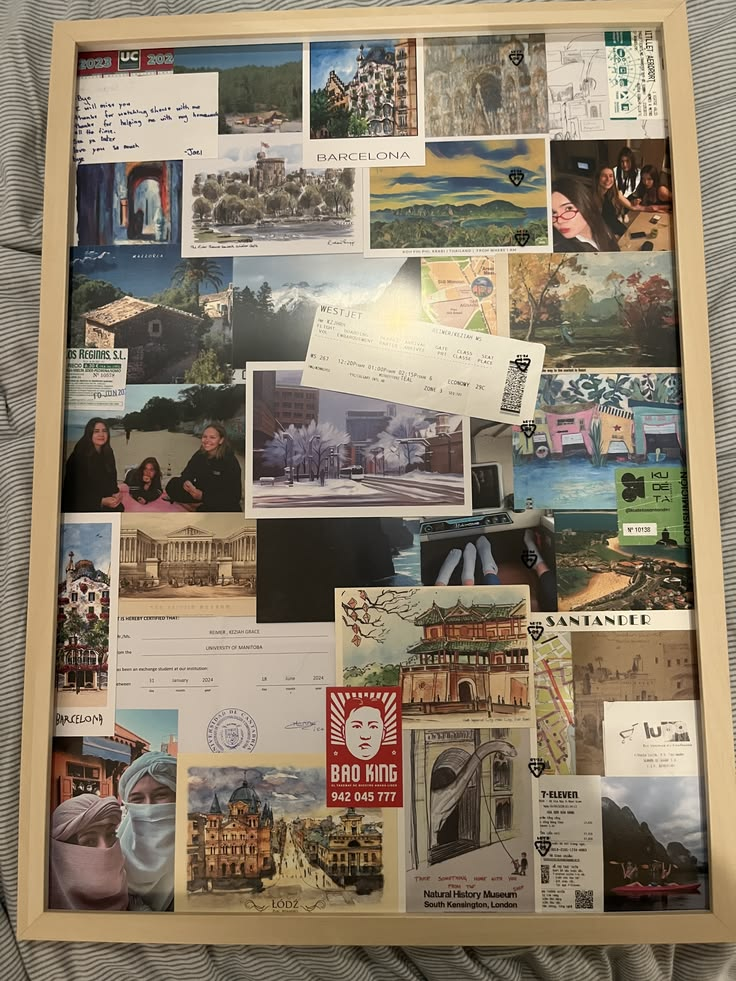
Dedicating one corner specifically to postcards, boarding passes, or ticket stubs from trips gives your board a personal timeline instead of a generic aesthetic, and it’s a natural conversation piece when people are actually in your room.
This works best as a corner rather than spread across the whole board, since a dedicated zone reads as a collection, while scattering the same items everywhere just reads as clutter.
15. Fairy lights woven along the edge or behind photos
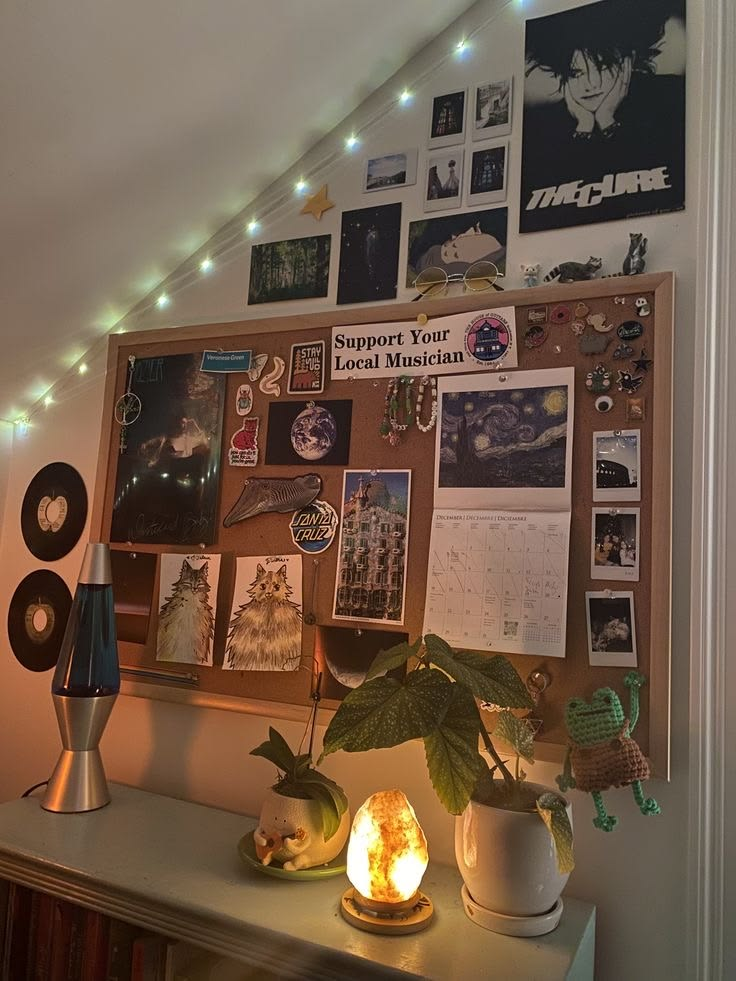
A battery-powered fairy light strand pinned loosely along the board’s border adds a warm glow without needing an outlet near your desk, and it does double duty as a small light source if your dorm’s overhead lighting is as harsh as most dorm lighting tends to be.
Just be sure to check your specific dorm’s fire and electrical policy — a lot of schools restrict certain string light types, and it’s worth confirming before you buy rather than after your RA does a room check.
16. A single bold quote or word cut from cardstock, not printed
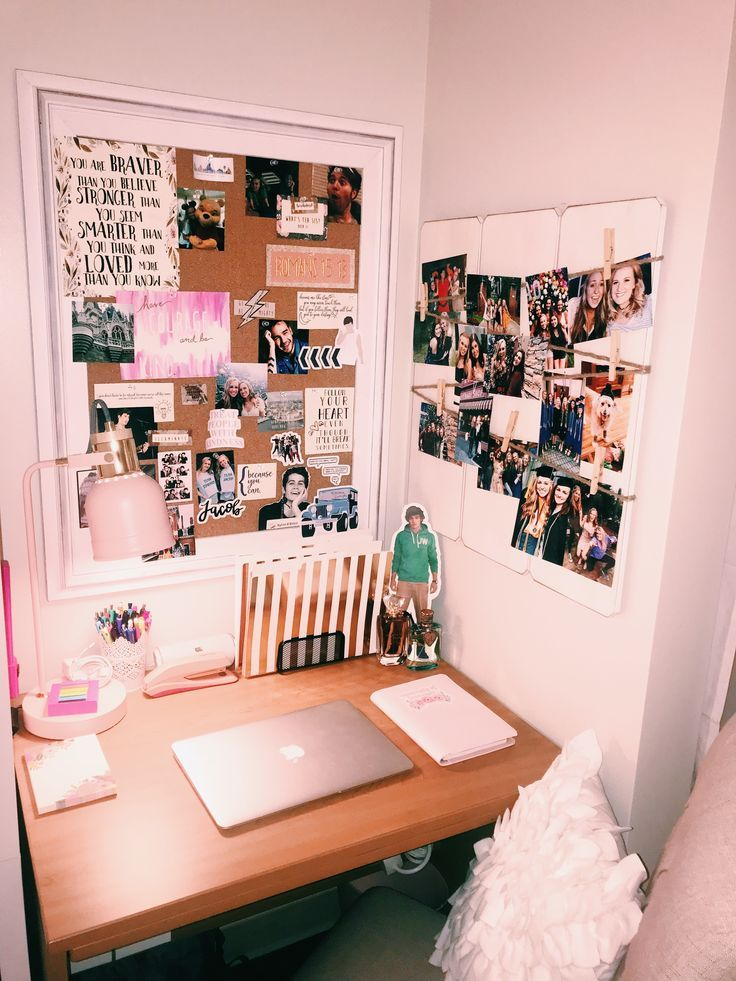
Cutting out one word or short phrase from cardstock by hand, rather than printing a generic “good vibes only” sign, reads as far more personal and far less like something bought from the same aisle as everyone else’s dorm decor.
It doesn’t have to be perfect — slightly uneven hand-cut letters actually read as more authentic than a laser-cut version would.
Seasonal and Rotating Ideas: Keeping the Board From Going Stale
17. A swappable backing paper system
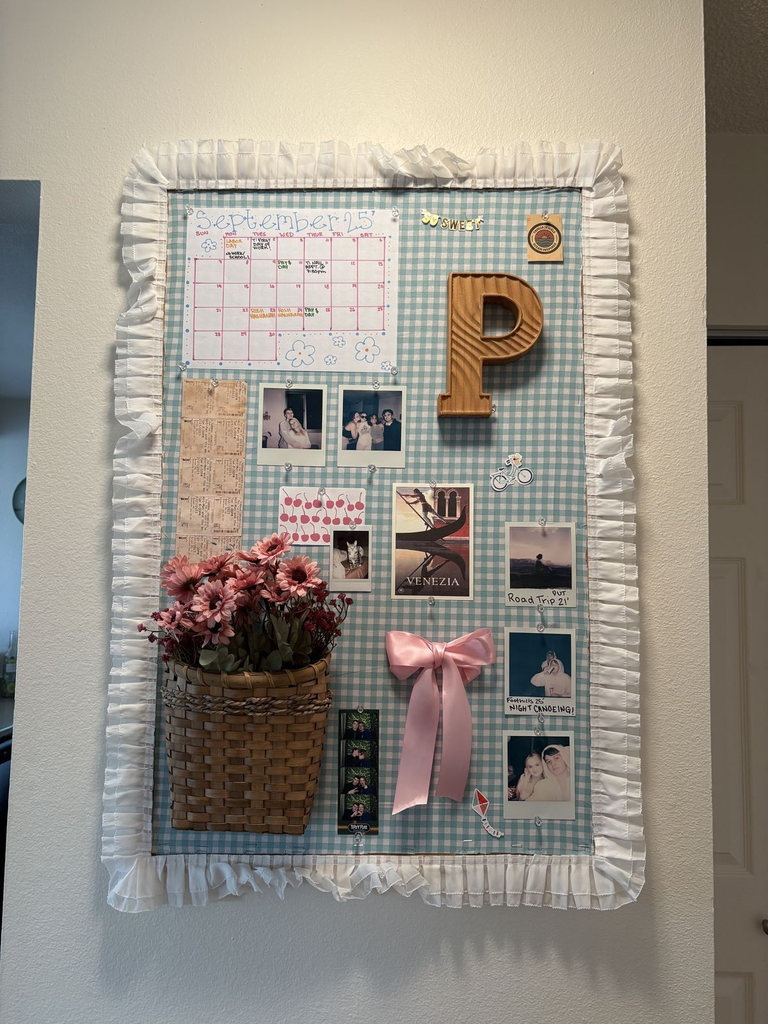
Instead of committing to one fabric or paper background for the whole year, pin your backing paper in place with removable pins along the edges only, so you can swap it out at the semester change or for a specific season without redoing the whole board.
This solves the real problem of a board looking exactly the same in April as it did in September, which happens on almost every dorm board I’ve ever seen.
Pro tip: Keep your old backing papers instead of tossing them — a rotation of two or three backgrounds you swap between each semester costs you nothing extra after the first purchase and gives the board a refreshed look for free.
18. A monthly “theme corner” that changes with the calendar
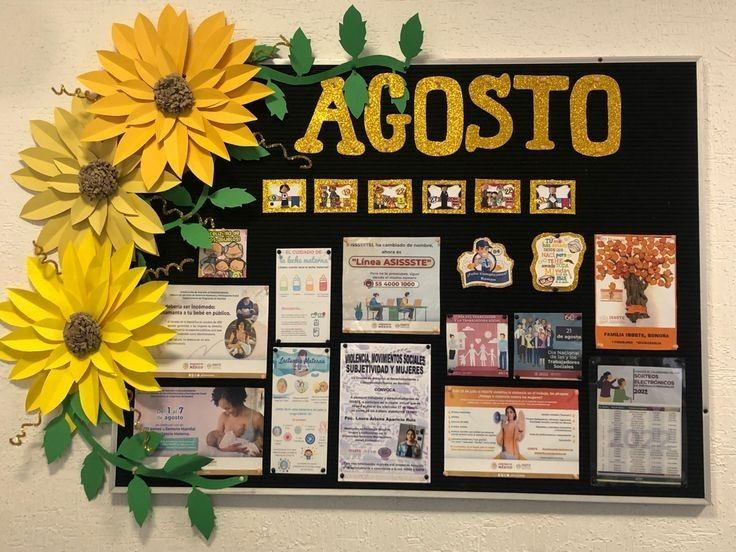
Reserving one small section of the board specifically for something that rotates monthly — a favorite song lyric, a photo from that month, a small seasonal decoration — keeps the whole board feeling current without requiring you to redo the entire layout.
It’s a lower-commitment version of a full seasonal refresh, better suited to someone who doesn’t want to spend an afternoon on it every few months.
19. Layering new pins over old ones intentionally, in a designed “collage corner”

Rather than fighting the natural buildup of pinned items in one section, designate a specific corner as a deliberate collage zone where things are meant to layer and overlap over time — receipts, notes, tickets, whatever accumulates.
This reframes what would otherwise look like clutter into something that reads as an intentional, evolving scrapbook, as long as it stays contained to one clearly bordered section instead of spreading across the whole board.
20. A “goodbye wall” section you fill in during finals week

Leaving one small strip of the board blank specifically for notes, doodles, or signatures from friends during the last week of the semester turns your board into a keepsake by the time you move out, instead of something you just take down and toss.
It costs nothing to set up — it just requires leaving space and actually asking people to write something before they scatter for summer.
21. Repainting or re-covering just the frame between semesters
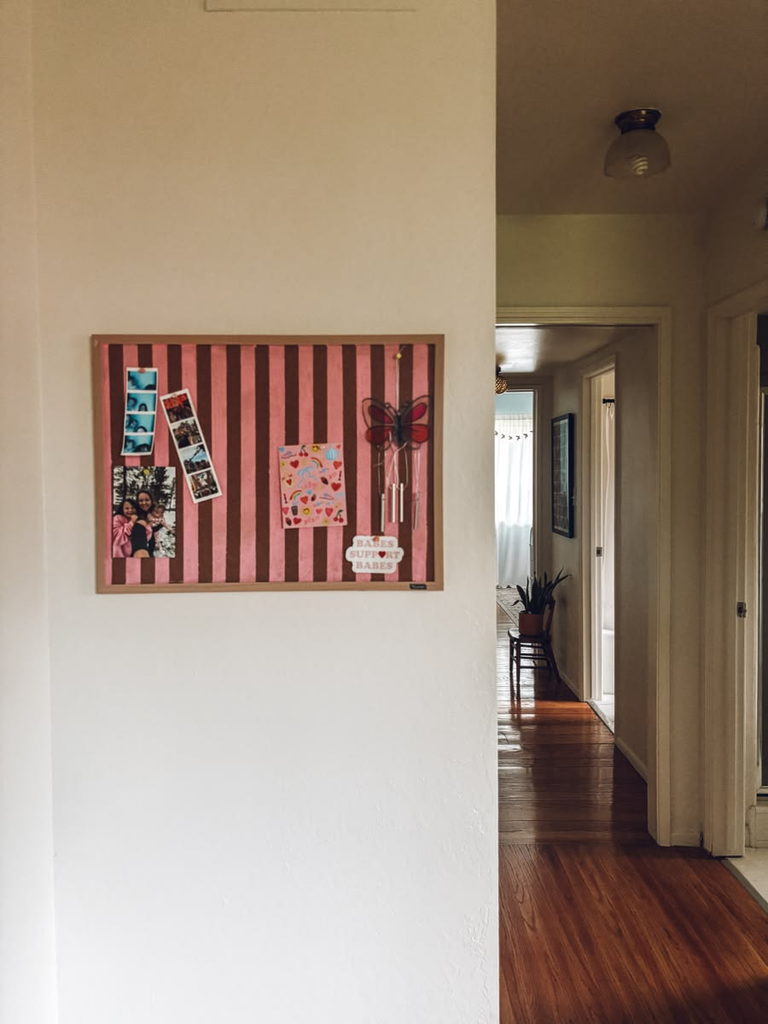
If your board has a visible wooden or plastic frame, giving just the frame a quick paint refresh or a fabric wrap between fall and spring semester is a much smaller project than redoing the whole board, but it changes the overall feel more than you’d expect for something so contained.
It’s a good option for someone who wants a refresh but doesn’t have a free weekend to rebuild the whole layout from scratch.
22. A end-of-semester photo of the board itself, before you take it down
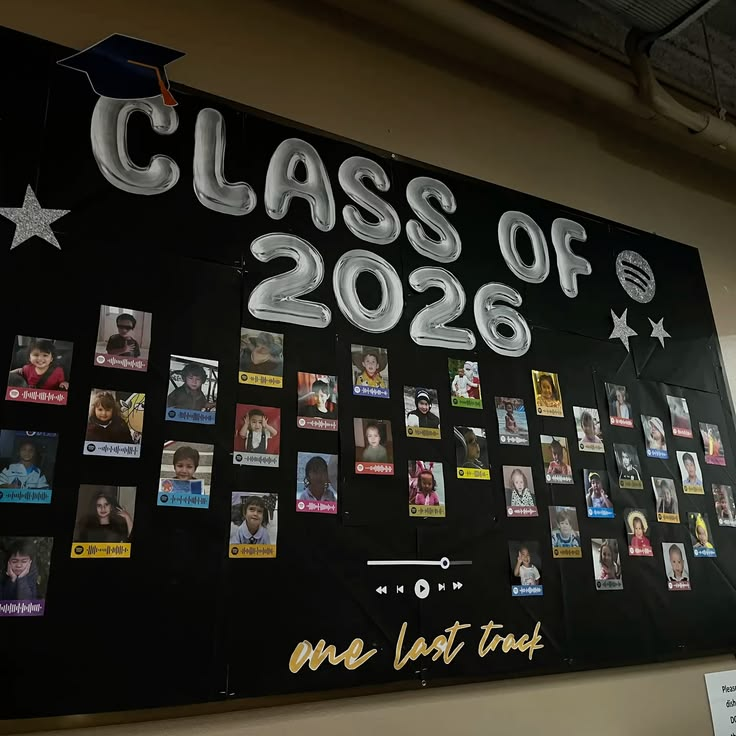
This isn’t a decorating idea so much as a habit worth adopting: take one photo of your fully decorated board right before finals, before you start stripping it down to pack up.
It’s such a small thing, but it’s the only record you’ll have of a board you spent a whole semester building, and I genuinely regret not doing this freshman year — I have zero photos of that first messy, over-pinned board, and I’d honestly love to see it again now.
What I’d Actually Do First, Starting a Dorm Room From Scratch
If I were setting up a bulletin board in a dorm room again from day one, I’d start with the zoning — deciding where deadlines go versus where photos go — before I touched a single decorative idea on this list, because that’s the decision that determines whether the board is still useful in November or has quietly become wallpaper you stopped looking at.
After that, I’d go straight to the colored push pin system, since it’s the cheapest, fastest functional upgrade here and it’s the one that actually changes how you use the board every single day, not just how it looks on move-in day.
The honest lesson from my own nine-day bulletin board disaster is that the decorating and the organizing aren’t two separate projects — the boards that stay both cute and useful all year are the ones where someone thought about function first and let the aesthetic build around it, not the other way around.


Leave a Reply