
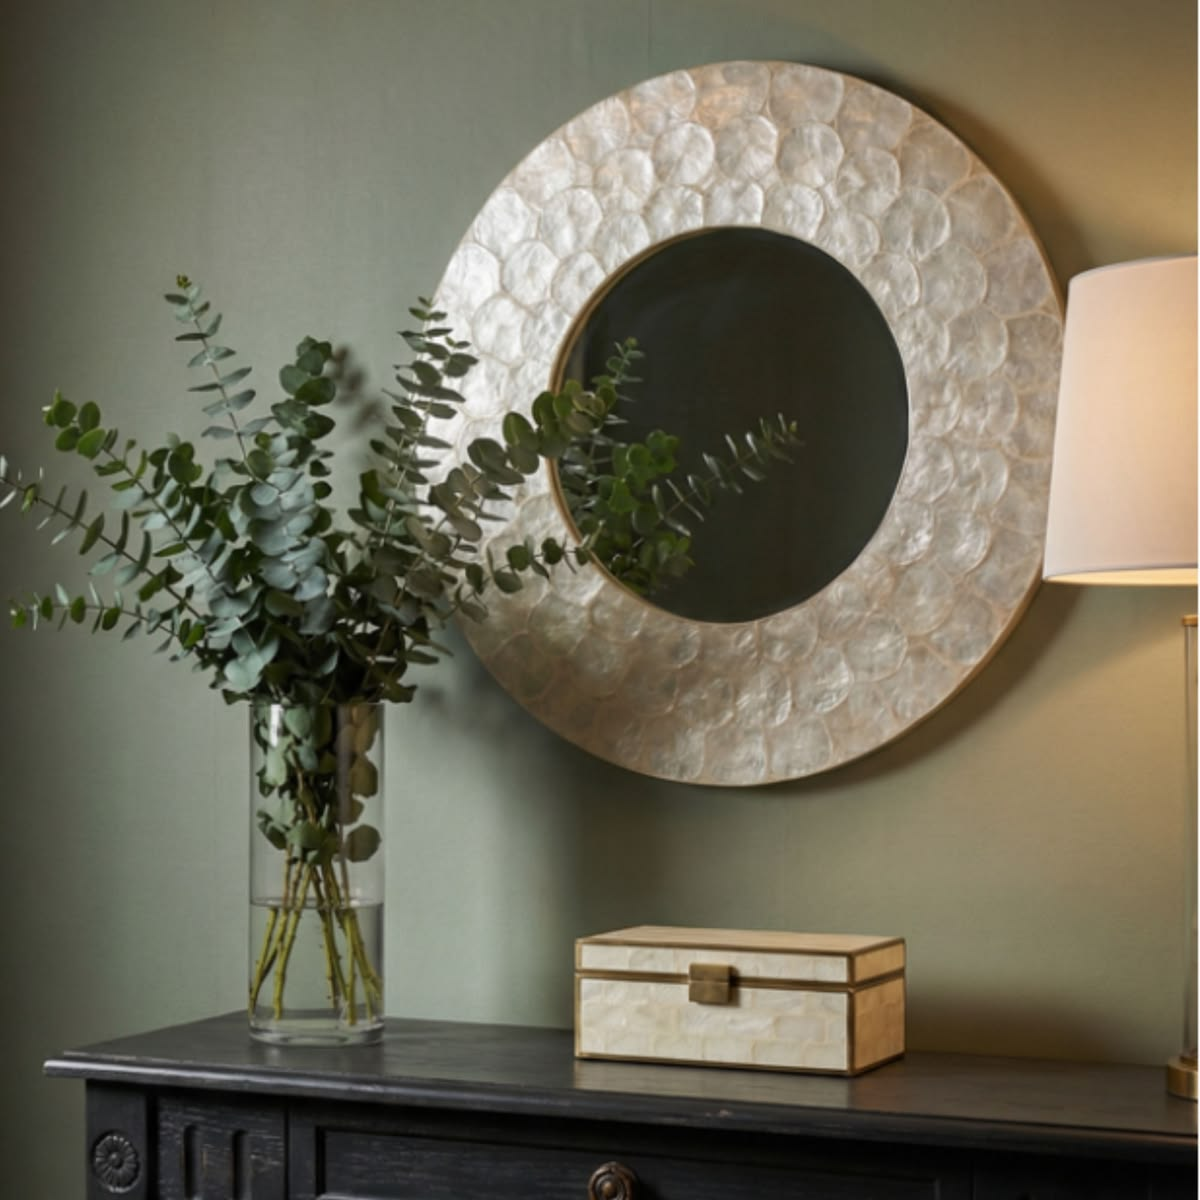
I bought my first capiz shell mirror at a flea market for $12 because I liked how it looked stacked against a wall in the seller’s booth, angled to catch the afternoon sun.
I got it home, hung it in a spot with zero natural light, and it just… sat there. Flat. Kind of sad, honestly.
It took me embarrassingly long to realize capiz isn’t decor you hang and forget — it’s decor you have to actually place with light in mind, or you’re paying for an effect you’ll never see.
If you’ve got a capiz piece languishing on a wall that doesn’t do it justice, or you’re capiz-curious and trying to figure out where it actually fits in a room, this list should help.
These are pieces I’ve bought, ones friends have talked me through after their own trial and error, and a couple of layout ideas that came out of comments on my own posts from readers who clearly know more about this material than I did starting out.
Capiz — for anyone new to the term — is the shell most commonly used in Filipino-origin decor and lighting, translucent enough to let light pass through with that soft, iridescent shimmer you can’t really fake with anything synthetic.
Some of what’s below is a single piece you hang and mostly leave alone.
Other ideas are full wall treatments that take planning. I’ll flag which is which, and I’ll tell you honestly where capiz earns its higher price tag and where a cheaper look-alike genuinely does the job.
Where Capiz Actually Works (and Where It Doesn’t)
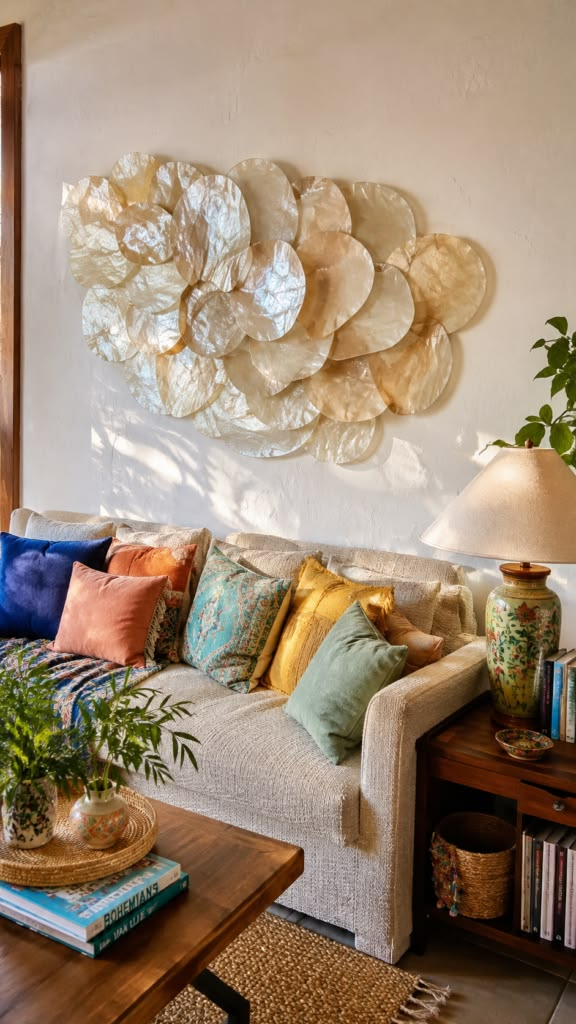
Before the individual ideas, it’s worth knowing that capiz performs very differently depending on the room, because its whole appeal is built around light.
| Room Type | Natural Light Level | How Capiz Performs | Best Approach |
|---|---|---|---|
| South or west-facing rooms | High, direct sun | Excellent — full shimmer effect | Statement piece, mirror, or chandelier |
| East-facing rooms | Moderate, morning light | Good — softer, more subtle shimmer | Wall panels, smaller accent pieces |
| North-facing or low-light rooms | Low, indirect light | Weak — shimmer barely reads | Pair with a lamp or accent light behind it |
| Windowless spaces (hallways, some bathrooms) | None | Flat, decorative texture only | Skip capiz here, or add dedicated lighting |
1. A Capiz Shell Sunburst Mirror
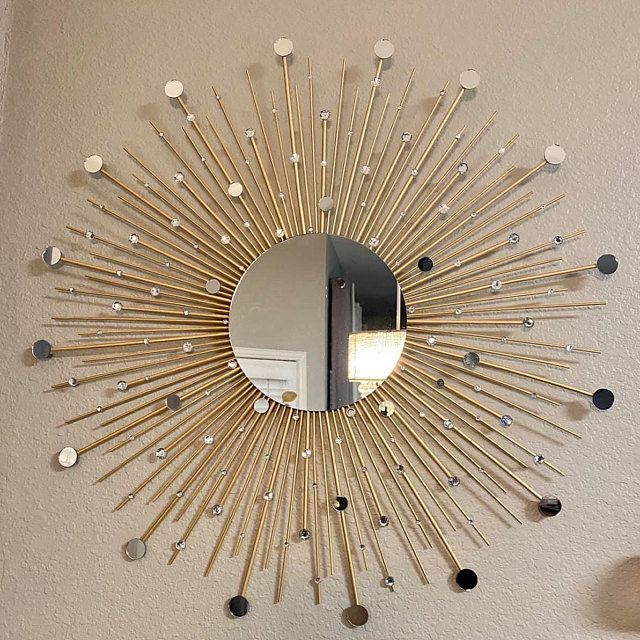
Why it matters: This is the single most common capiz piece for a reason — the sunburst shape does double duty as both a mirror and light-catching wall art, and it works as a genuine focal point above a console or mantel.
How to do it: Center it at eye level over furniture that has breathing room on either side, and resist the urge to crowd it with other wall decor — it needs open space to actually read as a statement piece.
Pro tip: Hang it where it can catch afternoon light directly, not just reflect a lit room. A capiz sunburst in a dim corner just looks like a beige circle, and I say that as someone who made exactly that mistake for almost a year before moving mine.
2. A Capiz Shell Curtain or Room Divider
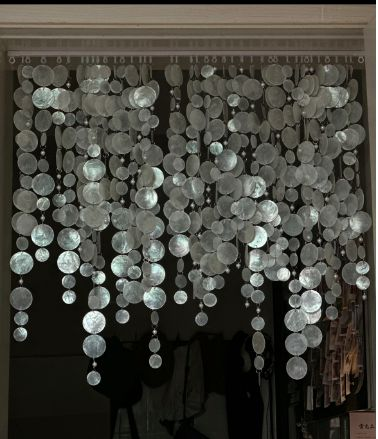
Why it matters: If you’re renting a studio and need to visually break up a sleeping area from a living space without a permanent wall, a hanging capiz curtain does that while still letting light through, unlike a solid room divider.
How to do it: Mount a tension rod or ceiling-mounted track, then hang pre-strung capiz shell strands close enough together that they overlap slightly and catch each other’s movement.
Trade-off worth knowing: These move and clink with airflow, which some people find calming and others find distracting near a bed. Test it for a few nights before committing to it as a permanent bedroom fixture.
3. A Cluster of Small Capiz Shell Ornaments as Wall Art
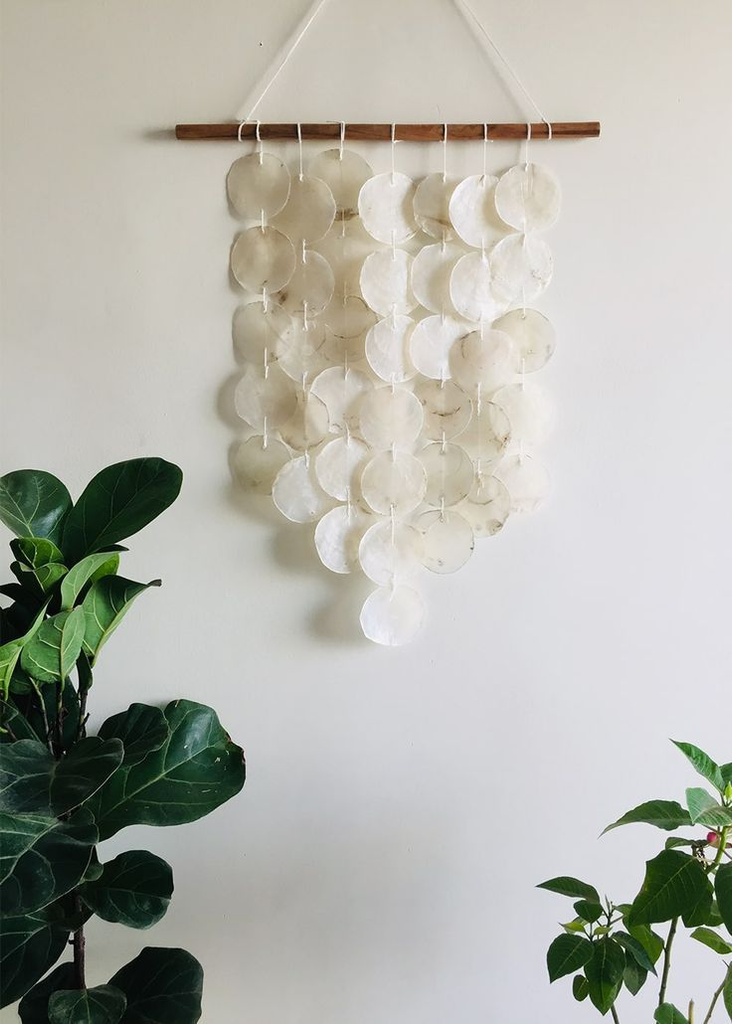
Why it matters: Not every capiz application needs to be a big statement piece — small individual shell ornaments, grouped loosely, give you the shimmer effect at a fraction of the cost of one large mirror.
How to do it: Use small nails or removable hooks to hang 8 to 12 individual capiz ornaments in a loose scatter pattern, varying the height slightly so they don’t read as a rigid grid.
Pro tip: Buy a few extra than you think you’ll use. My friend Marisol did this over her reading nook and ended up adding four more mid-project because the scatter pattern looked sparse until she had more density than she’d initially planned for.
4. A Capiz Shell Chandelier as the Wall’s Focal Point
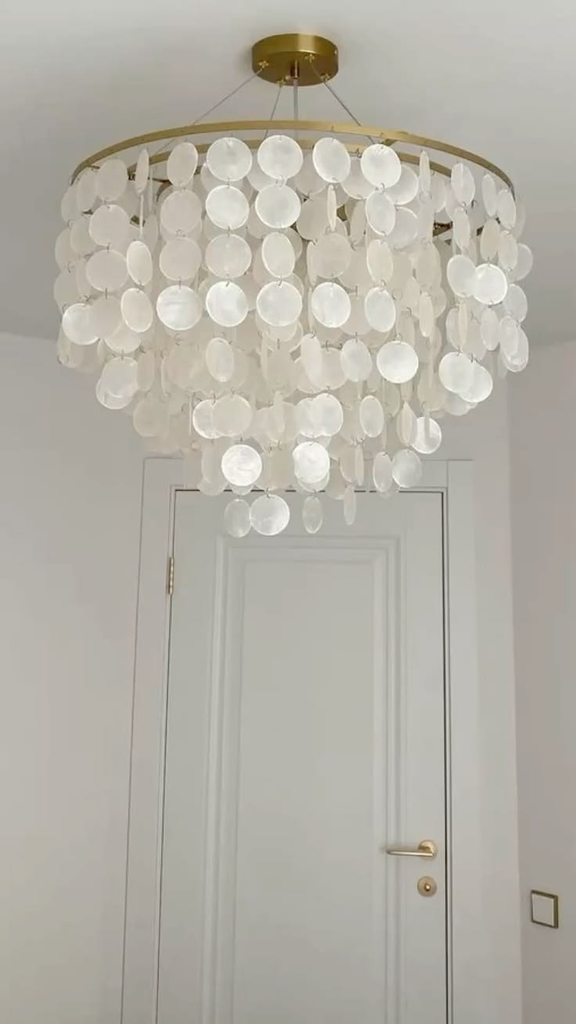
Why it matters: If you’re building an entire wall or corner around a single anchor piece, a capiz chandelier gives you dimension a flat wall piece can’t — it catches light from multiple angles as it hangs rather than one flat plane.
How to do it: Hang it slightly off-center from the wall it’s meant to anchor, close enough to interact with the wall visually but with enough clearance to swing and catch airflow.
Trade-off worth knowing: These need real ceiling height to read properly — in a room with standard 8-foot ceilings, a large capiz chandelier can feel cramped rather than elegant. Measure your clearance before you buy.
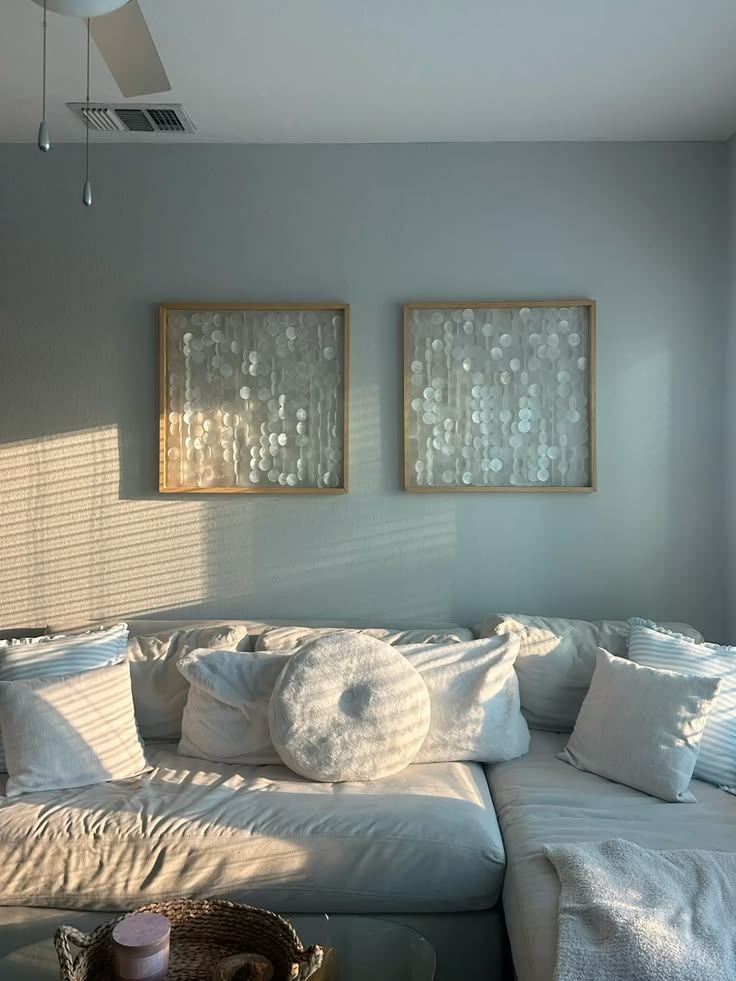
5. A Framed Capiz Shell Panel
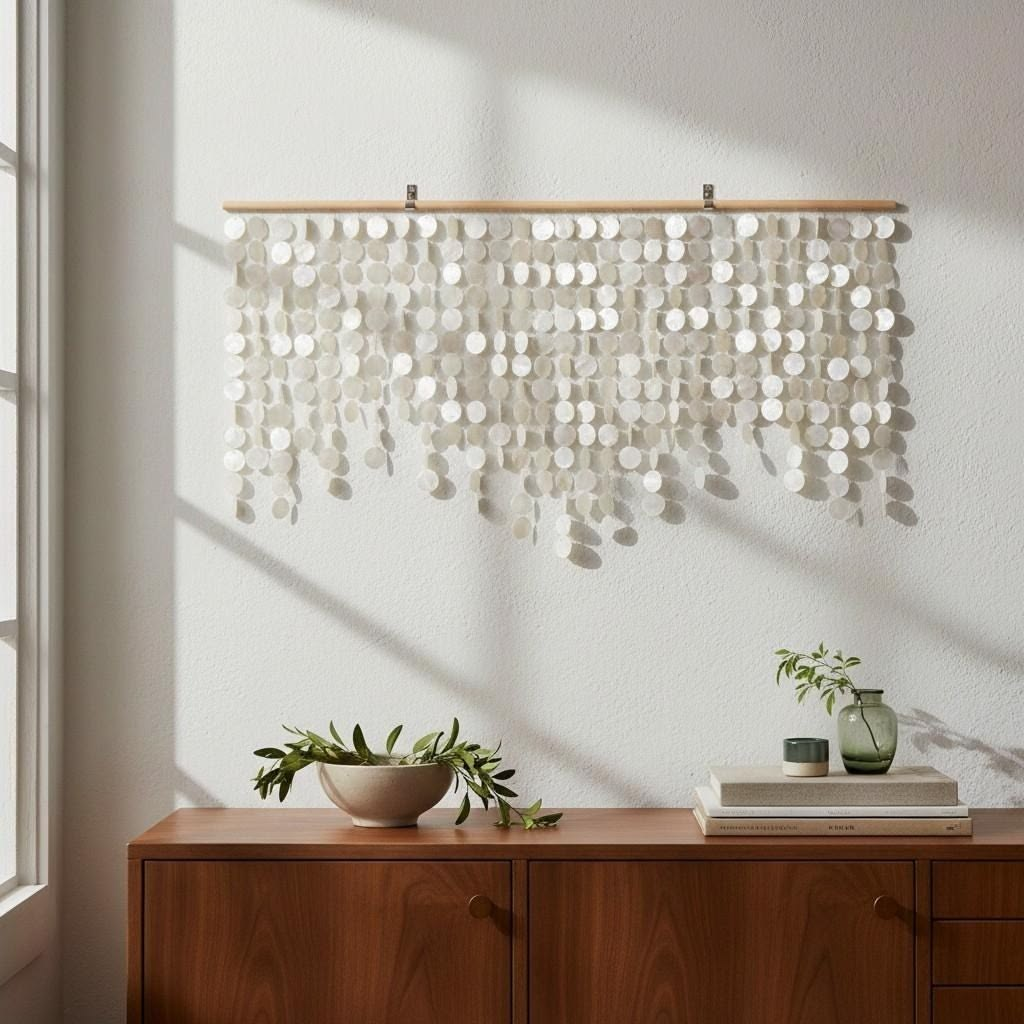
Why it matters: A flat framed panel of capiz shells gives you the shimmer effect in a format that behaves like standard wall art — easier to hang, easier to incorporate into a gallery wall, no dangling parts to worry about with kids or pets.
How to do it: Look for panels backed with a rigid frame rather than loose strung shells, and hang exactly as you would any framed art, using a level and standard picture hooks.
Pro tip: This is the version I’d recommend for a first-timer nervous about the hanging-and-clinking varieties — it’s the lowest-commitment way to try capiz in a room before deciding you want more of it.
6. Capiz Shell Pendant Lights Over a Kitchen Island
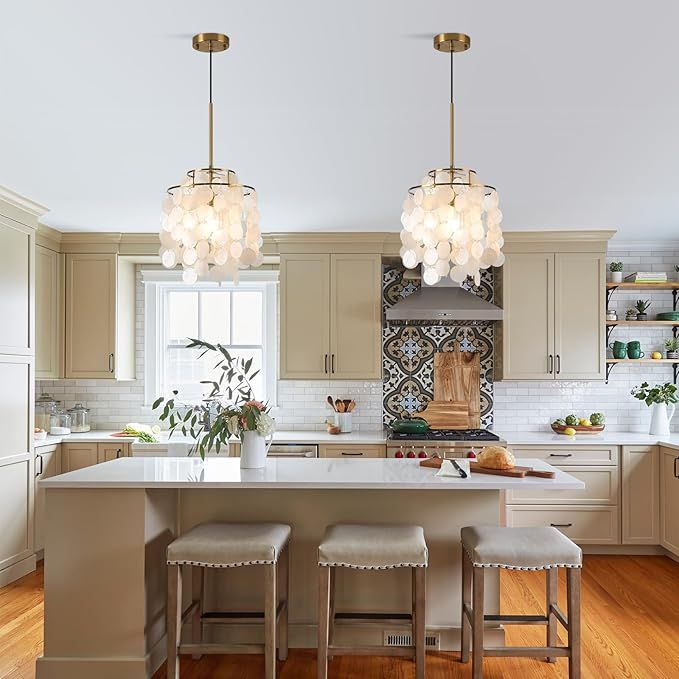
Why it matters: Because capiz is translucent, it’s genuinely functional as a light fixture, not just decor — the shell diffuses the bulb’s light into something much softer than an exposed fixture would give you.
How to do it: Hang two or three pendants in a row above an island, spaced evenly, at a height that clears sightlines for anyone standing on the opposite side.
Cost angle: A single capiz pendant runs anywhere from $60 for a basic version to $200+ for a larger designer piece — worth comparing a few before committing to a full set of three, since the price difference compounds fast across multiple fixtures.
7. A DIY Capiz Shell Garland
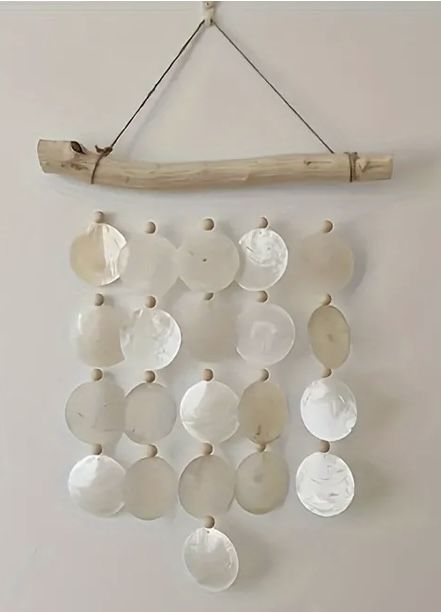
Why it matters: If you want the capiz look on a tighter budget or for a temporary space (a rental, a dorm, a seasonal display), stringing your own garland from loose shells is dramatically cheaper than any pre-made piece.
How to do it: Drill or punch a small hole near the edge of each shell, then string them onto fishing line or thin wire in a loose spiral pattern, knotting between each shell to keep spacing even.
Pro tip: Loose capiz shells (unstrung, sold by the bag) run a fraction of the cost of any finished piece on this list — this is genuinely the cheapest way to get real capiz into a room rather than a synthetic imitation.
8. A Capiz Shell Accent Wall (Full Coverage)

Why it matters: This is the most dramatic, most expensive application on the list — covering a full wall section in capiz tiles rather than using it as an accent piece — and it’s not one I’d recommend for a first capiz project.
How to do it: Use pre-made capiz tile panels rather than assembling individual shells across a full wall, mounting each panel with construction adhesive rated for the tile’s weight.
Trade-off worth knowing: Full coverage is genuinely a commitment, both financially and visually — it’s difficult to tone down later if you decide it’s too much, unlike a single accent piece you can simply relocate.
9. A Capiz Shell Wreath as Wall Decor (Not Just a Door Piece)
Why it matters: Capiz wreaths get marketed almost entirely as front-door decor, but hung indoors above a bed or sofa, they work as a softer, more textured alternative to a standard mirror or art piece.
How to do it: Hang at the same height and placement logic you’d use for a round mirror — centered above the furniture, roughly two-thirds the width of the piece below it.
Pro tip: Indoor placement means it’s protected from the weather that outdoor capiz wreaths have to withstand, so you can look for thinner, more delicate shell-cut styles that wouldn’t hold up on an exposed porch.
10. Capiz Shell Coasters Mounted as Mini Wall Art
Why it matters: This is a genuinely unconventional use — capiz coasters are inexpensive and small, and mounting a cluster of them in a grid gives you a textured mini wall piece for less than almost anything else on this list.
How to do it: Attach small sawtooth hangers or adhesive hook strips to the back of each coaster, then arrange in a simple grid, spacing about an inch apart.
Cost angle: A set of capiz coasters typically runs under $20 for 4 to 6 pieces, making this one of the lowest-cost entry points into capiz decor on this entire list.
11. A Capiz Shell Table Lamp Base, Displayed Against the Wall
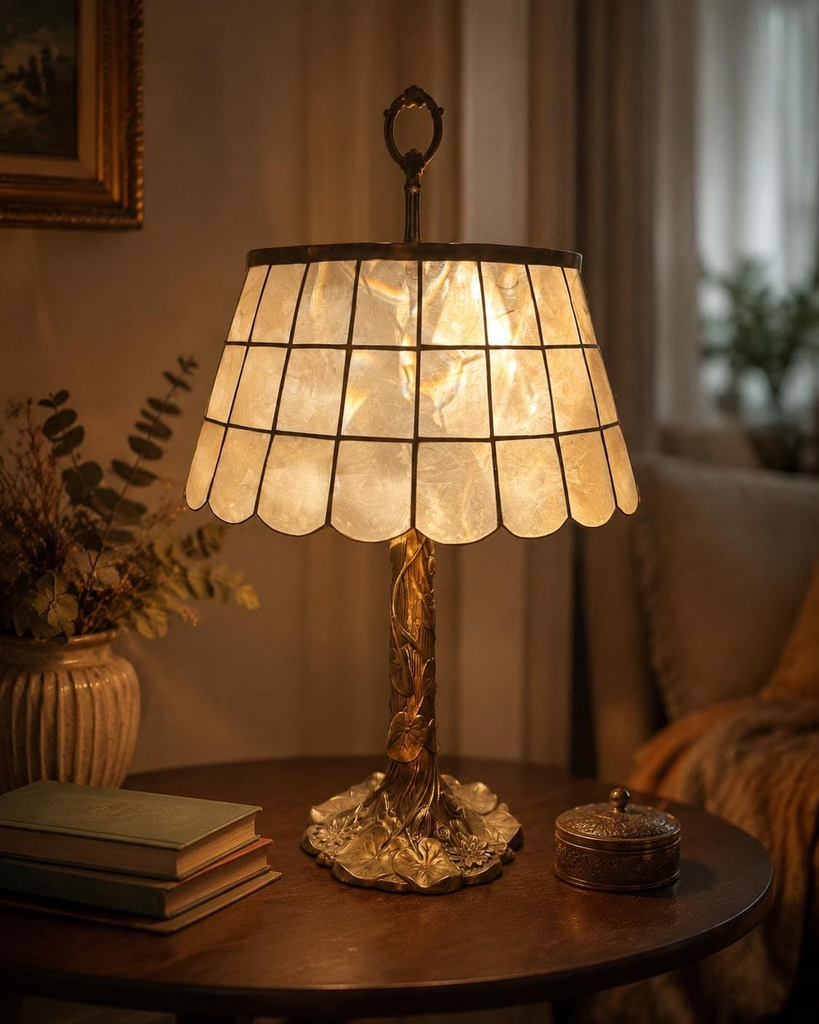
Why it matters: Not every capiz idea has to hang — a capiz-based lamp placed on a console directly against a wall gives you the shimmer effect at eye level without any wall mounting at all.
How to do it: Position it close enough to the wall that the light it casts reflects and diffuses off the wall’s surface, which amplifies the shimmer more than placing it in open floor space would.
Pro tip: Pair it with a warm-toned bulb rather than a cool white one — capiz’s natural iridescence reads noticeably richer under warm light, closer to candlelight than daylight.
12. A Capiz Shell Room Screen or Folding Divider

Why it matters: A folding screen with capiz panels gives you a movable, repositionable piece of wall-adjacent decor — useful in a studio or open-plan space where you want flexibility rather than something permanently mounted.
How to do it: Position it at an angle rather than flat against the wall, since capiz’s shimmer reads best from an angle where light hits and reflects rather than passing straight through toward a viewer facing it dead-on.
Trade-off worth knowing: These take up real floor footprint even when folded, so measure your available space including the screen’s folded depth, not just its open width.
13. Capiz Shell Napkin Rings, Repurposed as Curtain Tiebacks or Wall Hooks
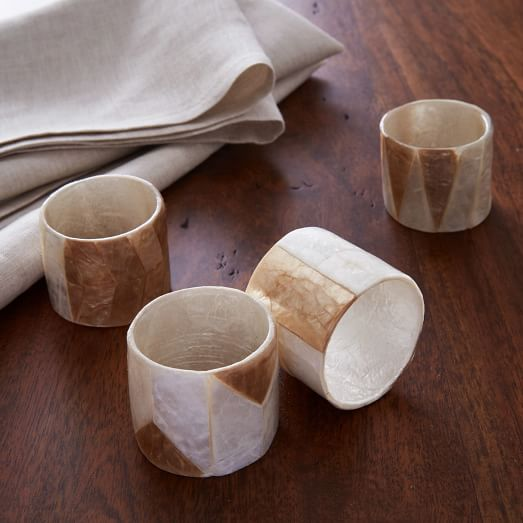
Why it matters: This is a genuinely resourceful, slightly unexpected use — capiz napkin rings are inexpensive and small, and repurposed as decorative curtain tiebacks near a window, they put capiz exactly where it gets the most light.
How to do it: Mount a small cup hook at your desired tieback height, then loop the capiz ring over the gathered curtain fabric and hook it to the wall.
Pro tip: Because they’re right at the window, these actually get more direct light exposure than almost anything else on this list — a genuinely smart placement even though it’s not the “obvious” capiz application.
14. A Layered Capiz and Wood Wall Piece
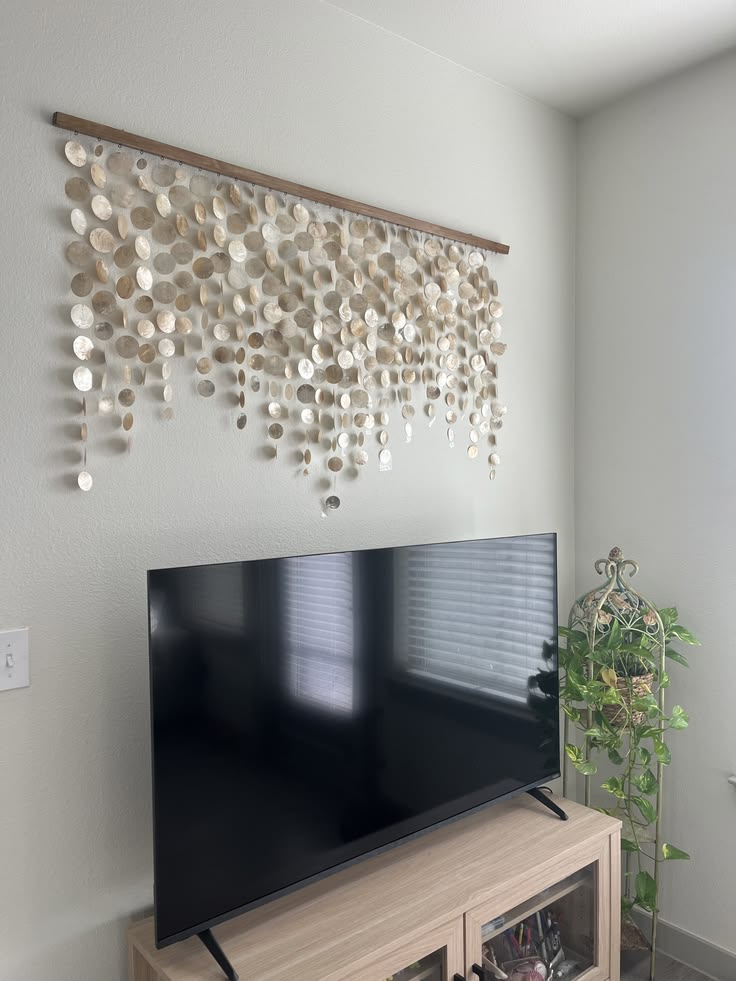
Why it matters: Pairing capiz with a warmer material like rattan or wood keeps a room from feeling too glossy or coastal if that’s not the aesthetic you’re going for — it grounds the shimmer with something more textural.
How to do it: Choose a piece that’s already designed with both materials combined (common in sunburst mirrors with a rattan-wrapped frame) rather than trying to layer two separate pieces, which is harder to get proportionally right.
Trade-off worth knowing: Combined-material pieces are usually a bit pricier than a plain capiz version, but they read as more intentional and are easier to work into a room that isn’t fully coastal or beachy in style.
15. A Capiz Shell Backsplash Panel (Small-Scale, Behind a Bar Cart or Vanity)

Why it matters: Using capiz tile as a small-scale backsplash — not a full kitchen, but behind a bar cart or bathroom vanity — gives you a genuinely unique focal detail in a spot most people never think to decorate at all.
How to do it: Mount pre-cut capiz tile sheets with a waterproof adhesive if it’s going anywhere near moisture, like a vanity, and seal the edges to prevent water getting behind the tile.
Pro tip: Skip this near a kitchen sink or stove specifically — the material isn’t rated for the kind of splashing, grease, or heat exposure a cooking backsplash needs, even though it’s fine near a bar cart or dry vanity area.
16. A Capiz Shell Window Valance
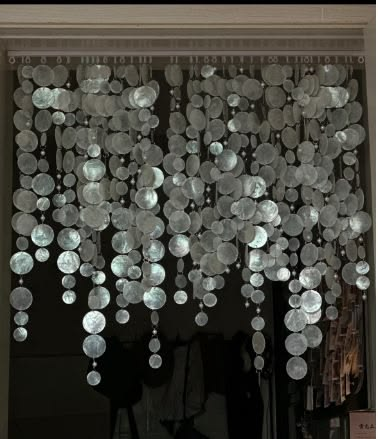
Why it matters: Mounted just above a window rather than as full curtains, a capiz valance catches direct light constantly throughout the day, which makes it one of the most consistently shimmering placements on this entire list.
How to do it: Mount a small curtain rod or valance bracket directly above the window frame, then hang a pre-strung capiz valance panel so it sits just above the window’s top edge.
Trade-off worth knowing: This only works well on windows that get real direct sun — on a shaded or north-facing window, it’s closer to a plain white panel than a shimmering feature.
17. Capiz Shell Ornaments as a Rotating Seasonal Wall Display
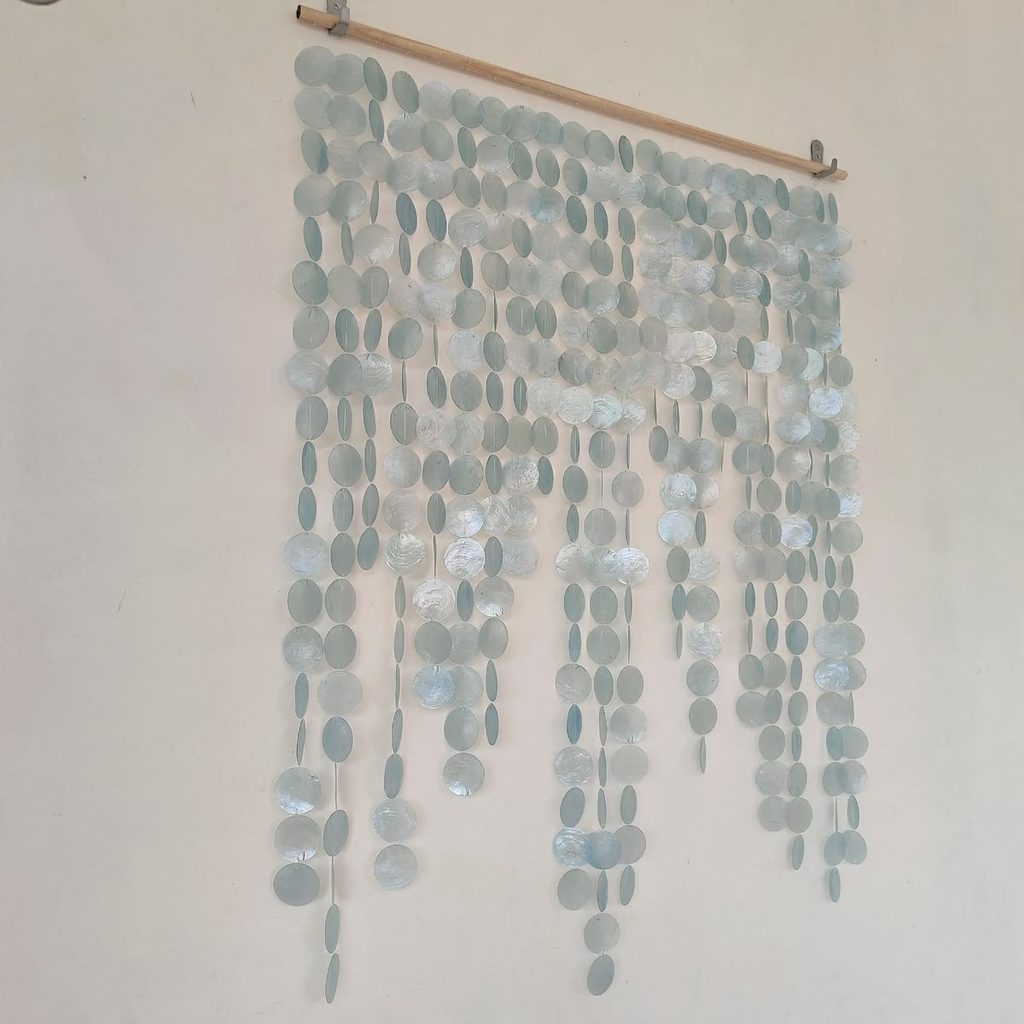
Why it matters: If you already own capiz ornaments for holiday decorating, repurposing them as a rotating wall display the rest of the year gets more use out of a purchase that otherwise sits in storage for eleven months.
How to do it: Use small removable adhesive hooks so the arrangement can come down easily after the season, swapped for a different grouping or a plain wall until the next display.
Pro tip: Rotate in a couple of non-holiday capiz pieces — a small dish, a coaster, a loose ornament repurposed as a wall hang — so the display doesn’t read as leftover Christmas decor the other ten months of the year.
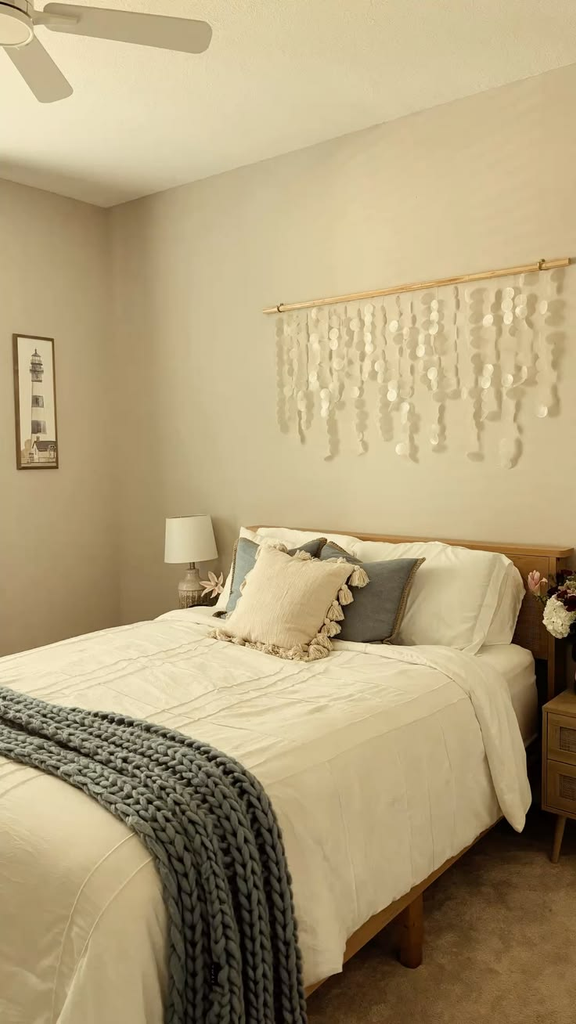
18. A Capiz Shell Headboard Wall Treatment
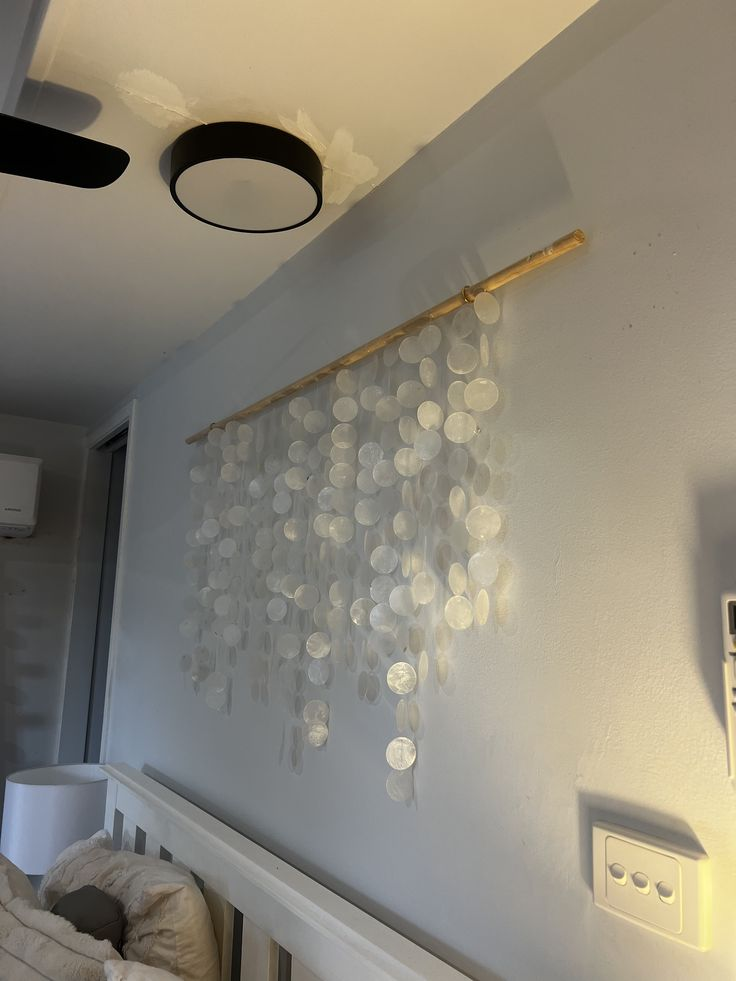
Why it matters: Instead of buying an actual headboard, mounting a wide capiz panel or a cluster of pieces directly on the wall behind a bed gives you the visual anchor of a headboard without the furniture footprint or cost.
How to do it: Size the piece or cluster to roughly the width of the mattress, centered, mounted at a height where the bottom edge sits just above the pillows.
Trade-off worth knowing: Capiz near a bed means it’s also near where you sleep, and depending on the exact piece, some strung varieties can shift slightly with airflow from a ceiling fan — worth testing before you’re fully committed to it as a permanent headboard.
19. A Capiz Shell Wall Clock
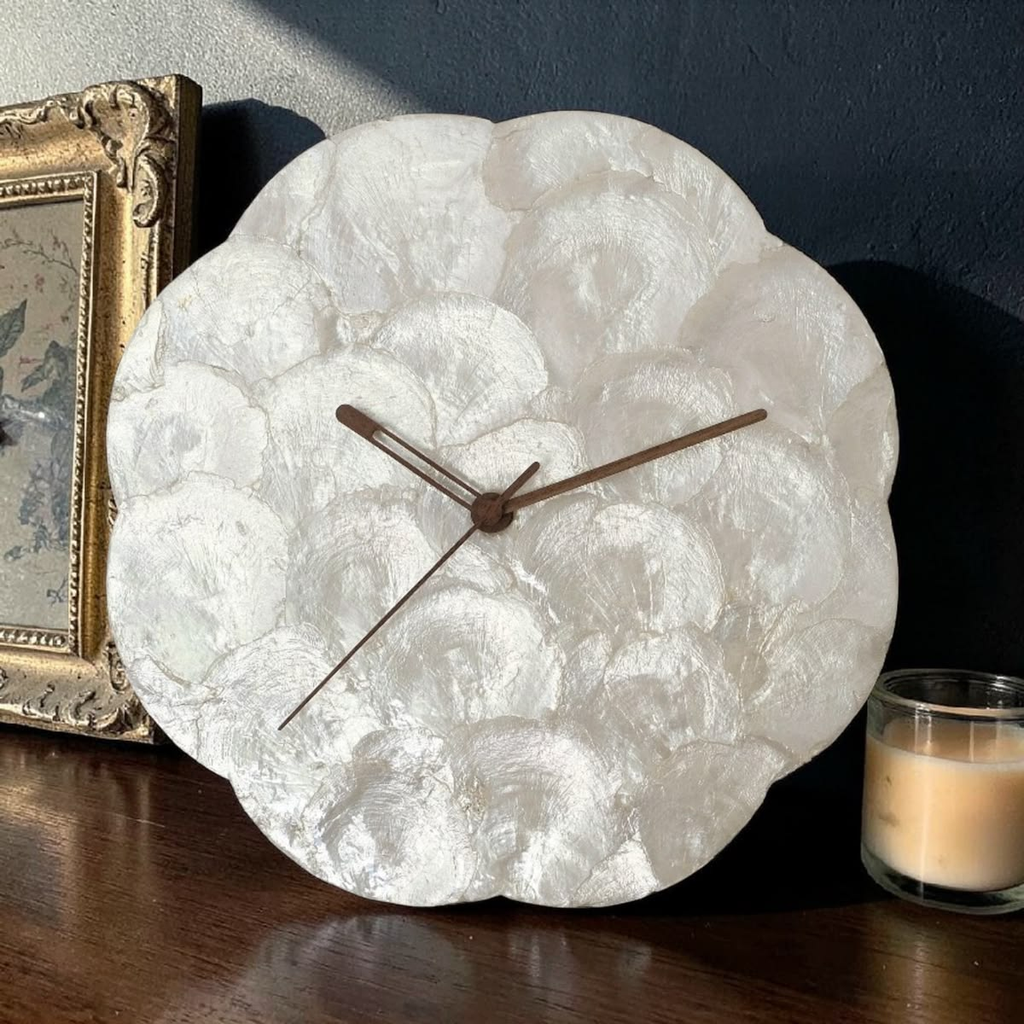
Why it matters: A functional piece that’s also decorative solves two problems at once — you get the shimmer effect and an actual clock, without dedicating a separate spot on the wall to each.
How to do it: Hang at eye level in a hallway or kitchen where checking the time is a genuine, regular need, not tucked into a decorative gallery wall where the clock face gets visually lost among photos.
Pro tip: Check the battery compartment access before mounting — some capiz clock designs make the back genuinely awkward to reach once hung, which is a small but real annoyance the first time the battery dies.
20. A Capiz Shell Mobile for a Nursery or Reading Nook
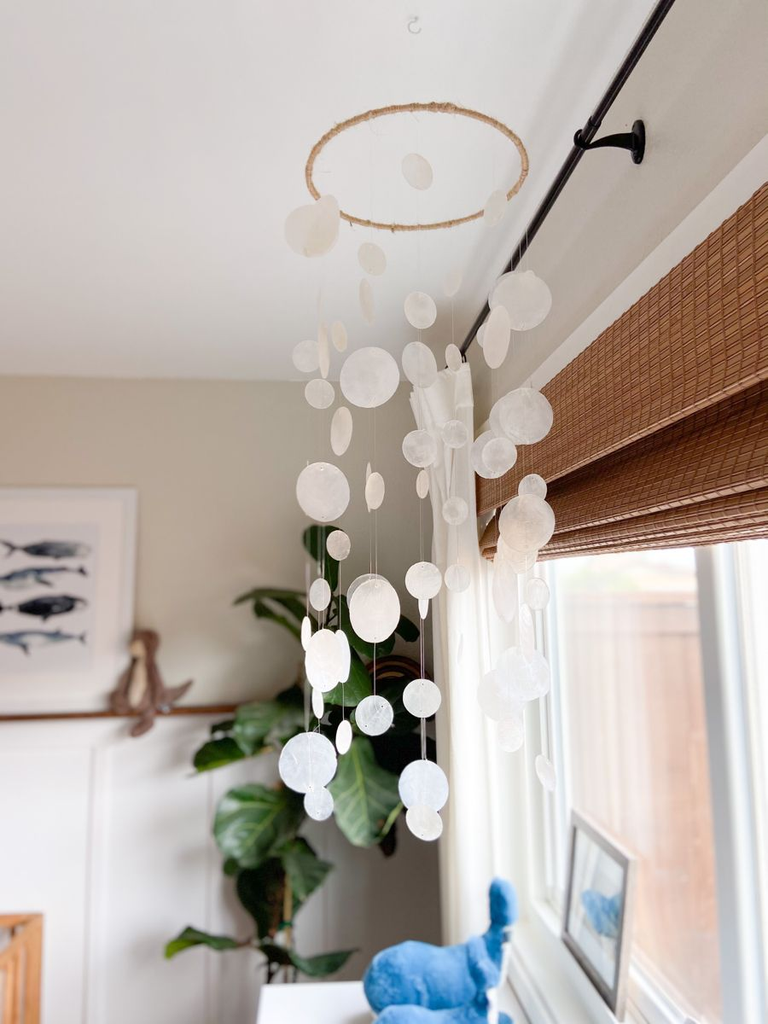
Why it matters: The soft clink and gentle shimmer of hanging capiz pieces makes a genuinely calming mobile for a nursery or a quiet reading corner, distinct from the louder, busier mobiles marketed for cribs.
How to do it: Hang from a ceiling hook rather than a wall mount, positioned where it catches airflow from a window or door but stays well clear of a crib rail if it’s going in a nursery.
Trade-off worth knowing: Double-check current nursery safety guidance on hanging items near a crib before placing anything overhead in that specific spot — this is one placement where I’d rather you look up current standards than take my word for it.
21. A Capiz Shell Wall Sconce
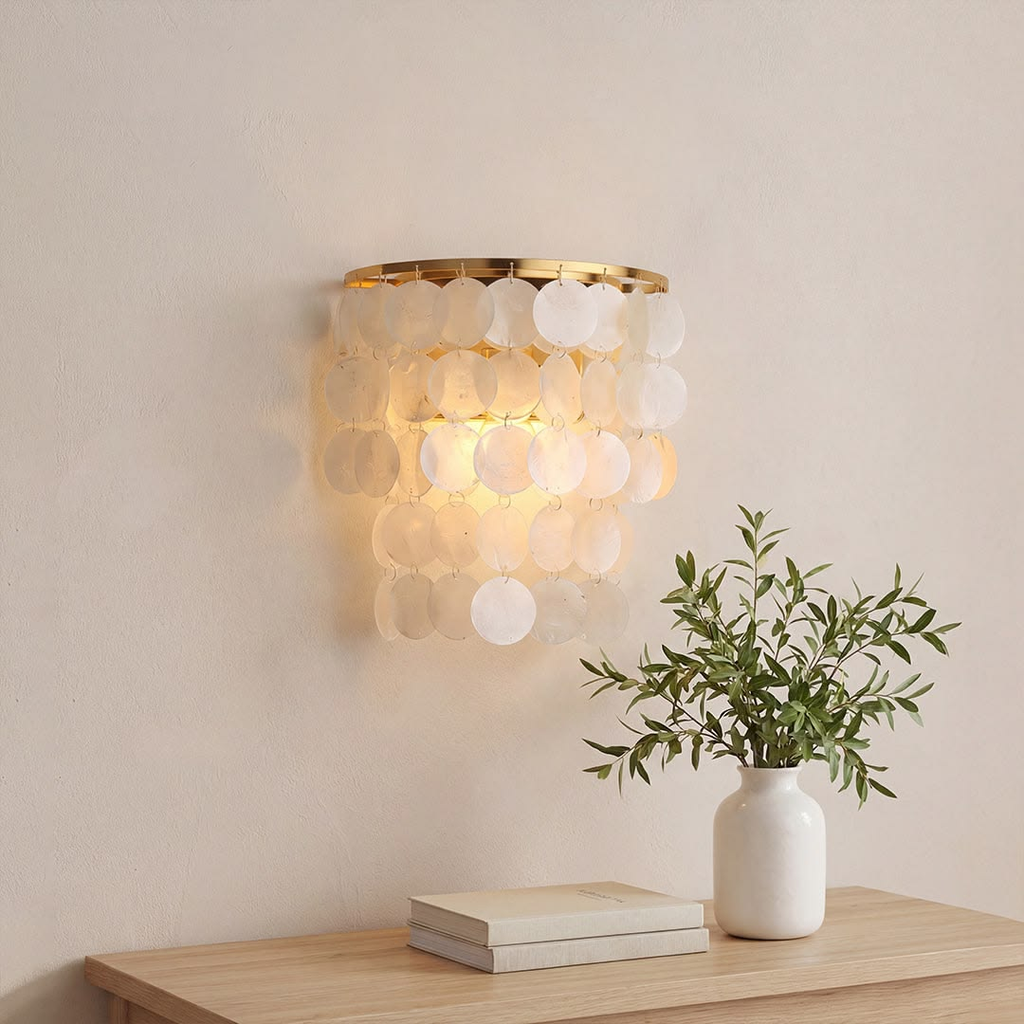
Why it matters: Wall-mounted sconces with capiz shades give you the light-diffusing benefit of capiz at a scale that works even in narrower hallways or smaller rooms where a full chandelier wouldn’t fit.
How to do it: Mount in pairs flanking a mirror, doorway, or piece of art for symmetry, at a height roughly eye level or slightly above.
Cost angle: A single capiz sconce typically runs $40-90, making a pair a noticeably smaller investment than a capiz chandelier while still bringing genuine functional lighting into the mix.
22. A Capiz Shell “Moon Phase” Wall Arrangement
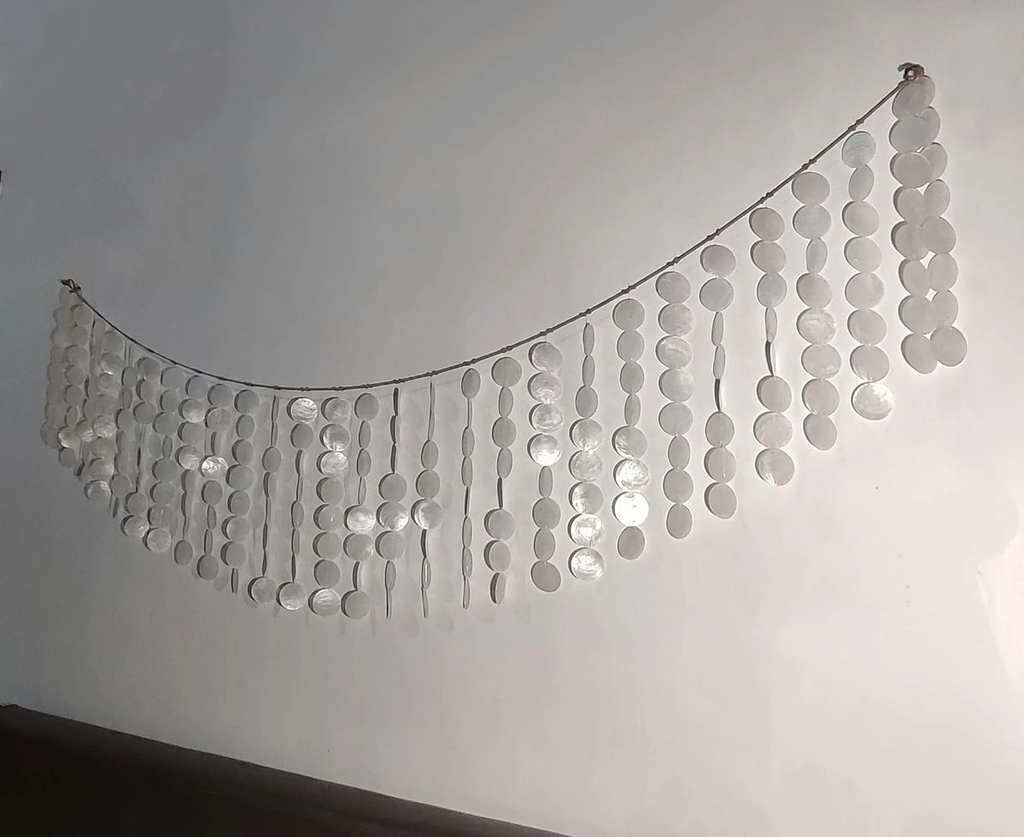
Why it matters: This is a specific styling trend I’ve watched grow steadily on my own Pinterest boards over the past year — arranging individual round capiz pieces in a graduated arc to mimic a moon phase diagram, rather than the standard scattered cluster.
How to do it: Use pieces of varying diameter, arranged in a slight arc from smallest to largest (or largest to smallest), spaced evenly along the curve rather than clustered.
Pro tip: This layout genuinely benefits from the kraft-paper-template approach I’d use for any gallery wall — plan the arc’s spacing on paper first, because eyeballing an evenly graduated curve directly on the wall is harder than it looks.
What I’d Actually Buy First
If I were starting a capiz collection from nothing, I wouldn’t lead with the chandelier or the full accent wall, even though those are the most photogenic.
I’d start with one genuinely well-placed piece — probably the sunburst mirror or a framed panel — somewhere it’ll actually catch real daylight, and live with it for a few weeks before buying anything else.
Capiz is one of those materials where more isn’t automatically better; a single piece in the right spot does more for a room than five pieces scattered somewhere the light never quite reaches.
That $12 flea market mirror is still hanging in my apartment, by the way. Just not in the spot I originally put it.





Leave a Reply