
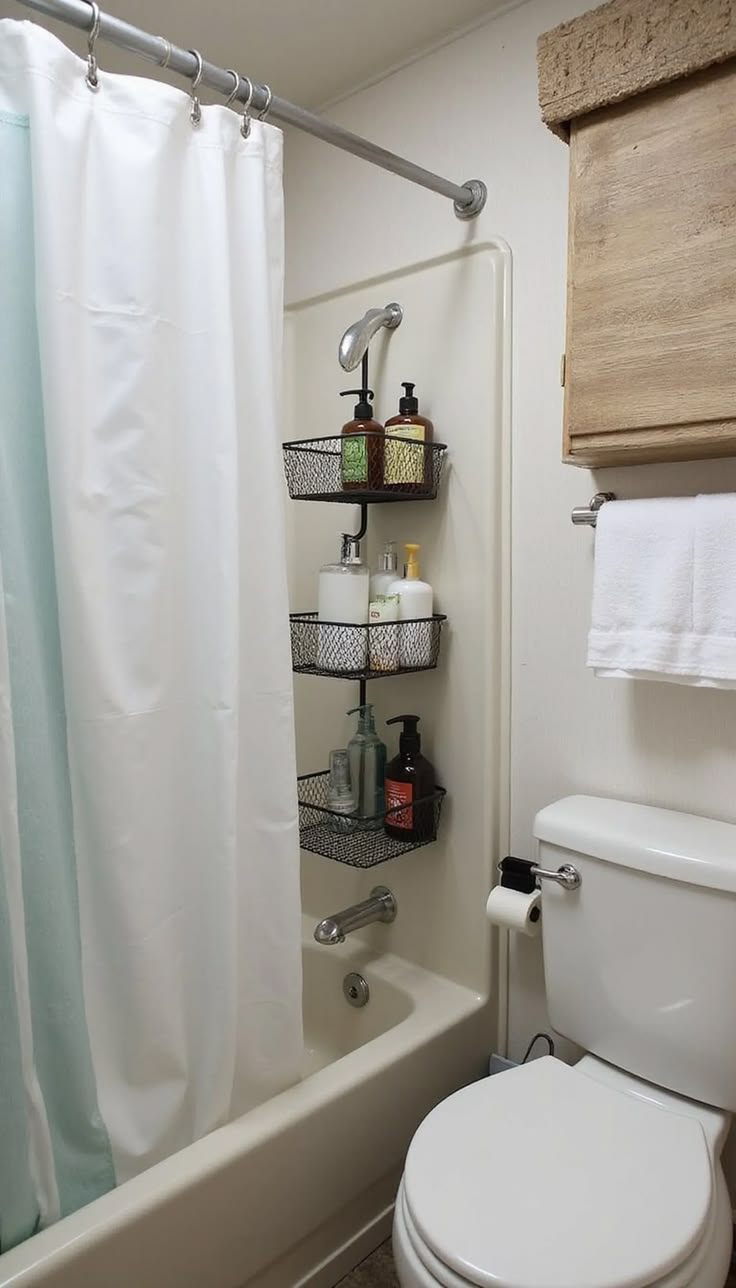
Our RV bathroom is 24 square feet, and the first time I tried to shower in it I knocked my shampoo bottle, my toothbrush, and a half-full box of tissues into the shower pan within about ten seconds of each other.
That’s the specific moment I realized RV bathroom storage isn’t a decorating problem — it’s a physics problem.
Everything you own has to survive a shower that also has a toilet three feet away, and it all has to stay put while you’re driving 60 mph down the interstate.
If you’ve got a wet bath — where the shower, sink, and toilet all share one small waterproof room with no separation — you already know the specific chaos I’m talking about.
Regular home bathroom storage ideas mostly don’t translate here, because a wicker basket or a wooden shelf turns into a mildew problem in a room that gets fully soaked every time someone showers.
What actually works is storage that’s either fully waterproof, mounted somewhere the spray doesn’t reach, or removable so you can dry it out between uses.
I’ve broken this down by where the storage actually goes — shower area, over/around the toilet, the sink and mirror zone, and a few things that solve the “where does this even go” category of RV bathroom problem.
A lot of these ideas came from other RVers on forums who’d already made the mistakes so I didn’t have to, and I’ll flag where credit’s due.
Shower Area Storage
1. Skip Wire Shower Caddies for a Suction-Cup or Adhesive-Mount Version
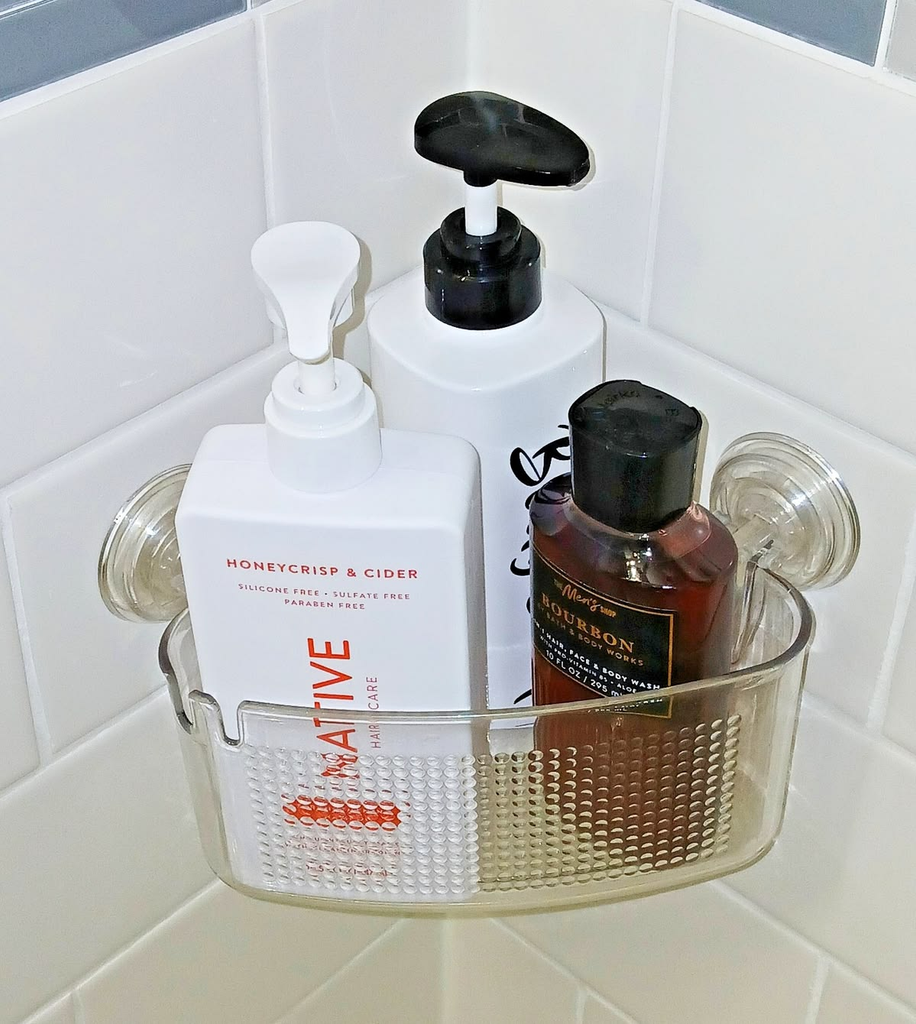
Hang-over-the-showerhead wire caddies work in a house shower with a fixed head, but most RV showers use a handheld sprayer on a hose, which means there’s often no fixed showerhead to hang anything from.
A strong suction-cup caddy or a 3M-style adhesive hook mounted directly to the fiberglass shower wall solves this, as long as you clean and dry the surface thoroughly before sticking anything — RV shower walls flex slightly more than a rigid tile wall, and adhesive that would hold fine in a house sometimes needs a stronger-rated version here.
Pro tip: Check the suction cup or adhesive rating specifically for the temperature your RV shower reaches, not just “waterproof.” A caddy rated for room-temp water can lose grip in hot shower steam that a house bathroom’s better ventilation would normally clear faster.
2. Use a Tension Rod Across the Shower for a Second Hanging Layer
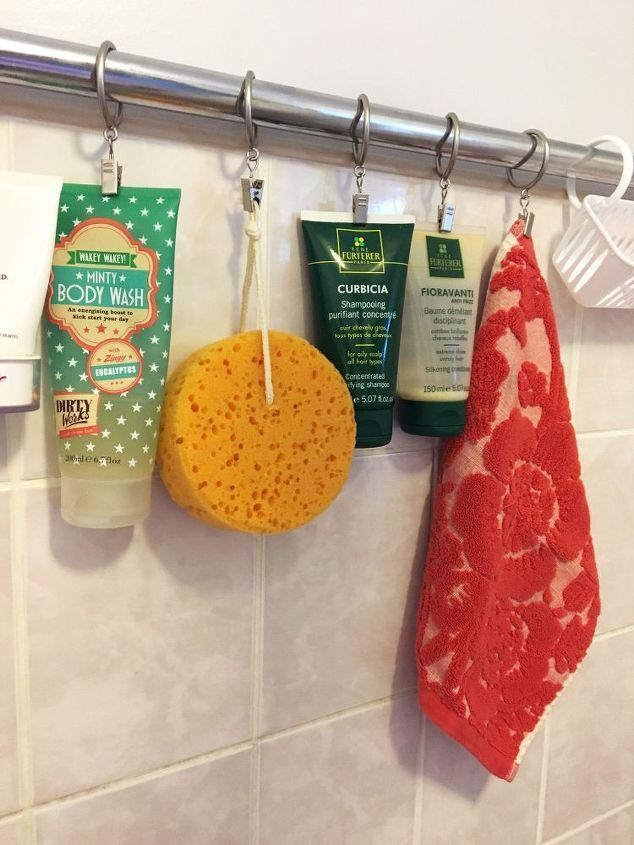
A short tension rod mounted corner-to-corner in the shower (above head height, out of the water stream) gives you a spot to hang a mesh bag with a loofah, razor, and shaving cream — things you want quick access to without adding another mounted fixture.
This is one of those ideas I saw in a reader comment on an earlier post and immediately stole, because it uses space that’s otherwise completely wasted.
3. Store Shower Products in a Single Hanging Mesh Bag Instead of Individual Bottles
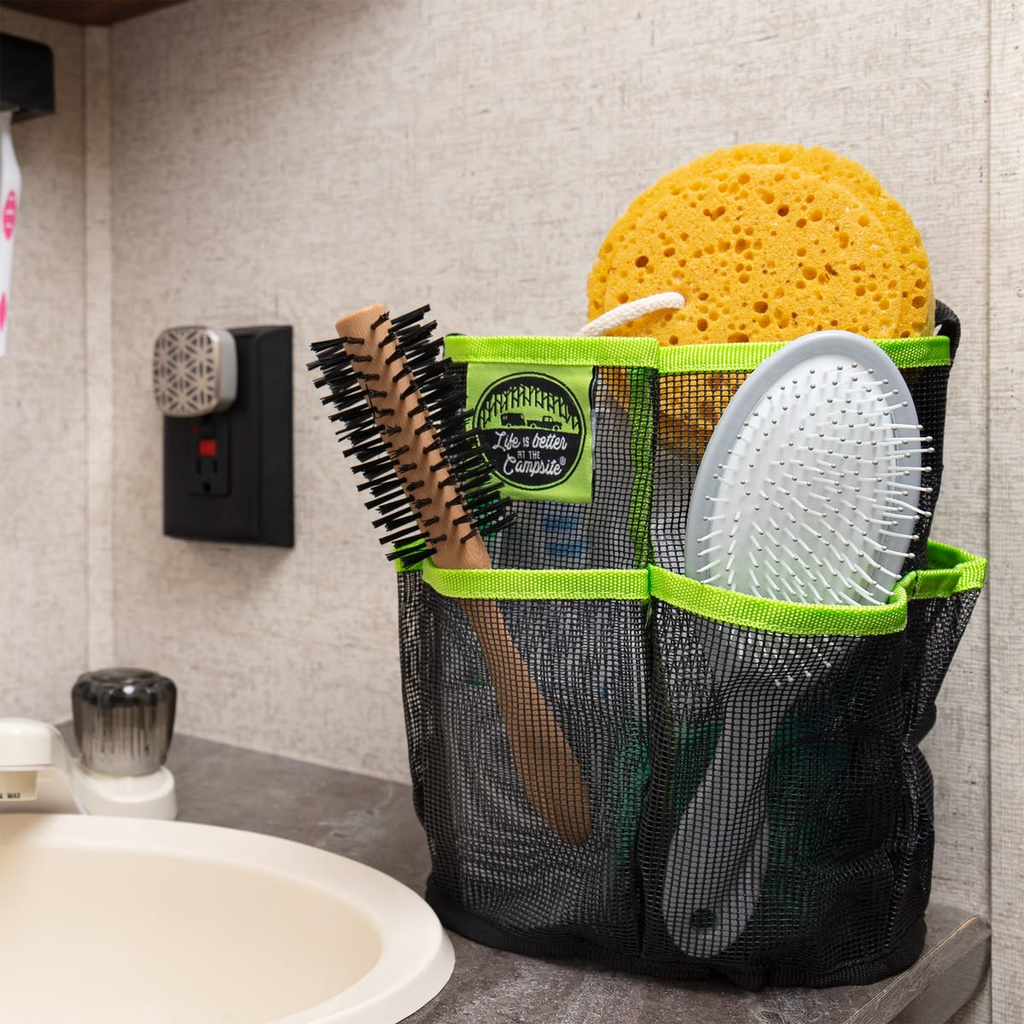
Fewer individual bottles means fewer things that can fall and roll around during transit. A single mesh bag or a shower caddy with dividers keeps shampoo, conditioner, and body wash together as one unit you can grab and set in the sink before driving, rather than chasing down three separate bottles that scattered during a turn.
4. Choose Pump-Top Bottles Over Squeeze Bottles
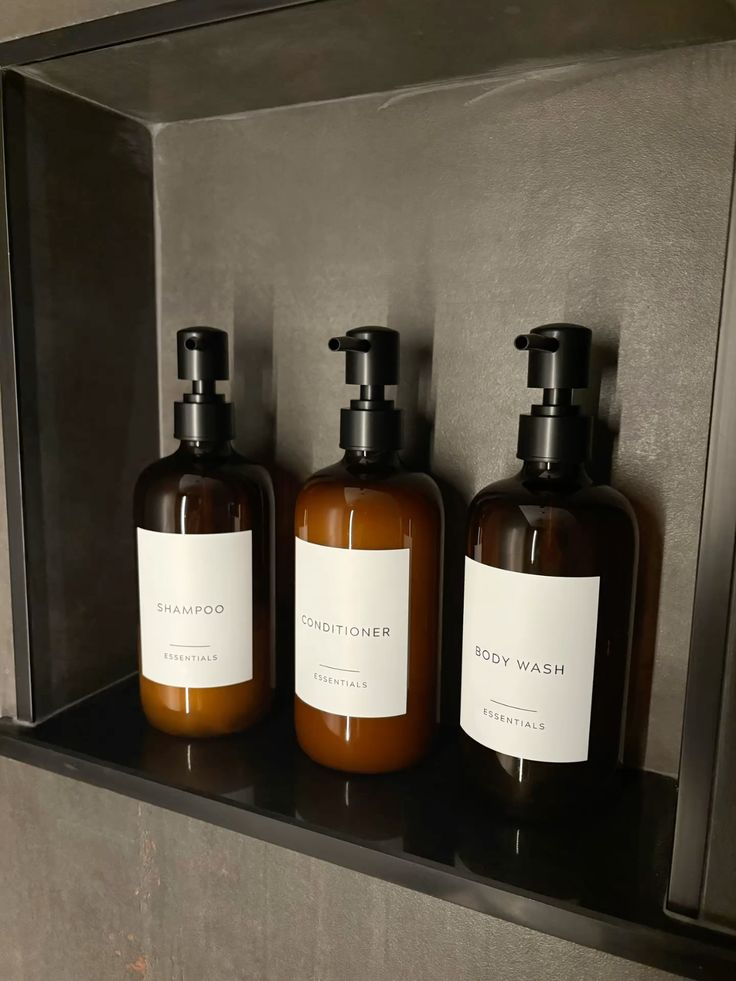
Squeeze bottles with flip caps pop open from vibration far more often than pump-top dispensers, and a full bottle of body wash emptying into your shower caddy on a bumpy road is a genuinely miserable cleanup.
Refillable pump bottles solve this and also let you buy shampoo and conditioner in bulk instead of the smaller, pricier bottles — which saves money over a season of full-time travel.
Toilet Area Storage
5. Use an Over-the-Toilet Shelf Rated for Low Clearance
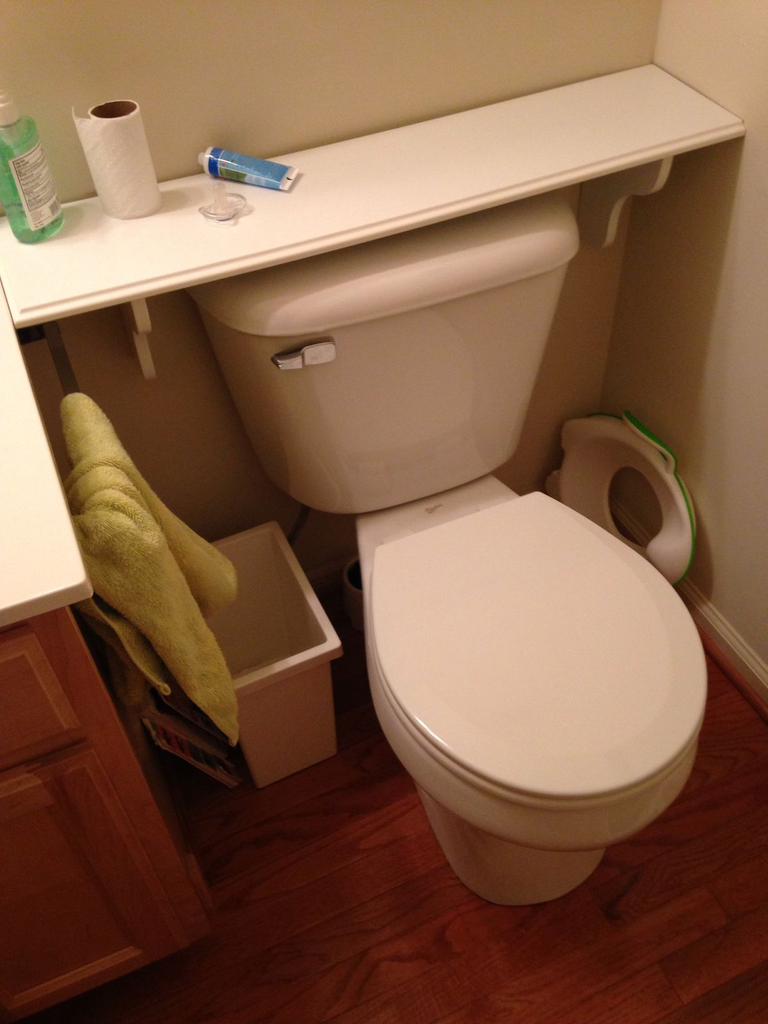
Standard over-the-toilet shelving units built for houses are usually too tall for RV bathroom ceiling height, especially in units with a roof vent or skylight directly above the toilet.
Measure your actual clearance before buying — a lot of RVers end up returning a shelf that looks fine in photos but doesn’t clear their ceiling by an inch or two.
6. Mount a Small Cabinet or Shelf Directly to the Wall Instead of Floor-Standing
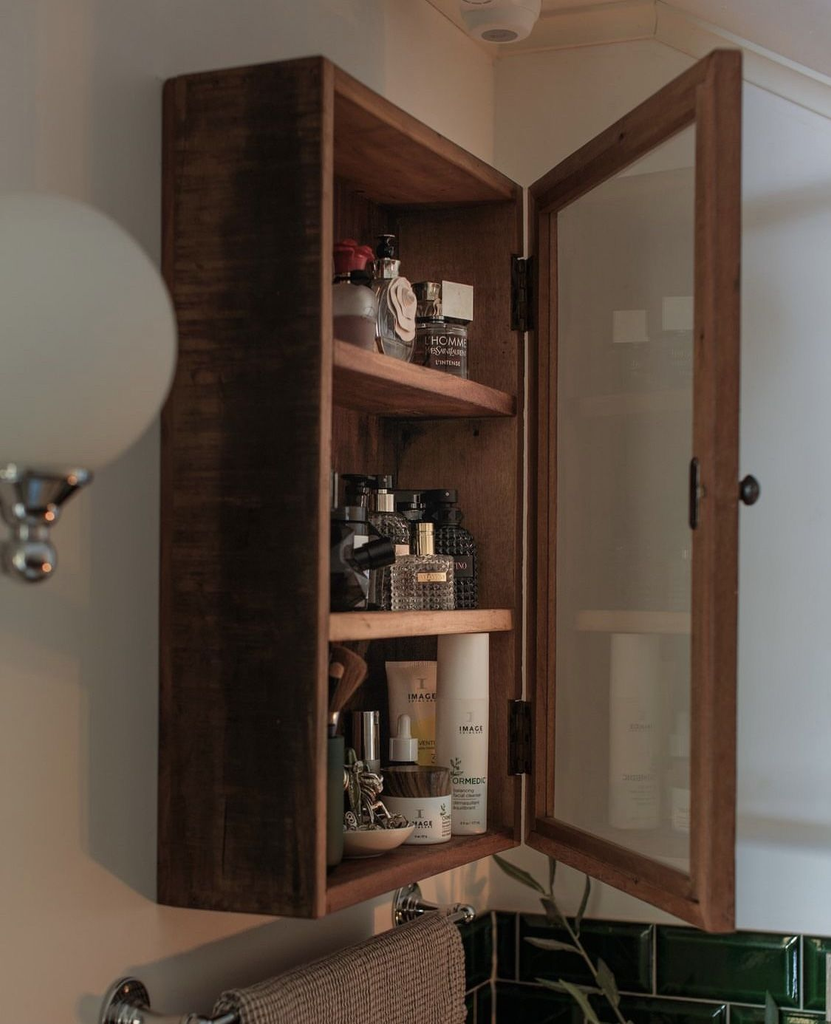
Floor-standing units shift on RV floors that aren’t perfectly level and take up floor space you need for actually standing in the bathroom.
A wall-mounted shelf, secured into a stud (use a stud finder made for thin RV paneling, since the cheap models sometimes give false readings on luan) holds steady and keeps the floor clear.
7. Store Extra Toilet Paper in a Waterproof Bin, Not the Original Cardboard Packaging
Cardboard wicks up moisture fast in a wet bath, even if the paper never gets directly splashed. A simple waterproof plastic bin with a lid, tucked under the sink or in a cabinet, keeps a full stock dry through months of regular showers.
8. Add a Magazine-Style Wall Pocket for Wipes and Small Items
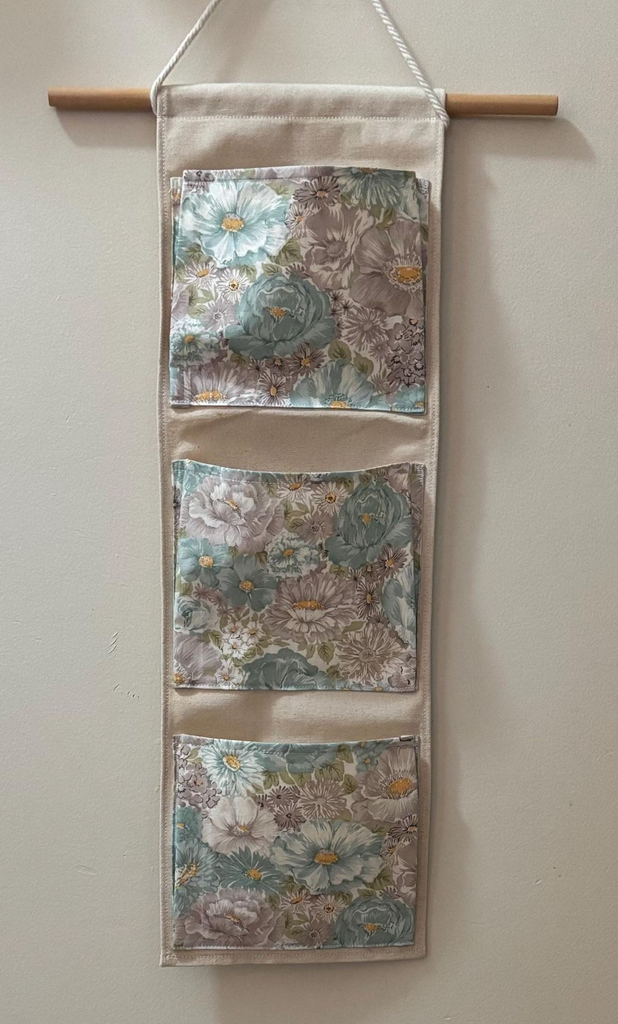
A slim fabric or vinyl wall pocket — the kind meant for magazines in a house bathroom — works well mounted beside the toilet for flushable wipes, a small air freshener, or a spare toilet paper roll, using vertical wall space that would otherwise sit empty.
Sink and Mirror Storage
9. Replace the Factory Medicine Cabinet Mirror With One That Has Real Storage
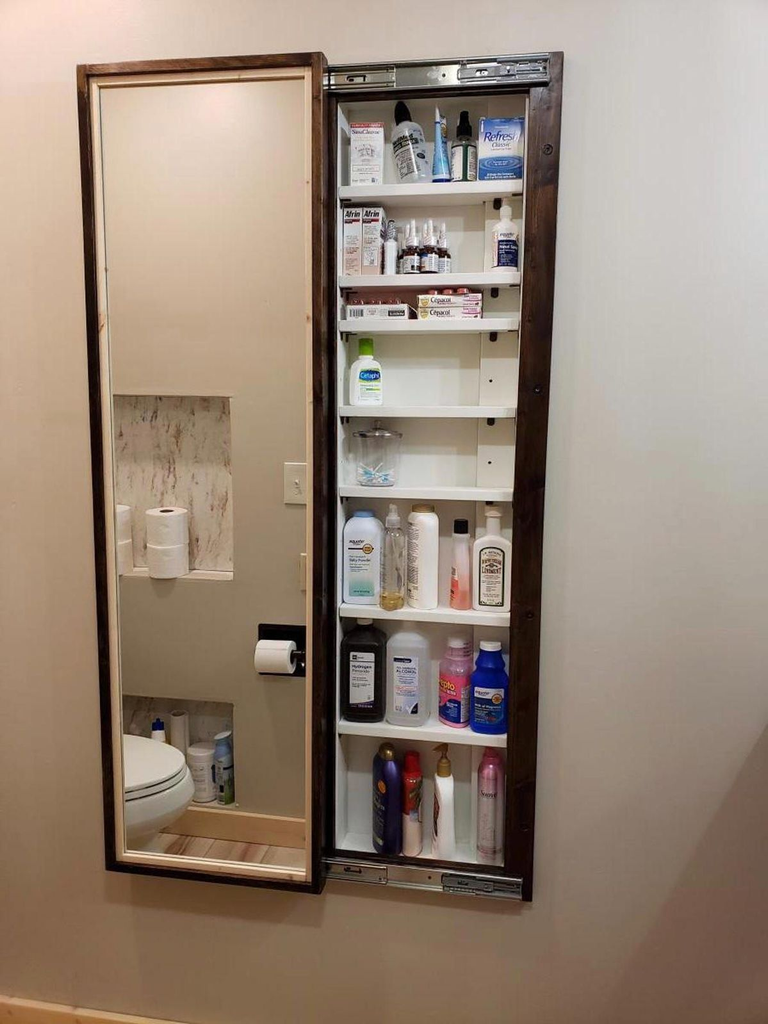
A lot of factory RV bathroom mirrors are just a flat mirror with zero storage behind them, which is a missed opportunity in a room this small.
Swapping it for a recessed or surface-mounted medicine cabinet with shelves adds meaningful storage without using any additional floor or counter space — just confirm the depth clears any plumbing or wiring behind the existing mirror before you cut into the wall.
10. Use a Small Suction or Adhesive Organizer on the Mirror Itself
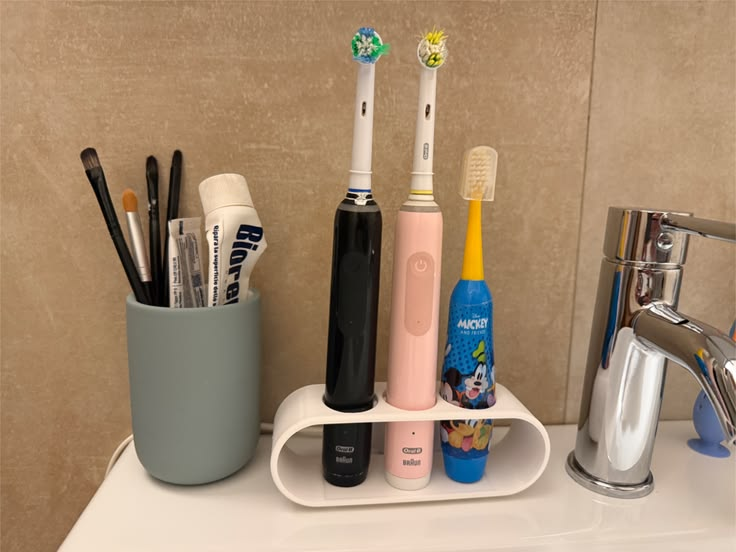
For toothbrushes and toothpaste specifically, a small suction-cup holder stuck directly to the mirror or the wall beside the sink keeps them off the counter entirely, which matters because RV bathroom counters are often barely big enough for a single hand towel, let alone a full toothbrush holder setup.
11. Install a Fold-Down or Slide-Out Shelf Beside the Sink
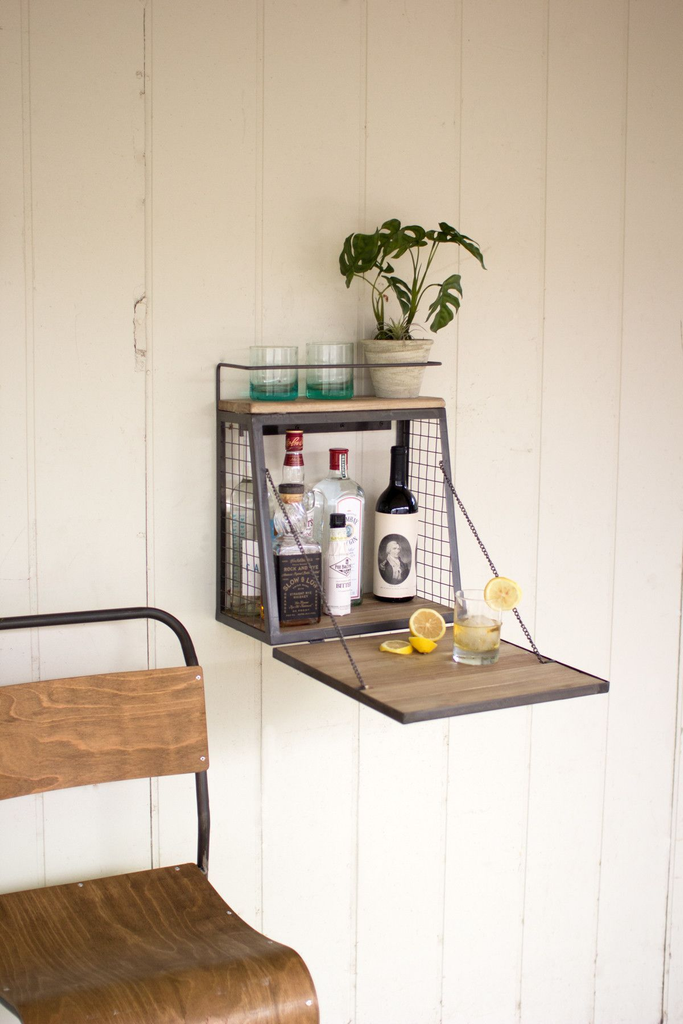
If your sink area has any dead space to the side, a small hinged fold-down shelf gives you a spot to set a phone, glasses, or jewelry while you wash up, and it folds flat against the wall when not in use so it doesn’t eat into the already-tight elbow room.
12. Store Daily-Use Toiletries in a Small Caddy You Move In and Out
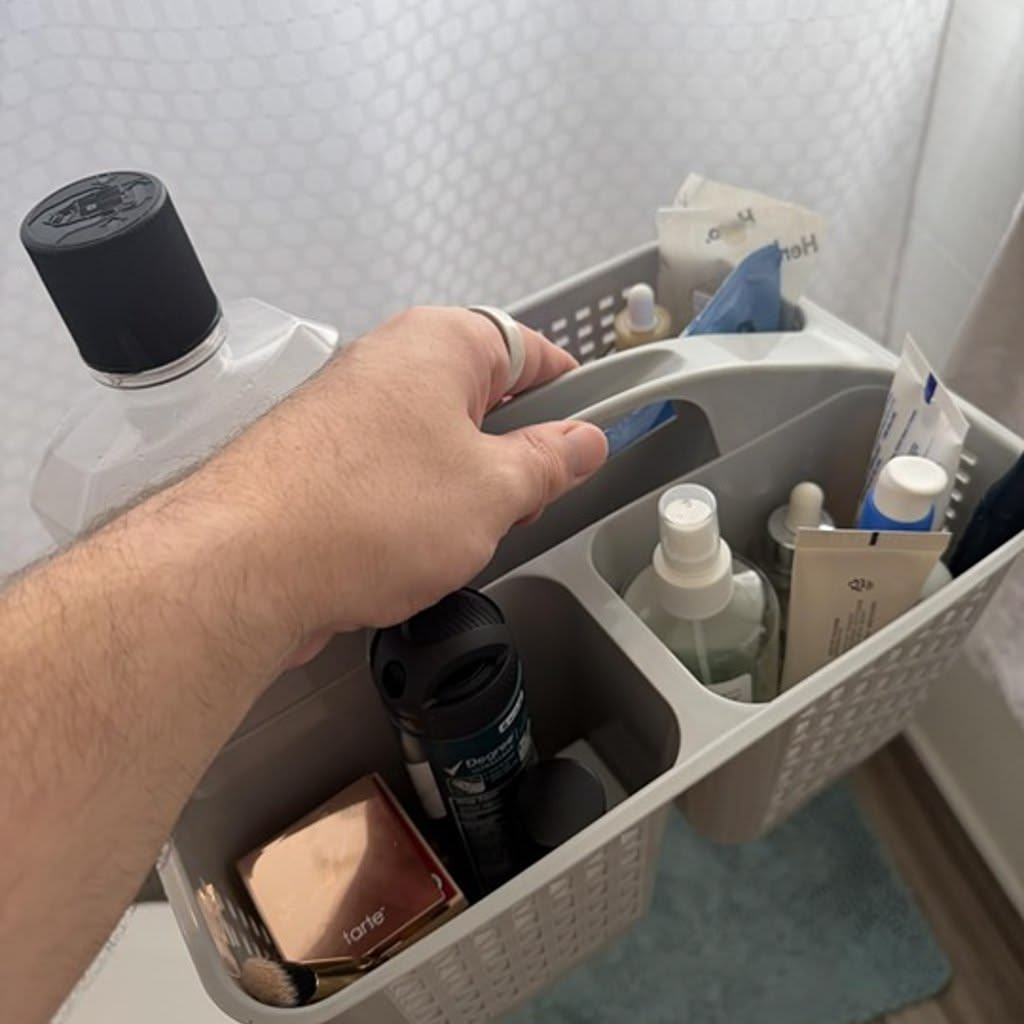
Rather than leaving toothbrushes and skincare products sitting out where they get wet from shower spray, a small plastic caddy that lives under the sink and comes out only when needed keeps everything dry and off the counter the rest of the time.
This is a small habit change more than a product, but it’s the single thing that cut down the most on mildew smell in our bathroom.
Under-Sink and Cabinet Storage
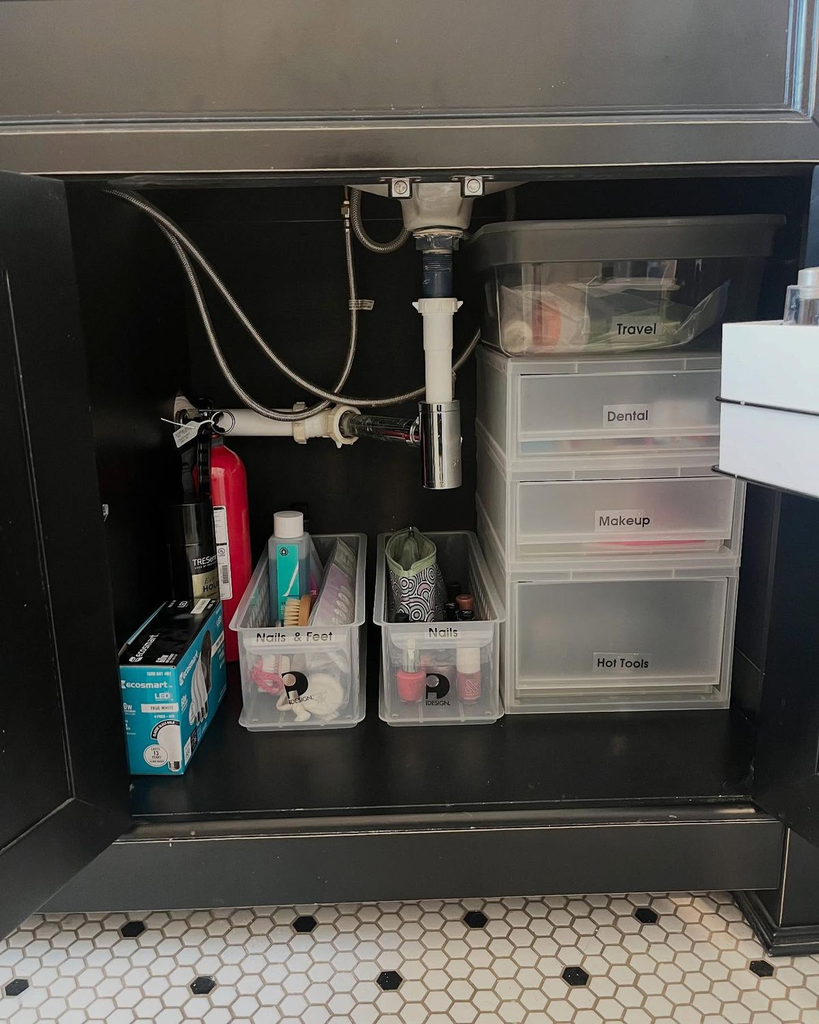
13. Add Stackable Bins Instead of Loose Storage Under the Sink
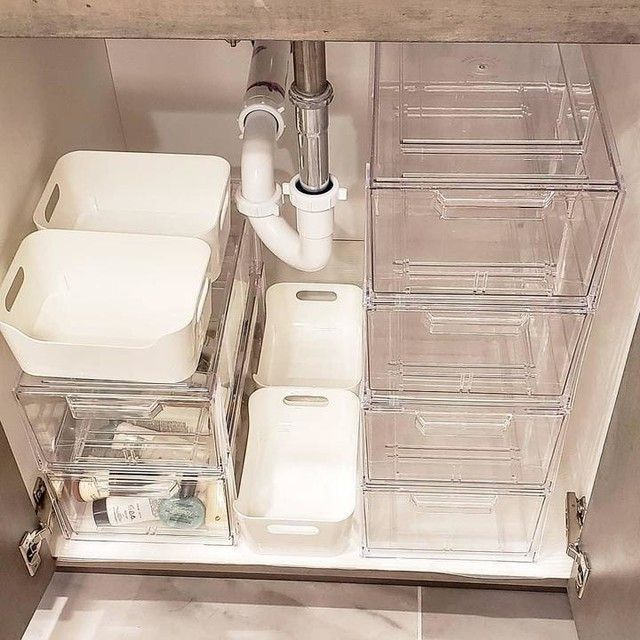
Under-sink cabinets in RVs are often oddly shaped around plumbing, which wastes a lot of usable space if you just toss things in loose.
Stackable, modular bins sized to fit around the pipes let you use vertical space you’d otherwise lose, and labeling each bin (short side, visible from the front) means you’re not pulling three bins out to find one thing.
14. Use Tension Rods or a Small Tray to Corral Cleaning Supplies Under the Sink
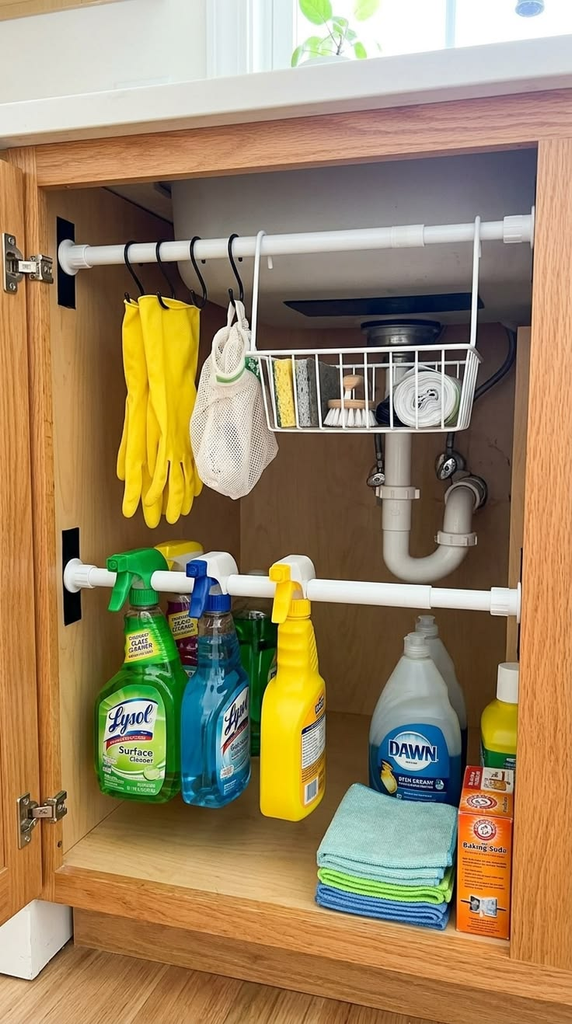
Bathroom cleaning spray bottles are a common culprit for the “everything fell over” problem under RV sinks, since they’re tall and top-heavy.
A small rimmed tray plus a short tension rod across the front of the shelf keeps them upright even on bumpy roads.
15. Add an Over-the-Cabinet-Door Organizer for Hair Tools
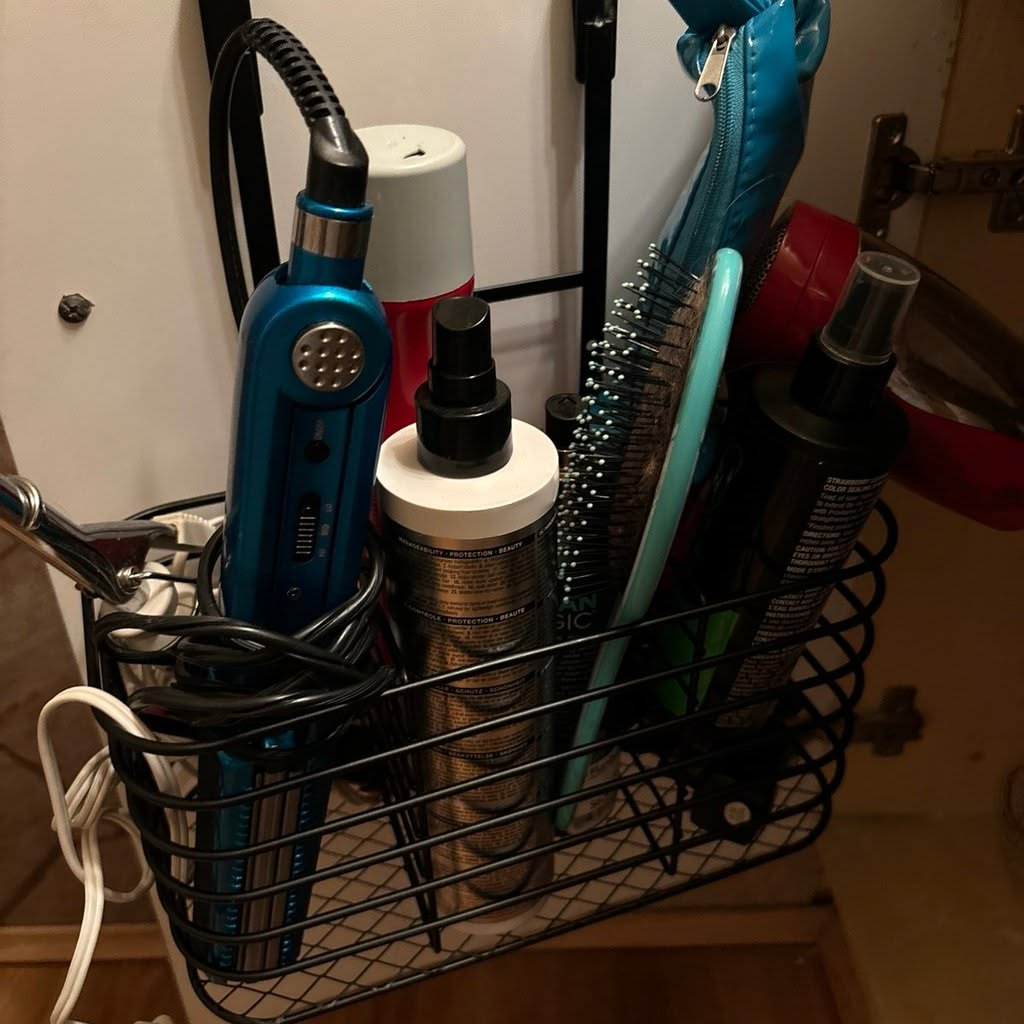
If you use a hair dryer, straightener, or curling iron, a heat-resistant over-the-door organizer designed specifically for hot tools (not a generic shoe organizer, which can melt or scorch) keeps cords contained and the tools off the counter.
This is one of those RV bathroom upgrades that doesn’t show up in most lists but genuinely matters if you do your hair on the road.
| Storage Type | Best For | Cost Range | Watch Out For |
|---|---|---|---|
| Suction/adhesive mount | Shower items, mirror organizers | $8-20 | Weak grip in steam or heat — check the rating |
| Wall-mounted shelf/cabinet | Toilet area, over-sink storage | $25-70 | Must hit a stud, not just paneling |
| Waterproof bins | Toilet paper, under-sink supplies | $10-25 | Get true waterproof, not just water-resistant |
| Fold-down/slide-out shelf | Sink area, tight counter space | $20-45 | Confirm swing clearance before installing |
| Tension rods | Shower, under-sink, open shelving | $6-15 | Rubberized ends only — smooth ends slip |
Solving the Awkward Spots
16. Use the Back of the Bathroom Door for a Slim Over-Door Organizer
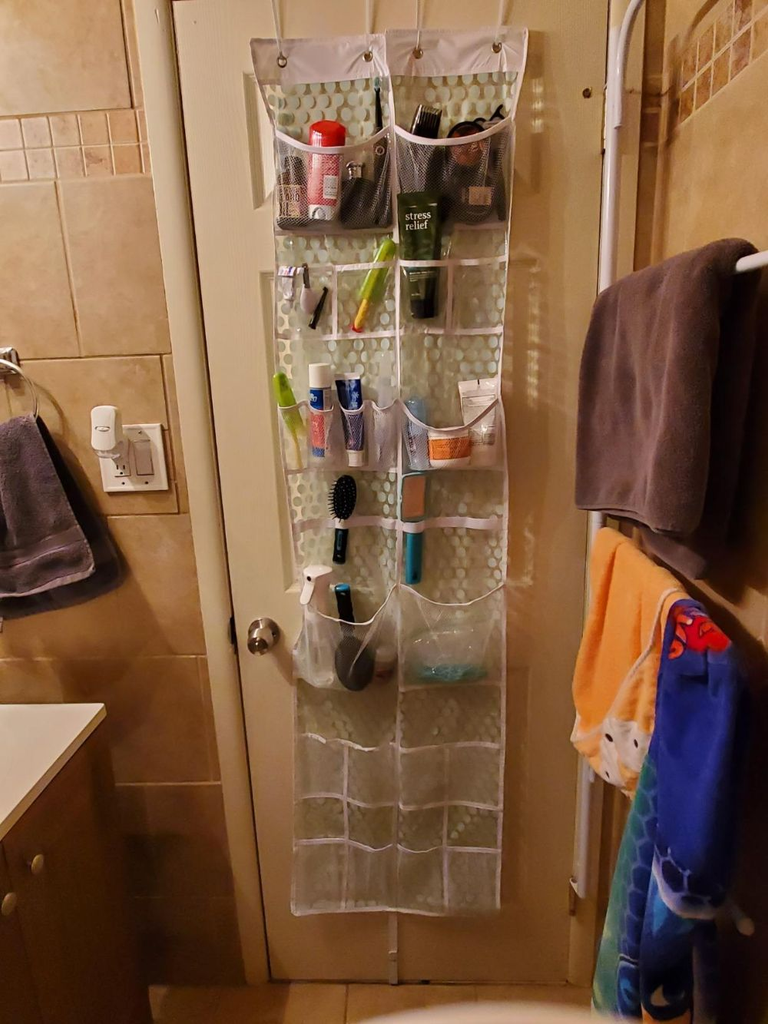
The back of most RV bathroom doors is completely wasted space. A slim over-the-door organizer, even just a couple of hooks or a shallow pocket organizer, holds robes, a hand towel, or a laundry bag without touching the counter or shower area at all.
17. Add a Tension Shower Curtain Rod as a Second Towel Bar
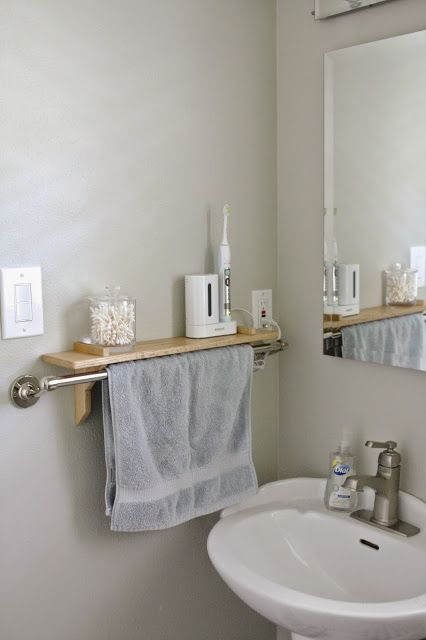
If your RV shower uses a curtain rather than a glass door, a second short tension rod mounted just outside the shower area doubles as a towel bar, which most RV bathrooms don’t have enough of to begin with.
18. Use Vacuum-Sealed Bags for Backup Toiletries You Don’t Need Daily
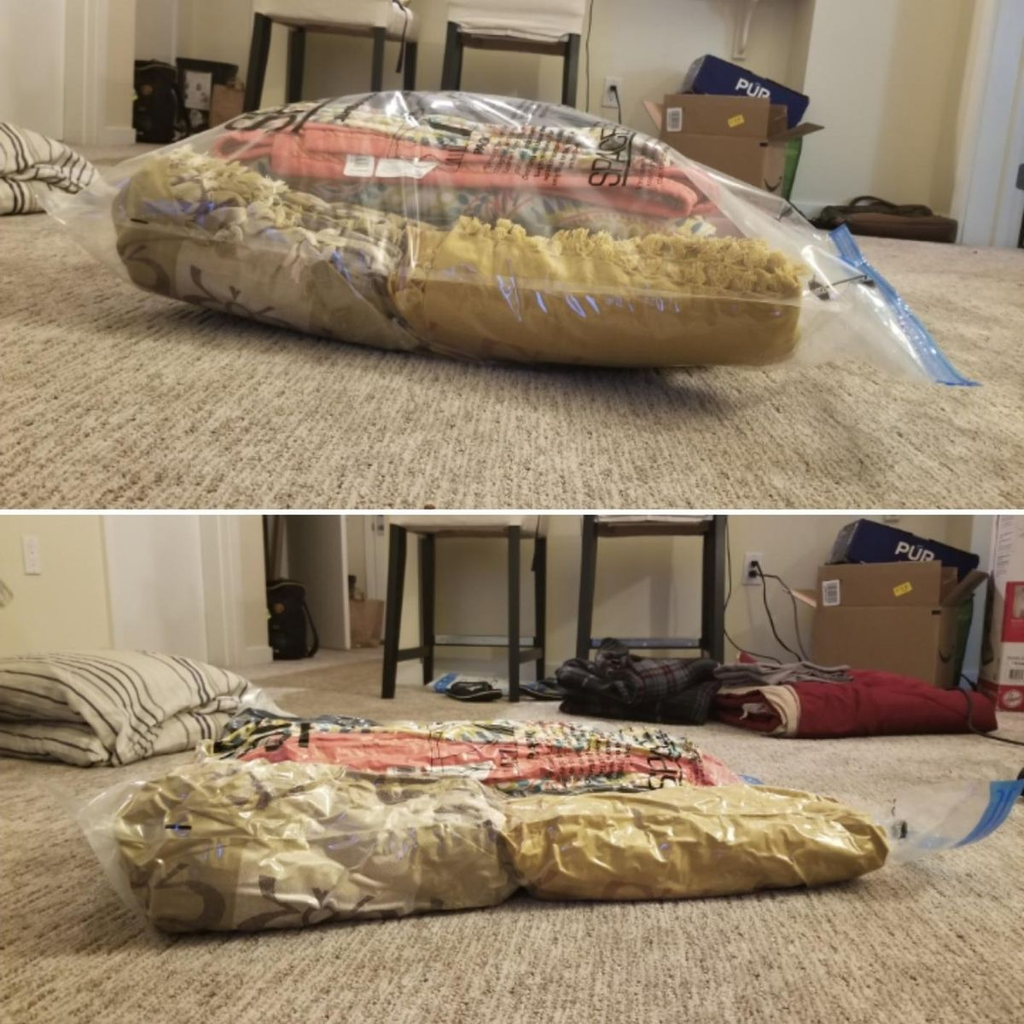
Backup shampoo, extra soap bars, or seasonal items (sunscreen in summer, for example) can live vacuum-sealed in a small under-bed or closet bin instead of taking up bathroom space year-round, and you just restock the bathroom caddy from that backup as things run low.
19. Mount a Small LED Light Strip Inside a Cabinet for Visibility
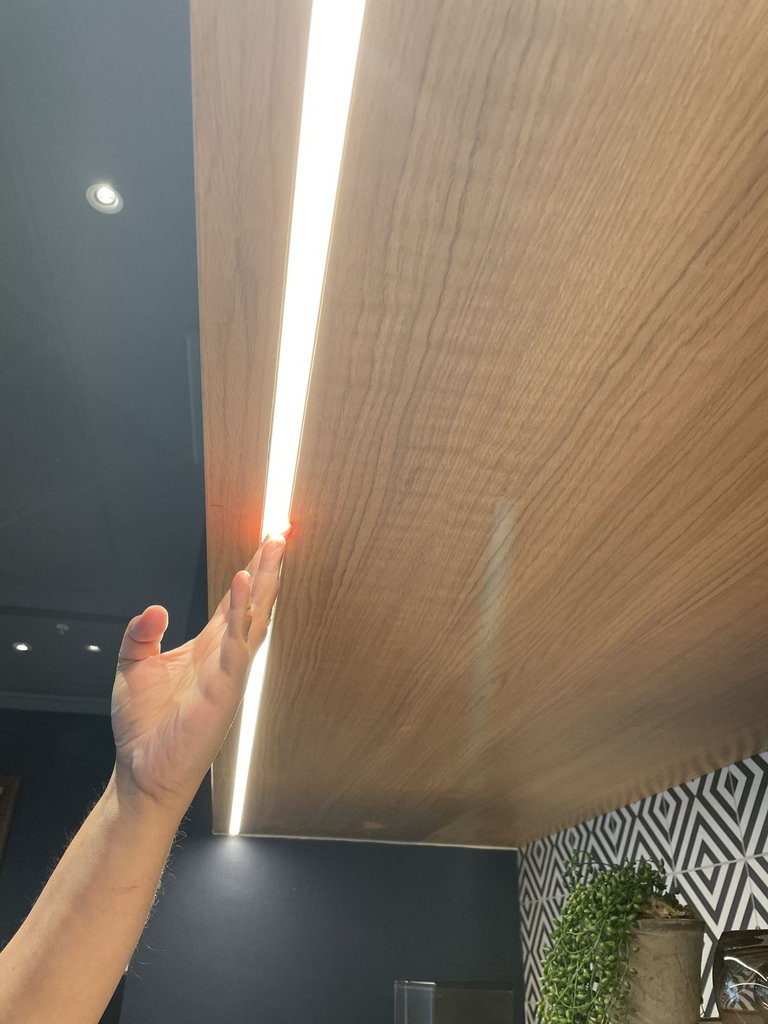
RV bathroom cabinets are often deep and poorly lit, especially the ones under the sink. A battery-powered stick-on LED strip inside the cabinet door means you’re not digging around blind for something at the back, which matters more than it sounds like in a bathroom with no window.
20. Use a Narrow Rolling Cart if You Have Even a Few Inches of Floor Clearance
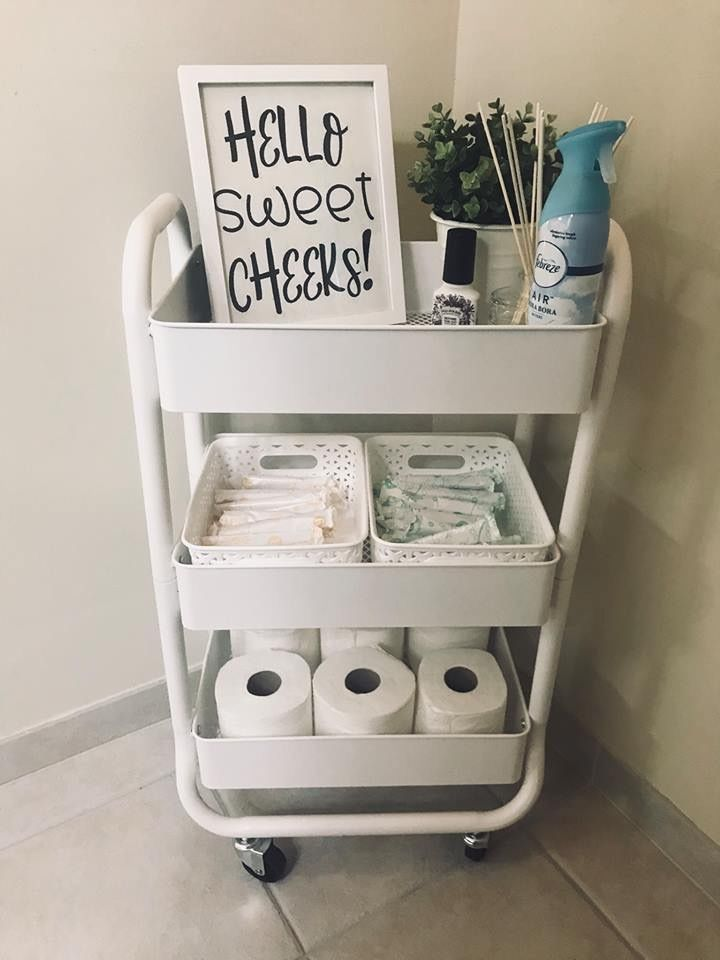
If your bathroom layout has a sliver of unused floor space — even 6-8 inches beside the toilet or sink — a narrow rolling utility cart (the kind sold for bathroom storage in tight apartments) can hold towels, extra paper products, or a hamper, and it rolls out of the way when you need the floor space for showering.
21. Do a Full Toiletry Audit Before You Add Any New Storage
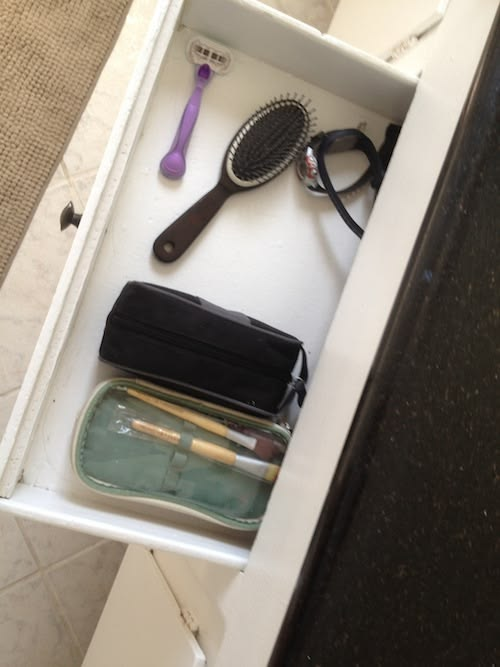
This isn’t a product, but it’s the idea that actually made the biggest difference for us: before buying a single organizer, take everything out of the bathroom and get honest about what you actually use daily versus what’s just along for the ride.
We cut our bathroom inventory by close to half doing this, and every storage idea on this list works better with less stuff crammed into it to begin with.
Where I’d Actually Start
If I were setting up RV bathroom storage from zero, I’d start with the audit (#21) before buying anything, because it changes how much storage you actually need.
After that, the suction-cup shower caddy (#1) and the waterproof under-sink bins (#13) solved the two biggest daily headaches for us — stuff falling in the shower and stuff getting soggy under the sink — for less than $40 combined.
RV bathroom storage really comes down to accepting that this room gets wet on a schedule, in a way a house bathroom mostly doesn’t, and building around that instead of fighting it.
Once you stop trying to use house bathroom solutions in a wet bath, the actual fixes are pretty simple.


Leave a Reply