
My first clay figure was supposed to be a cat. It came out of the kiln looking like a slightly alarmed loaf of bread with ears, and I genuinely considered giving up on the whole hobby right there in my kitchen.
What actually got me hooked again wasn’t a tutorial — it was realizing that almost every “cute clay figure” post online was teaching the same rounded, wide-eyed blob style, and none of them explained why my pieces kept cracking or why my paint kept flaking off two weeks later.
That’s really the gap with clay figures as a hobby: there’s no shortage of “look how adorable” inspiration, but almost nothing that tells you which ideas are actually beginner-forgiving versus which ones will crack in the kiln or collapse under their own weight before they even dry.
I’ve been making these on and off for about three years now, split between polymer clay (the stuff you bake in a home oven, no kiln required) and air-dry clay for anyone who doesn’t want to commit to equipment, and I’ve broken enough pieces to know exactly where the real trade-offs are.
This list runs through 22 clay figure ideas, grouped by skill level and by clay type, because “polymer clay figure ideas” and “air-dry clay figure ideas” honestly need different advice — the materials behave nothing alike.
I’ll tell you which ones are genuinely doable your first weekend, which ones need armature wire so they don’t collapse, and where a $4 tool actually changes your results more than practice does.
What You’re Working With Before You Start
Polymer clay (Sculpey, Fimo, and similar brands) stays soft until you bake it in a regular home oven, which means you can walk away for a week mid-project and pick it back up — it won’t dry out on you.
Air-dry clay is cheaper and needs no oven at all, but it starts setting the moment it’s out of the bag, so you’re working against a clock, and it’s genuinely more prone to cracking as it dries, especially on anything with thin extended parts like arms or ears.
Pro tip: If you’re making anything taller than about 3 inches or with limbs that stick out from the body, use armature wire (floral wire works fine and costs about $3 for a roll) as an internal skeleton before you add clay. I skipped this on an early standing figure because it felt like an unnecessary extra step, and the legs slowly bowed outward under the figure’s own weight while it was still curing — it never fully straightened out.
Beginner-Friendly Figures (Your First Few Attempts)
1. Simple rounded animal with no separate limbs
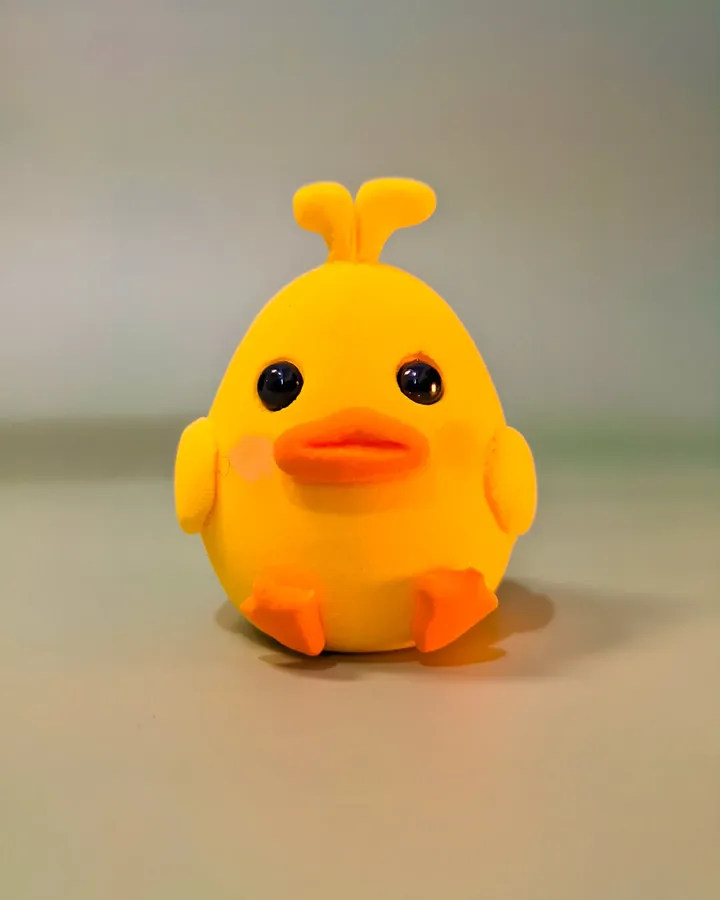
Think a seated cat, owl, or bear where the whole body is one smooth, egg-like shape with features added on top rather than limbs built out separately. This is the actual best starting point, not because it’s boring, but because there’s nothing sticking out to crack or fall off while you’re learning to handle the clay at all.
2. Mushroom or toadstool figures

These are having a real moment right now — I’ve got a small cluster of cottagecore-style mushroom figures on my windowsill that consistently gets asked about by anyone who visits, and they’re genuinely one of the easiest shapes to sculpt well because a mushroom cap is just a dome, and the stem is just a cylinder. No anatomy to get wrong.
3. Face-only planter figures (“head planters”)
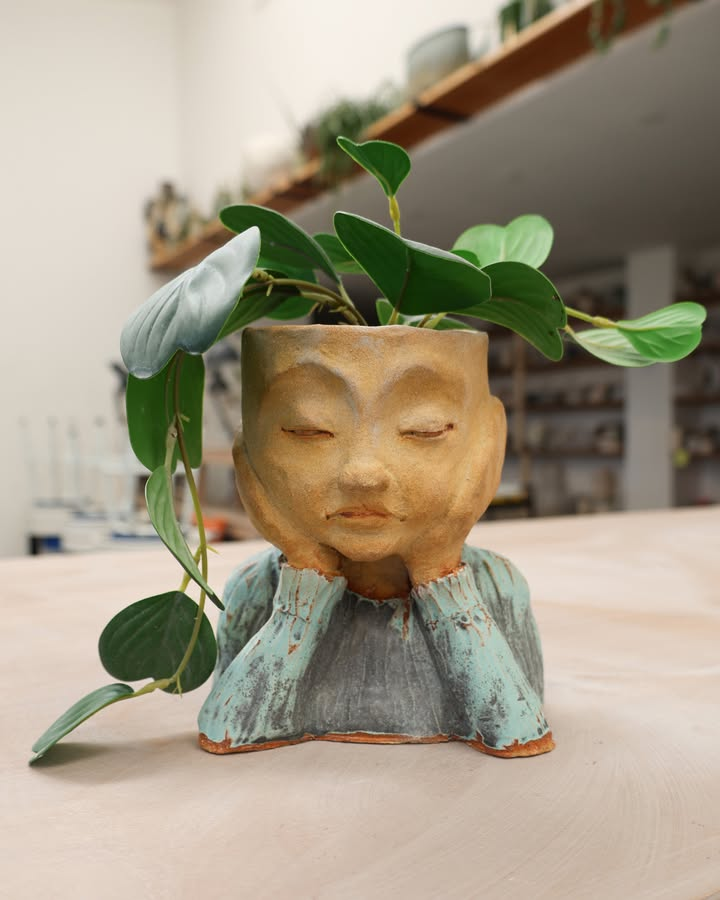
A small sculpted face or animal head with a hollow or indented top where you tuck a tiny succulent or air plant. My coworker Marisol made a set of these as a gift for her plant-obsessed sister, and the trick she figured out after her first one collapsed inward was to build the hollow around a small plastic cup as a mold rather than trying to hand-hollow it, which is nearly impossible to do evenly as a beginner.
4. Simple fruit or vegetable figures with faces

A smiling strawberry, a little avocado, a tomato with a face — round base shapes with painted-on expressions. These are forgiving in the same way the rounded animals are, and they’re a genuinely good project to do with a kid if you’re making this a family activity rather than a solo hobby project.
5. Flat pressed clay charms with a 3D figure on top

Roll a flat base disc, then build a small raised figure (a moon, a cat silhouette, an initial) on top of it before baking or drying. It teaches layering and adhesion between clay pieces without the structural risk of a fully freestanding figure.
Intermediate Projects (Once You’ve Got a Few Basics Down)
6. Standing figures with separate arms and legs

This is where armature wire actually becomes necessary, not optional. Building a figure with distinct limbs attached at the shoulder and hip joints is the real jump in difficulty from the beginner shapes, because you’re now managing multiple pieces of clay that need to bond seamlessly at the seams or the cracks show up exactly where you’d expect — at every joint.
Pro tip: Score the clay (scratch small crosshatch lines) at every seam before pressing two pieces together, then smooth over the seam with a little liquid clay (called “clay softener” for polymer clay) or a wet fingertip for air-dry. Skipping this step is the number one reason beginner figures split apart at the arms after baking.
7. Miniature furniture-scale figures for dollhouses
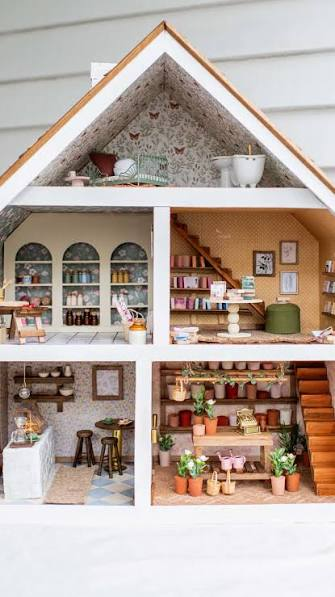
Tiny chairs, teapots, or a bookshelf built at 1:12 scale. The challenge here isn’t the sculpting itself — it’s proportion and precision at a small size, which is a different skill than sculpting a larger, more forgiving figure. I found this genuinely harder than a full-size figure the first time I tried it, mostly because my fingers are not built for millimeter-level precision.
8. Nesting figure sets (a parent and baby version of the same animal)
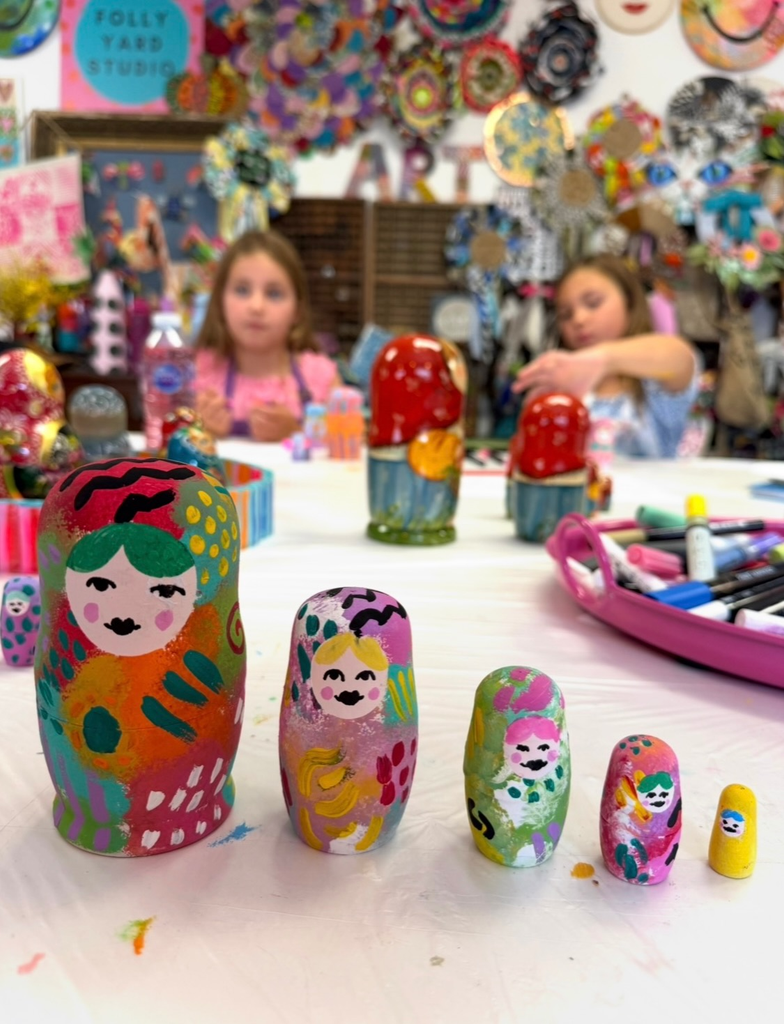
Same design, two sizes, meant to be displayed together. It’s a good intermediate exercise because you’re forced to actually think about proportional scaling rather than just eyeballing a single figure, and the finished pair reads as much more intentional and gift-worthy than either piece alone.
9. Textured “knit sweater” style figures
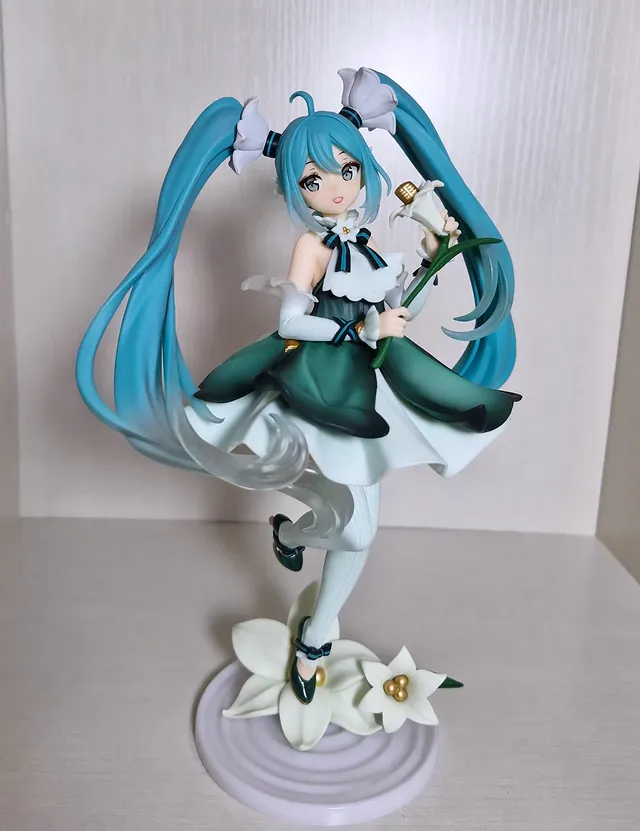
A figure — usually an animal — with clothing or texture that mimics a chunky knit pattern, using a small clay tool or even a toothpick to press in repeating lines. This has been genuinely popular in the polymer clay corner of Pinterest for a while now specifically because the texture hides minor sculpting imperfections underneath it, which honestly makes it more beginner-friendly than it looks.
10. Figures with painted watercolor-style shading

Instead of flat single-color paint, blend two or three acrylic colors wet-on-wet directly on the dried or baked figure for a soft, gradient look. This is where your paint quality starts mattering — a cheap craft paint set will muddy instead of blend, so this is one of the few places I’d actually spend a little more.
Advanced Sculpts (Don’t Start Here)
11. Realistic miniature portrait busts

Sculpting an actual likeness — a pet, a person, even a simplified caricature bust — is a genuinely advanced skill that takes real practice with proportion and facial anatomy. I wouldn’t recommend attempting this as your first gift-worthy piece; the difference between a recognizable likeness and an uncanny one is small and takes a lot of failed attempts to learn to see.
12. Articulated figures with movable joints

Figures built with small ball joints (often using tiny beads or specialty joint hardware) so the limbs can actually move and pose. This requires planning the internal structure before you ever touch the clay, and it’s a completely different design process than sculpting a fixed pose — you’re essentially building a tiny armature skeleton first and sculpting around it second.
13. Multi-piece diorama scenes

A small scene with a figure plus a built environment — a fox at the base of a tree, a figure sitting on a tiny bench — where everything has to be baked or dried at compatible stages and then assembled without disturbing earlier pieces. The sequencing here trips people up more than the sculpting does; you have to plan backward from the finished scene.
14. Fine-detail botanical figures (tiny flowers, leaves, vines)
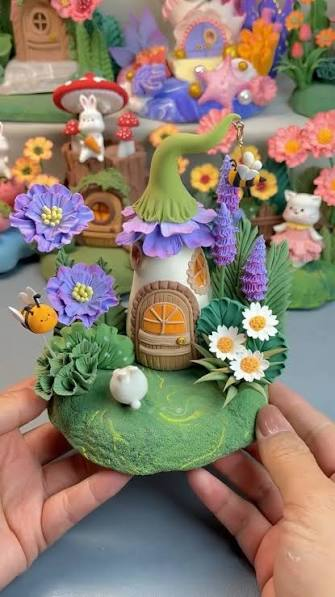
Building convincing small-scale botanicals with visible vein detail and natural-looking curl takes a specific tool (a clay veining tool, usually under $5) and a lot of patience, since each individual petal or leaf has to be shaped and attached separately. It’s slow work, but a well-done botanical piece is the kind of thing people assume you bought rather than made.
Themed & Occasion-Based Figures
15. Zodiac sign figures

A small figure or symbol representing each zodiac sign, either as a standalone character or worked into an animal shape tied to the sign. These make good gifts because they’re personal without requiring you to guess at someone’s taste the way a generic figure does — you already know their sign.
16. Wedding cake topper figures
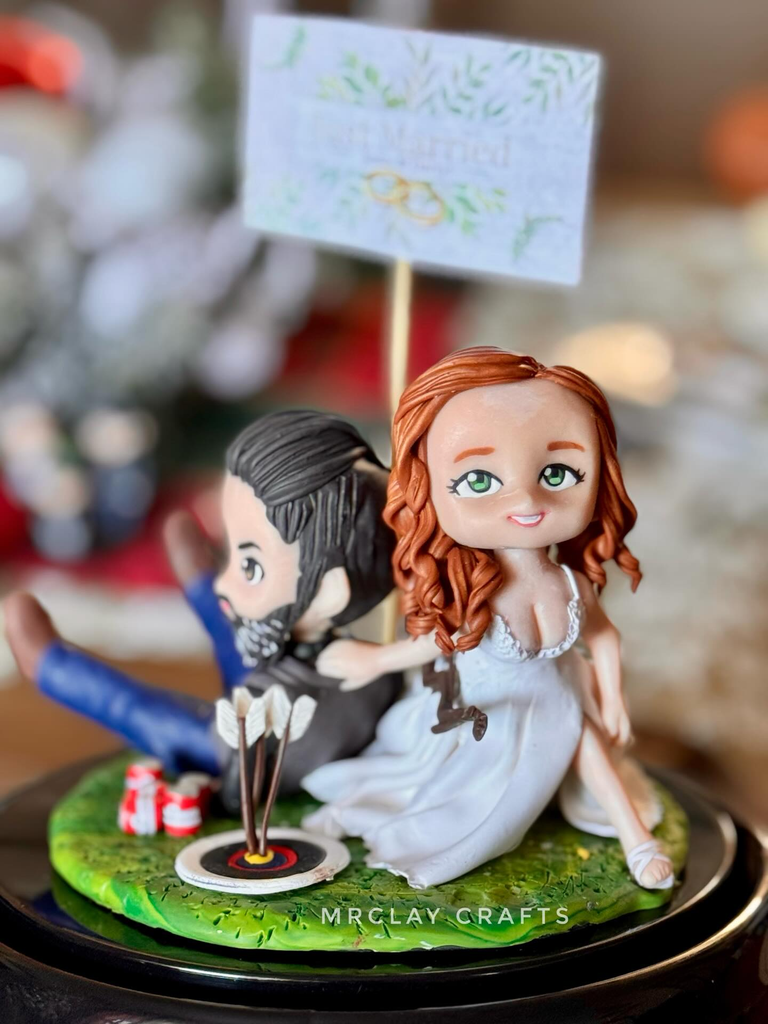
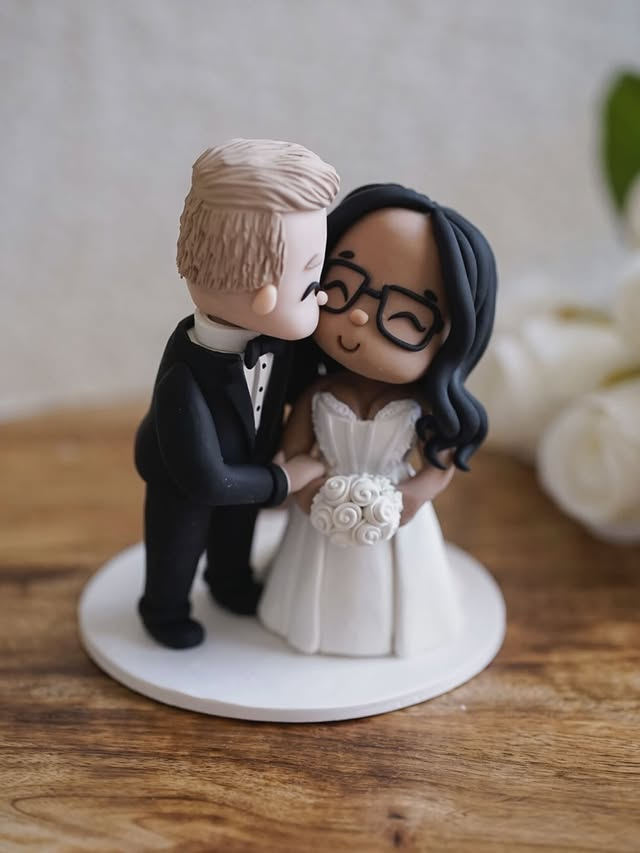
A simplified, stylized version of the couple, often without full facial detail — most people actually prefer an abstracted, cute version over a hyper-realistic one for a cake topper, since realistic faces at that small scale tend to look a little off rather than charming. I’d put this in the intermediate-to-advanced range depending on how much detail the couple wants.
17. Pet memorial or portrait figures

A simplified figure capturing a pet’s specific markings — one distinct patch of color, an ear shape, a tail curl — rather than attempting full realism. This is emotionally higher-stakes than most figures on this list, so I’d genuinely practice on a few “throwaway” pets from photos online before attempting one for someone who’s asked you to make their own pet.
18. Holiday ornament figures

Small figures with a loop or hook baked or embedded in before drying, meant to hang on a tree. The main thing people get wrong here is adding the hanging loop after the piece is already fully cured — it’s much sturdier to embed a small wire loop into the clay before baking than to try to glue or drill one in afterward.
19. Baby’s first year keepsake figure

A small figure incorporating an actual handprint or footprint impression pressed into the clay before it sets, often paired with a birth date or name detail worked into the base. Air-dry clay is the better call here specifically because you need to press the print in before it firms up, and you have more working time with air-dry before it starts setting compared to rushing a polymer clay session.
Functional Clay Figures (Not Just Decorative)
20. Figure-topped ring dishes
A small dish or shallow bowl with a figure perched on the rim or in the center — a cat curled on the edge, a small bird — meant to actually hold jewelry on a nightstand or bathroom counter. These sell well if you’re doing this as any kind of side income, because they’re decorative and useful at the same time, which people respond to more than purely decorative pieces.
21. Figure bookends

A pair of solid, weighted figures (you genuinely need to add internal weight — a small stone or a bit of poured resin in the base — or they’ll just tip over under a shelf of books) that lean against a stack of books rather than sitting freestanding. This is one of the few ideas on this list where structural engineering actually matters more than sculpting skill.
22. Figure-topped plant stakes

A small clay figure attached to a length of floral wire or a wooden skewer, meant to be pushed into a potted plant’s soil as a little decorative accent. It’s one of the fastest ideas on this whole list — 20 to 30 minutes of sculpting for a small figure — and it’s a genuinely good use for tiny leftover scraps of clay from a bigger project instead of throwing them away.
What Clay Should You Actually Use? A Quick Comparison
| Polymer Clay | Air-Dry Clay | |
|---|---|---|
| Cures how | Baked in home oven | Sets at room temperature over 24–72 hrs |
| Working time | Unlimited until baked | Limited — starts firming within hours |
| Cost to start | $15–$25 (clay + basic tools) | $8–$15 (clay + basic tools) |
| Best for | Detailed, multi-session, or articulated figures | Quick projects, kids’ activities, imprint keepsakes |
| Durability once finished | Very durable, holds fine detail | More fragile, prone to chipping if dropped |
| Best beginner ideas from this list | #1, #6, #9, #21 | #2, #4, #19, #22 |
If you’re not sure which to buy for a first project, I’d genuinely lean polymer clay even though it’s the pricier starting point — the fact that it doesn’t dry out mid-project means your first few “ruined” attempts (and you will have some) don’t have to be finished in one sitting out of panic.
Where I’d Start If I Were Doing This Again
Knowing what I know now, I’d skip the ambitious standing figure I attempted second (right after my alarmed bread-loaf cat) and just make five or six of the simple rounded shapes back to back — different animals, same basic technique — before touching armature wire or separate limbs at all.
The rounded shapes teach you how the clay actually behaves, how much pressure cracks it, how thin is too thin, without any of that getting tangled up with the added complexity of joints and proportion.
Once that felt boring rather than hard, moving up to the intermediate ideas happened almost on its own. The alarmed bread-loaf cat, for the record, still sits on my desk. I’m not good enough to be embarrassed by it anymore.


Leave a Reply