
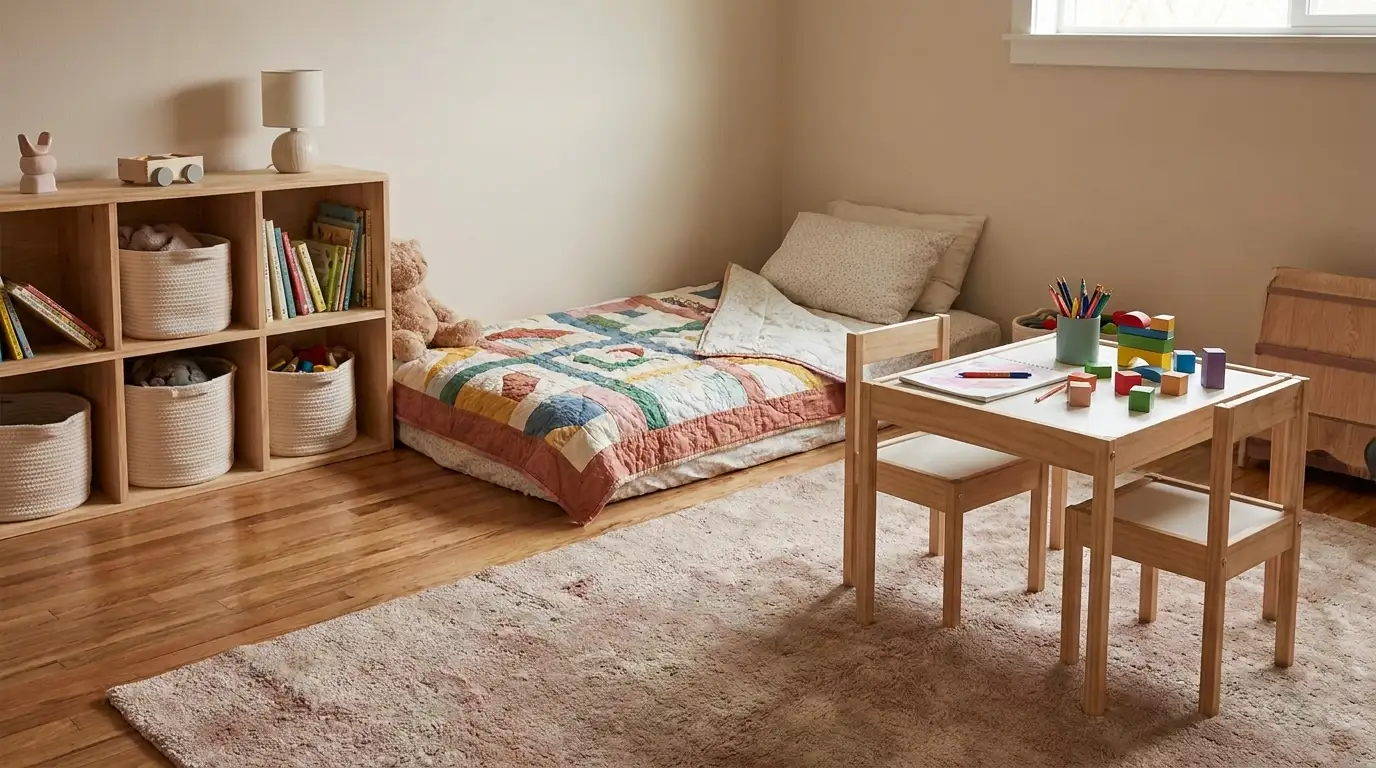
The week my son turned two, he figured out how to climb out of his crib, and I spent the following month redoing his entire room in a slight panic instead of on any kind of aesthetic timeline.
Which, in hindsight, is probably how most people end up planning a toddler bedroom — not from a mood board, but from an actual kid forcing the issue. If that’s you right now, or if you’re getting ahead of it before the climbing starts, this is the list I wish I’d had.
I ended up asking my sister-in-law Renata a lot of questions during this process too, since her daughter is a year older than my son and she’d already made most of these mistakes first.
Between the two of us, plus a couple of ideas from a reader who commented on my nursery post asking specifically about the “after the nursery” phase, this covers the stuff that actually matters — not just the cute-in-photos stuff, but what holds up when a two- or three-year-old is genuinely living in the room.
A quick note on scope before we get into it: toddler bedroom ideas span a wide range depending on age (18 months looks very different from almost-4), room size, and whether it’s a solo room or shared with a sibling.
I’ve tried to flag which ideas are age- or situation-specific as we go, instead of treating “toddler” as one uniform stage, because it really isn’t.
Sleep Setup: The Actual Bed
1. Know When You’re Actually Ready to Transition
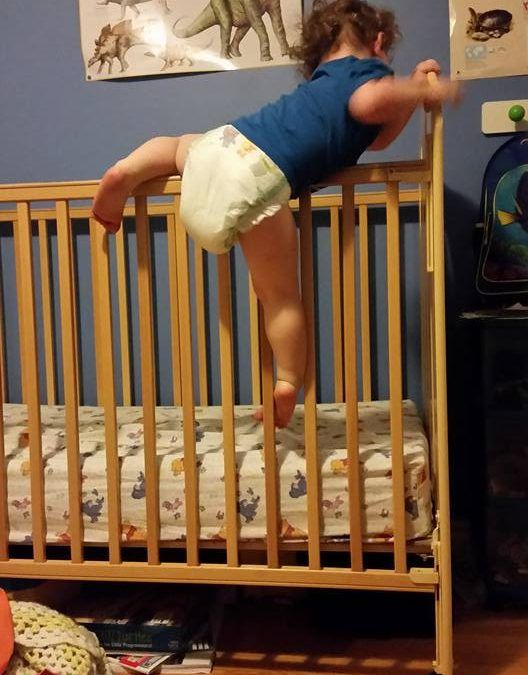
The general guidance is to wait until a toddler is climbing out of the crib or hits around 3 feet tall, whichever comes first — not just “they turned 2, so it’s time.”
My son transitioned at 25 months because of the climbing. Renata’s daughter stayed in a crib until almost 3 because she never once tried to get out, and there was zero reason to rush it.
2. Floor Bed (Montessori-Style)
This is a mattress placed directly on the floor, sometimes in a low wood frame, with no rails. The idea is the toddler can get in and out independently, which in practice means fewer 2am crying-for-help situations and more toddlers just wandering into your room at 5am instead — so it’s a trade-off, not a magic fix.
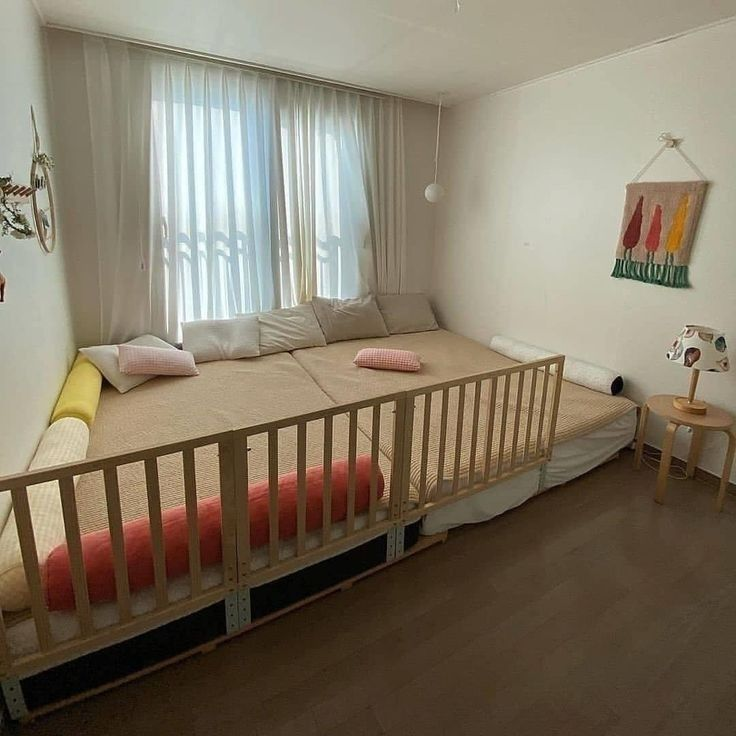
Pro tip: If you go this route, babyproof the entire room like it’s a crawling infant’s room again, not just the bed area — outlet covers, furniture anchored to the wall, nothing within reach that shouldn’t be. A toddler with full room access at 3am will find things you didn’t think to hide.
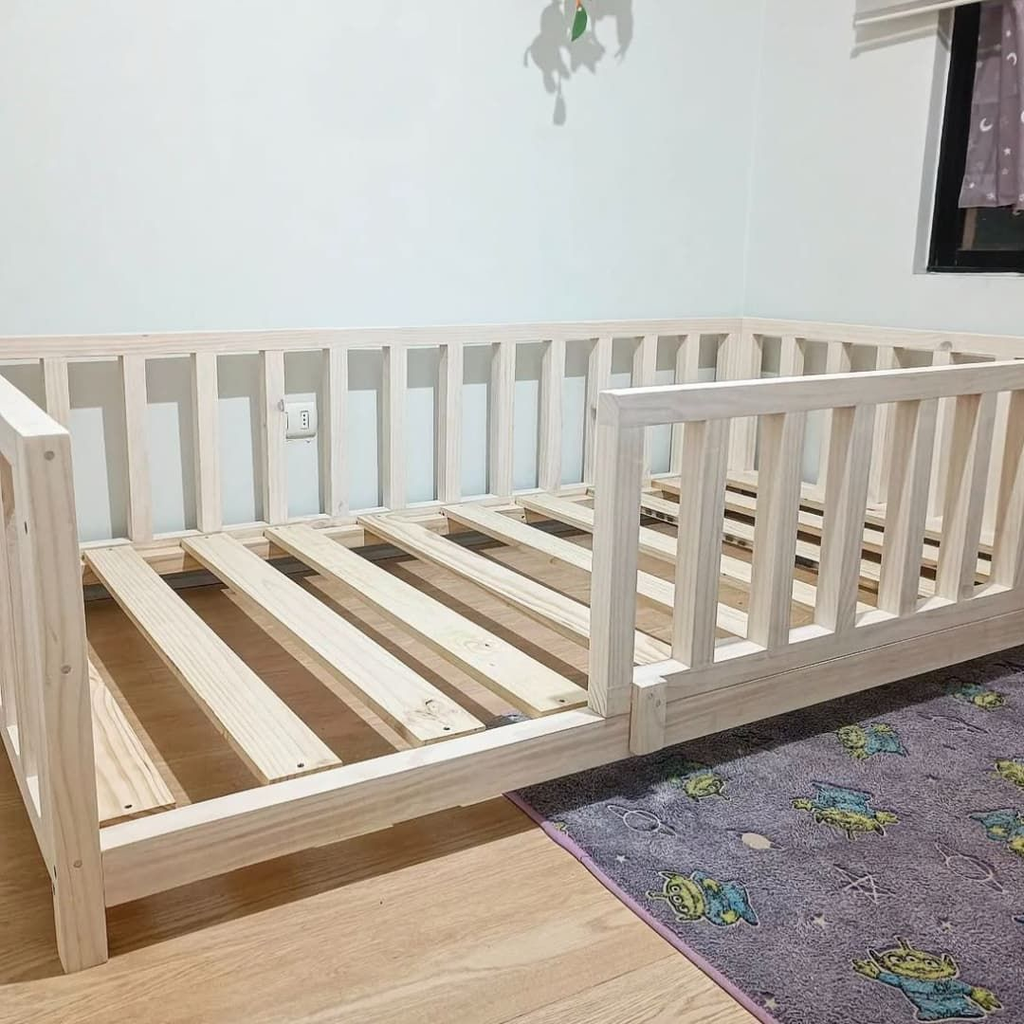
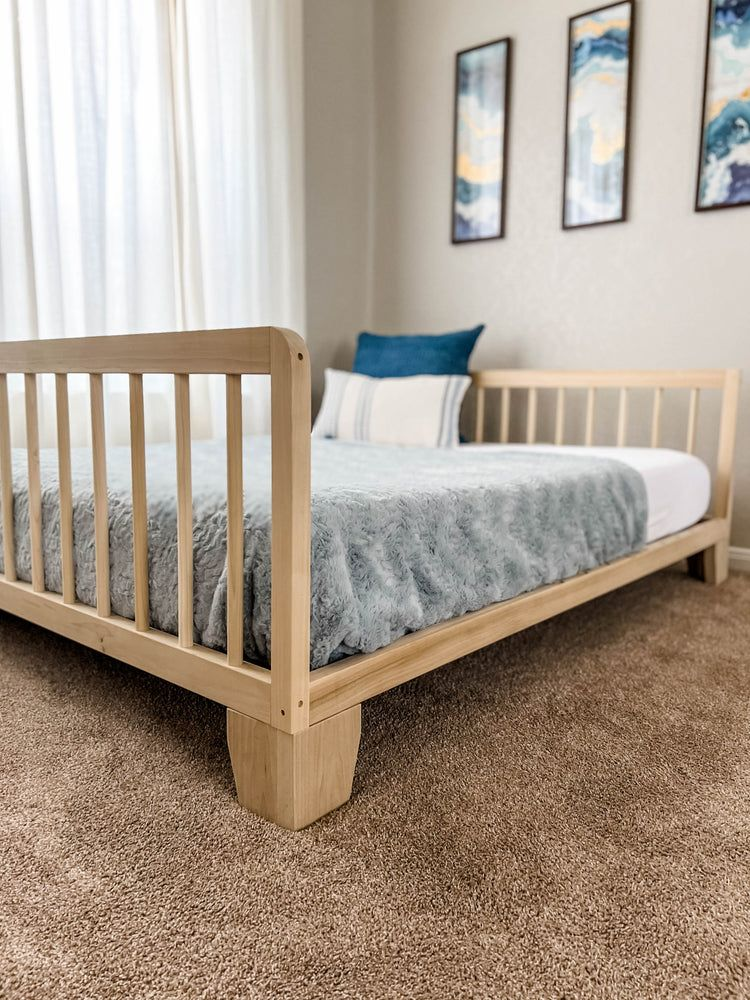
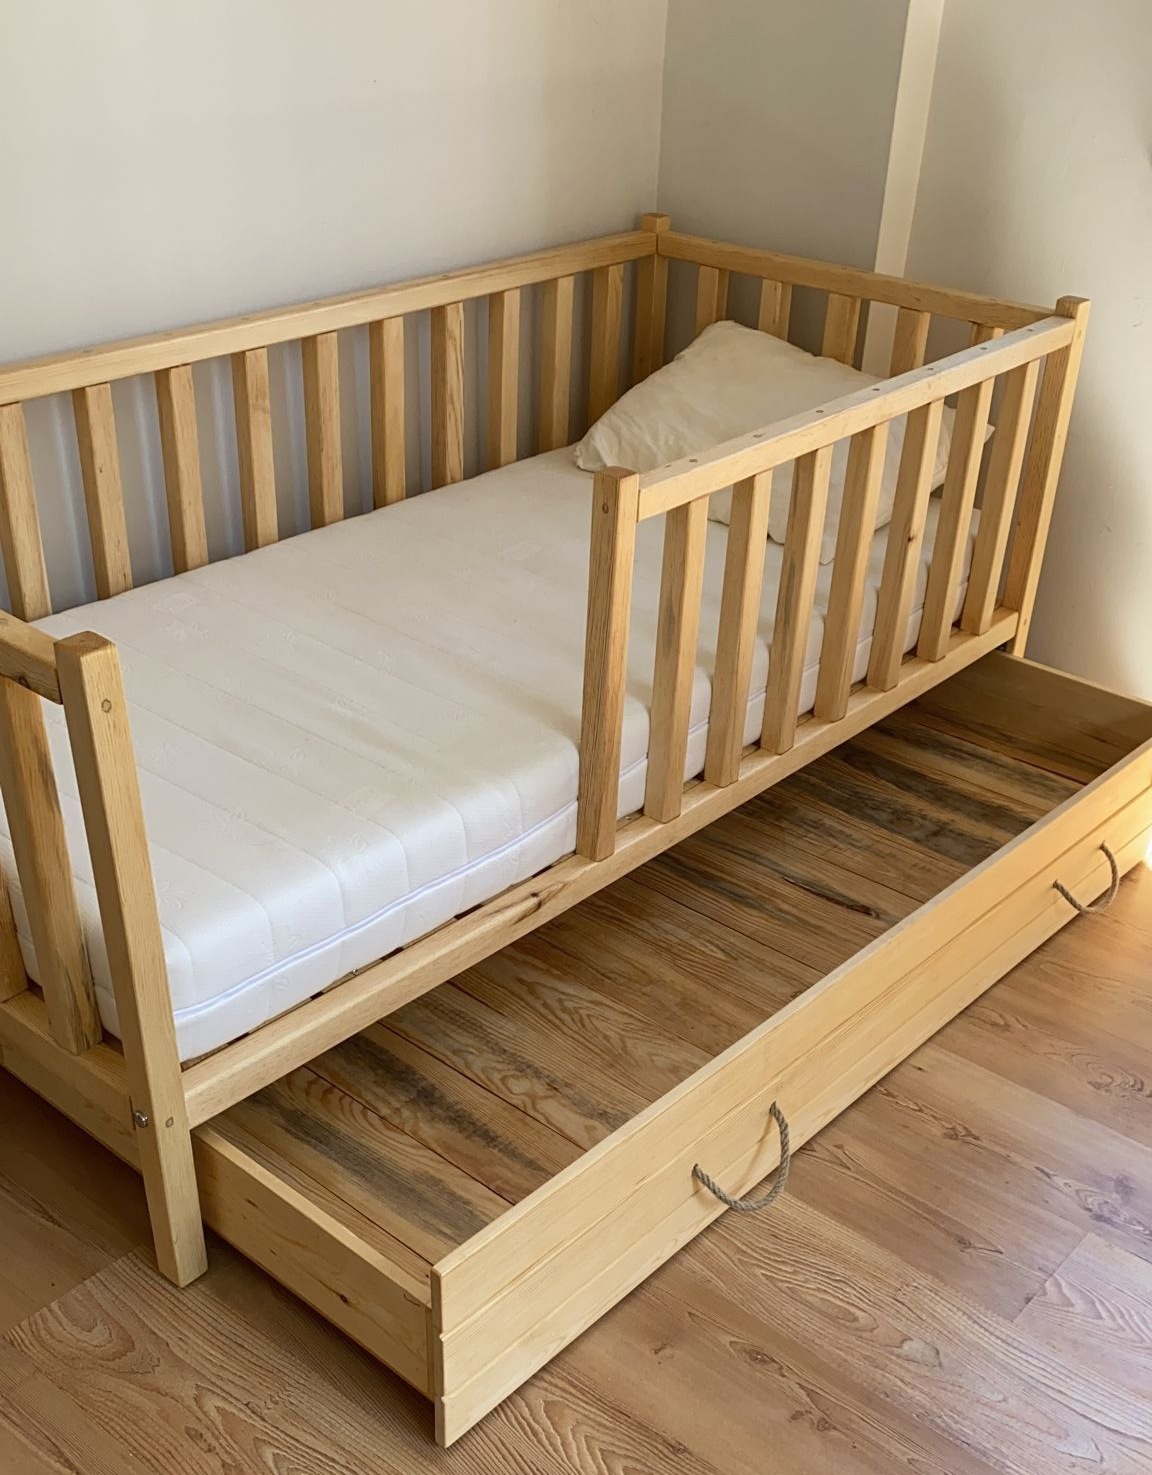
3. Toddler Bed with Guard Rails
The more traditional option — a low bed frame with a rail on the open side. This is the one I actually went with, mostly because my son is a restless sleeper and I didn’t love the idea of him rolling straight onto hardwood floors at 2am with no barrier at all.
4. Convert the Crib Instead of Buying New
If your crib is a 3-in-1 or 4-in-1 convertible model, check whether it has a toddler conversion kit before buying anything new — it’s usually a $30–$60 kit versus a whole new bed, and the mattress you already have will fit.

5. Skip the Bunk Bed for Now
I’ll be honest about this one: bunk beds show up constantly in “toddler room” Pinterest searches, but most manufacturers and safety guidelines recommend the top bunk only for kids 6 and up. If you’re planning ahead for a shared room with an older sibling, it’s a great idea for later — just not yet.
Storage That a Toddler Can Actually Use
6. Low Open Shelving, Not Closed Cabinets
A toddler-height shelf where they can see and reach toys themselves (rather than a closed toy chest) does two things: it cuts down on the “help me get this” requests, and it makes cleanup something they can actually participate in, since they can see where things go.

7. Toy Rotation Instead of Storing Everything at Once
Renata swears by this one — she keeps maybe a third of her daughter’s toys out at any time and rotates the rest from a closet bin every few weeks. Fewer toys out means less visual chaos and, weirdly, toddlers seem to engage more with what’s there instead of dumping everything at once.
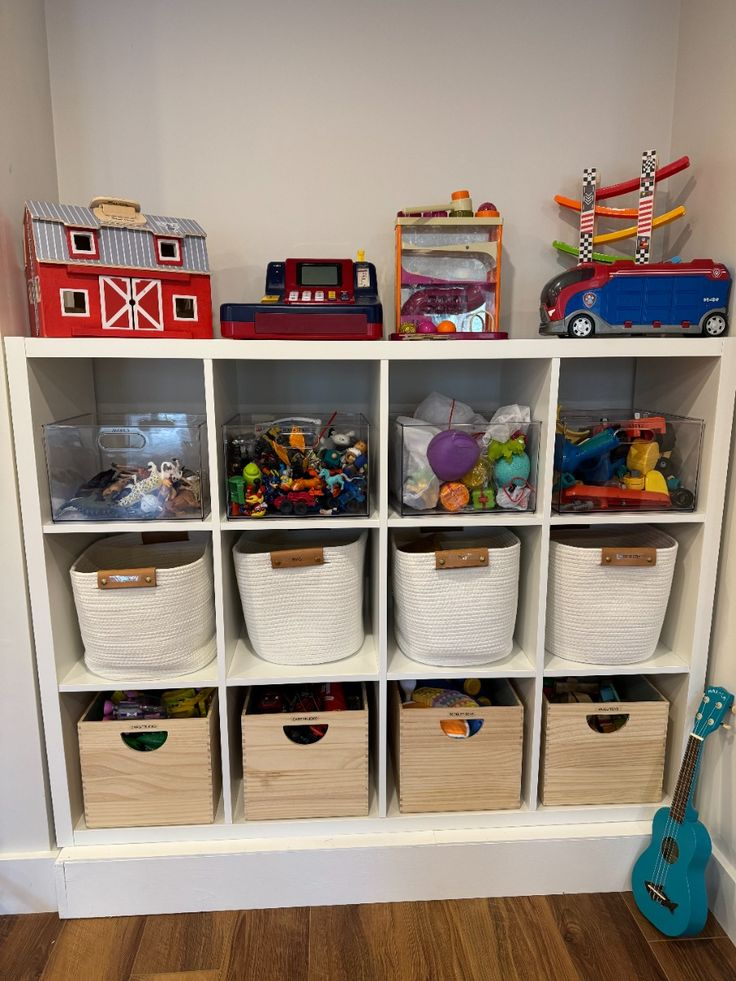
8. Baskets Over Bins for Small Toys
Woven or fabric baskets are more forgiving than hard plastic bins if a toddler drops one (or throws one, which — no judgment, they all do it eventually), and they tend to look less like daycare storage in an otherwise decorated room.
9. Lower the Closet Rod
If your toddler is old enough to start picking out clothes, even just sometimes, a second lower rod (or a closet organizer designed for this) lets them actually reach their own clothes.
It’s a small independence win that also cuts down on the daily “which shirt” negotiation, in my experience anyway.

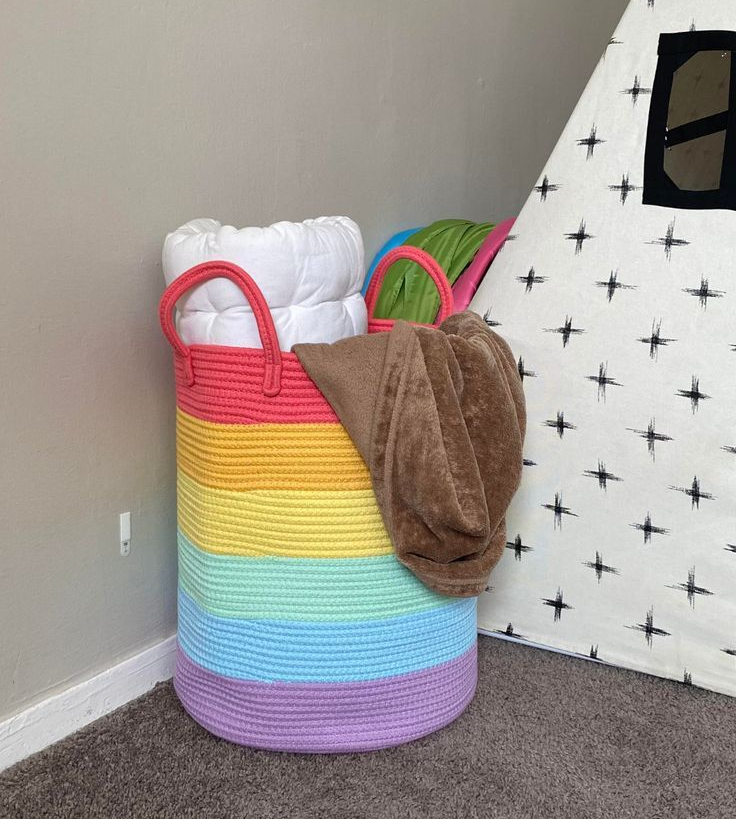
10. A Toddler-Height Hamper
One they can actually reach and use. This sounds minor, but getting a two-year-old to put dirty clothes in a hamper that’s at their eye level is a genuinely easier habit to build than one mounted on the back of a door.
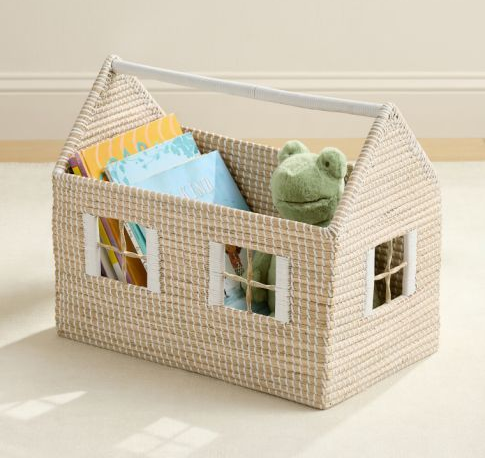
Pro tip: Whatever storage system you land on, resist the urge to make it look magazine-perfect on day one. The stuff that survives toddler life is the stuff that’s easy to reset in under two minutes — anything more elaborate than that just won’t get maintained, and I say this from experience with a very short-lived color-coded bin system.
Safety (The Non-Negotiable Section)
11. Anchor Every Piece of Furniture
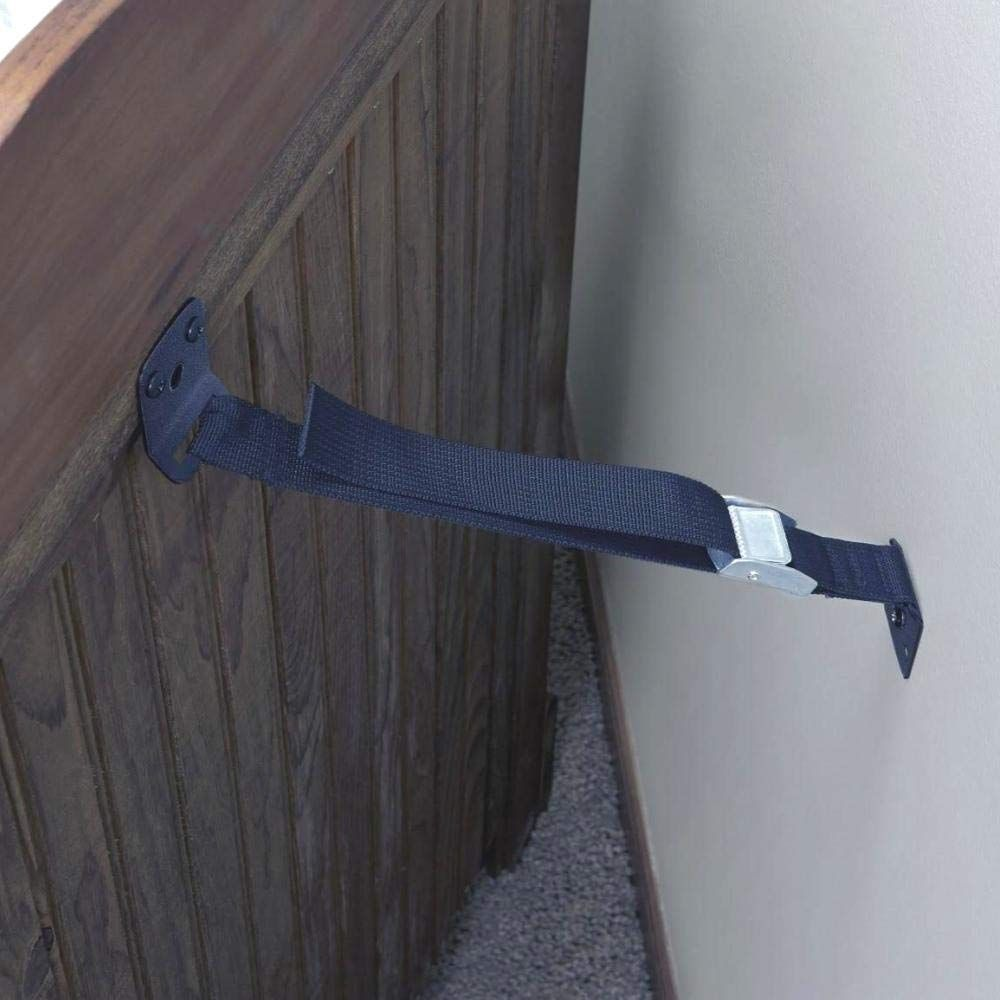
Dressers, bookshelves, anything a climbing toddler could pull over — needs wall anchor straps. This is not optional and it’s not expensive; anchor kits run under $15 for a few pieces of furniture.
12. Cordless Window Coverings
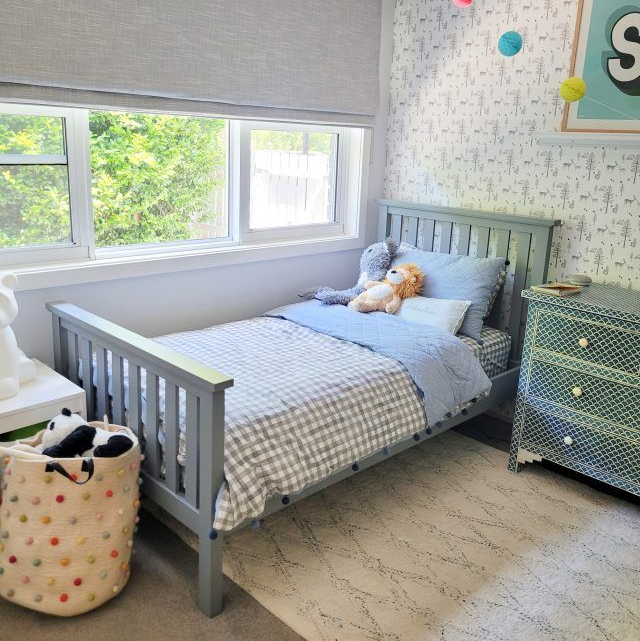
If your current blinds have a pull cord, replace them before the toddler transition, not after. This is one of those things that’s easy to deprioritize until you actually watch a toddler try to climb toward a window.
13. Outlet Covers and Corner Guards
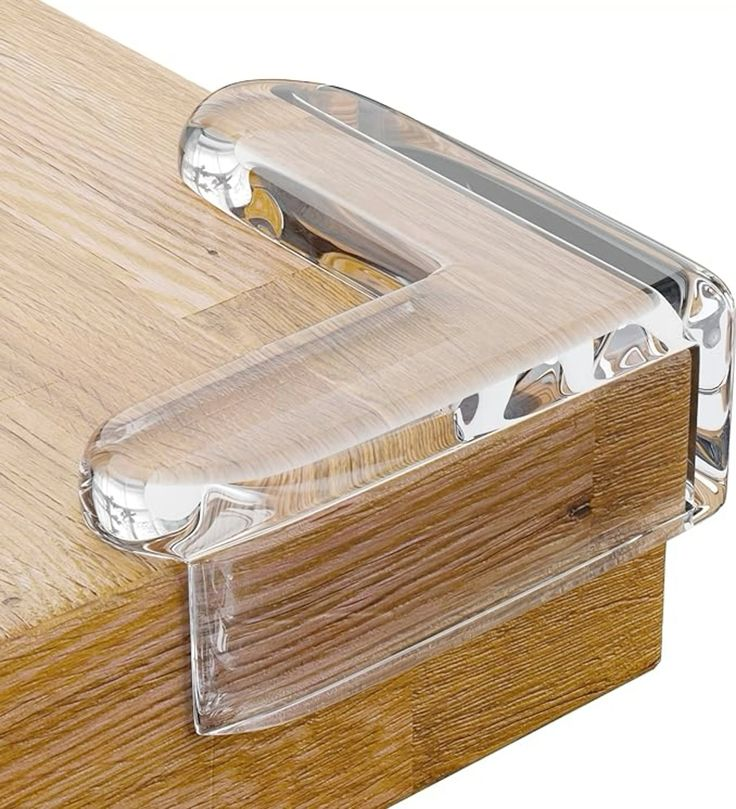
Basic, but worth restating for a room your toddler will now have unsupervised access to for longer stretches (nap resistance, early wake-ups) than they did as a crib-bound infant.
14. Low-VOC or Zero-VOC Paint
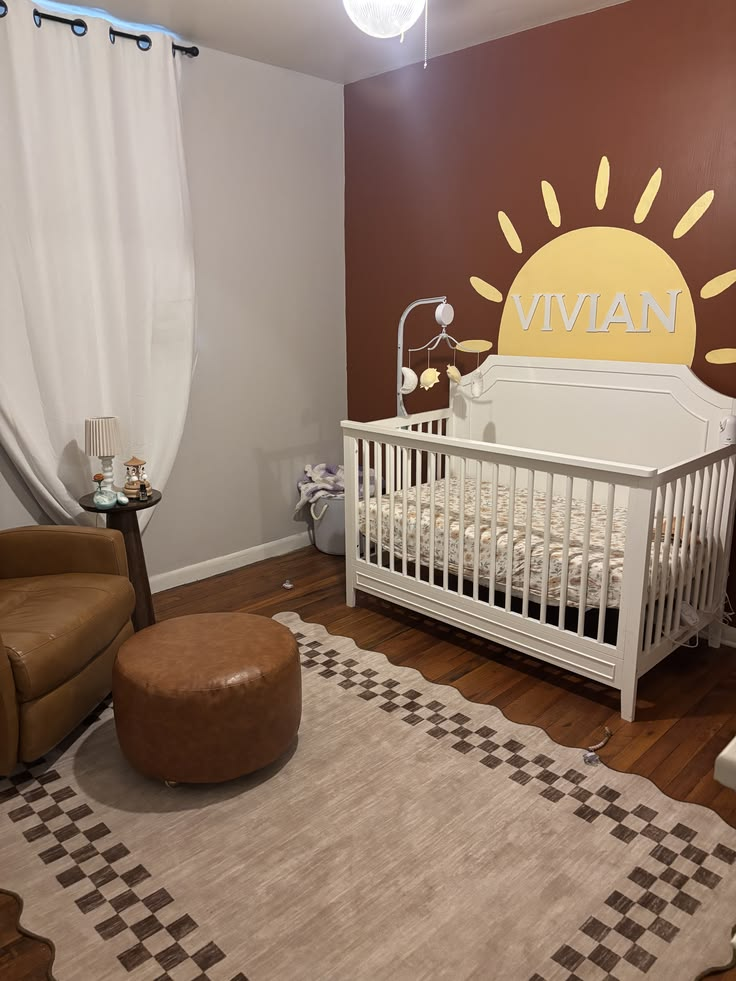
If you’re repainting for the transition, look specifically for zero-VOC paint — most major brands now make one, and it’s usually only a few dollars more per gallon than standard. Worth it for a room where a toddler will be breathing all night, every night.
Making the Room Feel Like Theirs
15. A Small Reading Nook
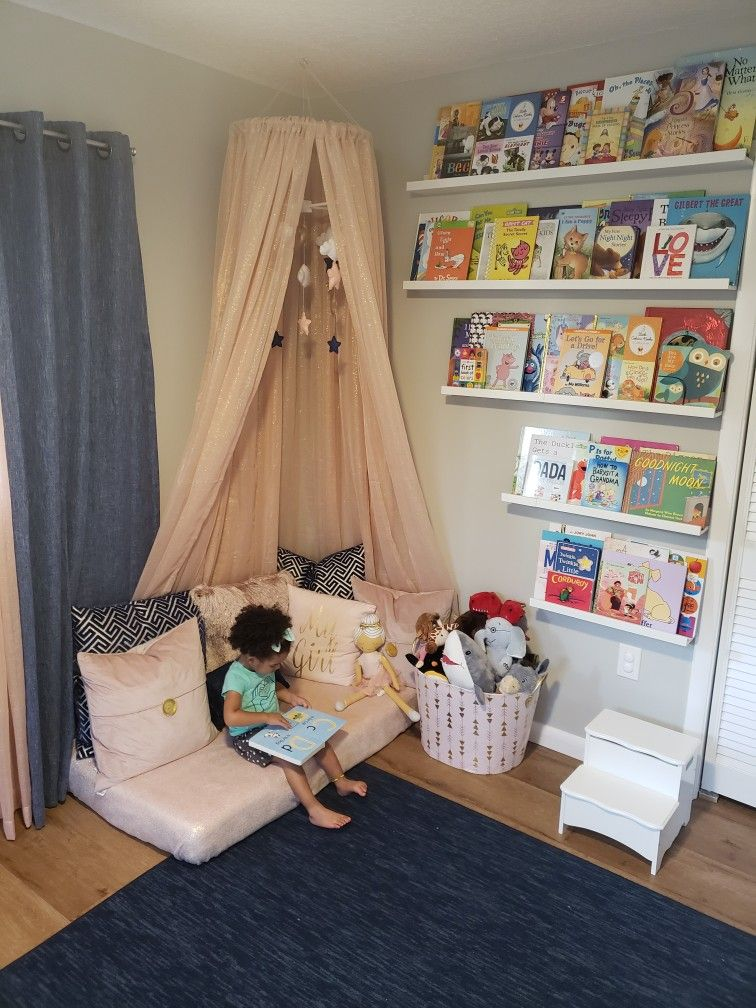
A floor cushion or a small toddler-size chair with a couple of low shelves of books nearby. My son’s is just a $25 foam floor cushion in the corner with a small basket of board books, and it’s genuinely his favorite spot in the room — more than any of the more “decorated” corners.
16. A Name Sign or Simple Wall Art
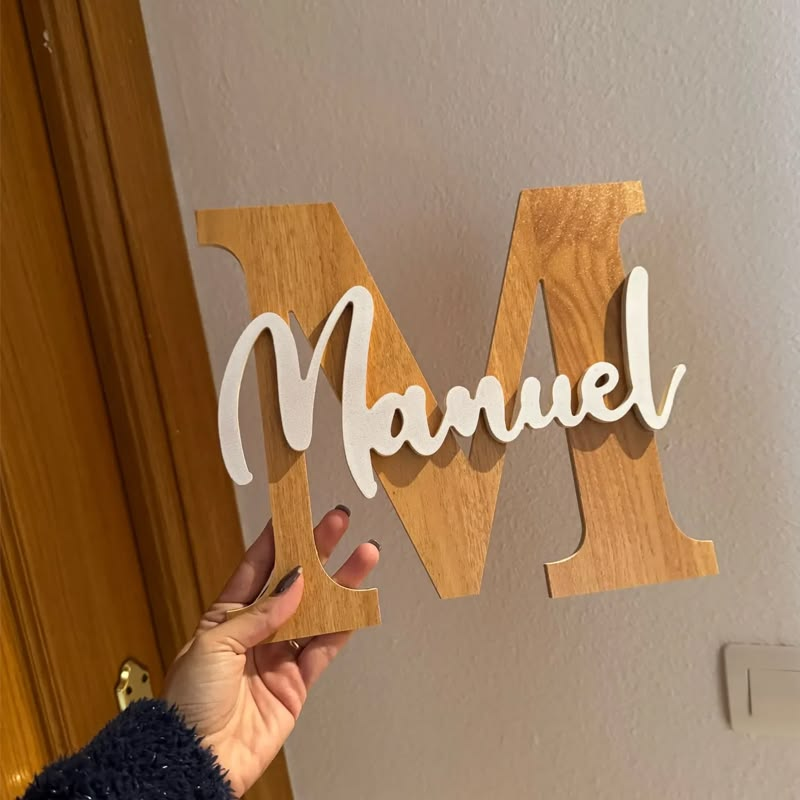
Something that makes the room feel specifically theirs rather than a generic kid’s room. This doesn’t need to be expensive — I’ve seen readers do everything from a $12 wood name sign to hand-painted initials, and both look intentional when it’s the one clear focal piece rather than one of ten competing decor items.
17. A Growth Chart (Wall Decal or Freestanding)
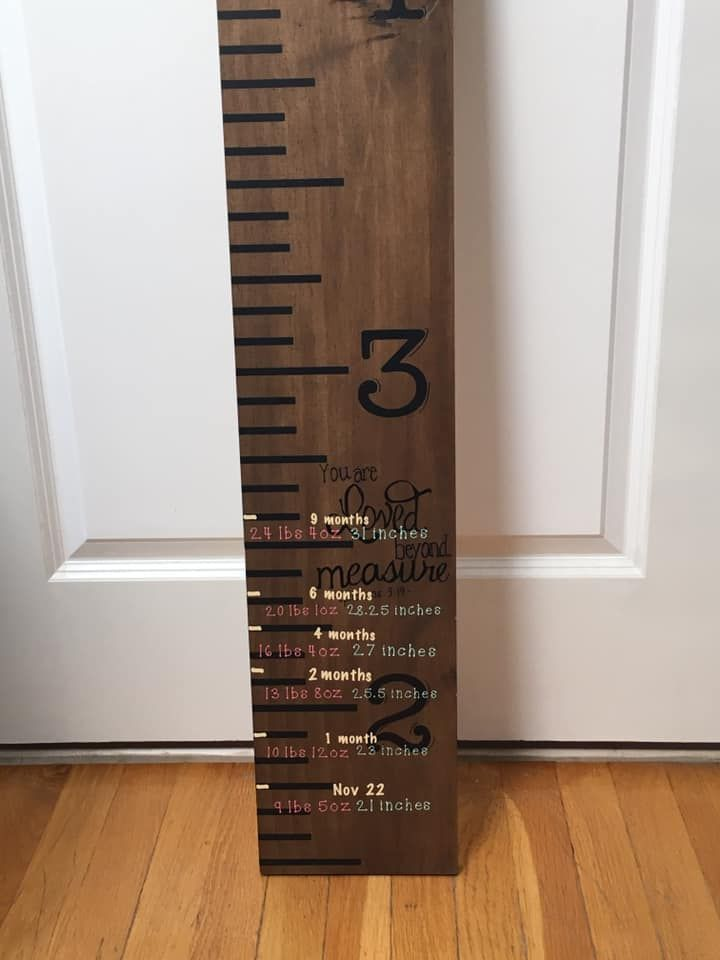
Either a wall decal ruler or a freestanding wood growth chart. The freestanding version is the better call if you’re renting or plan to move, since it comes with you instead of staying stuck to a wall.
18. Removable Wall Decals Over Wallpaper
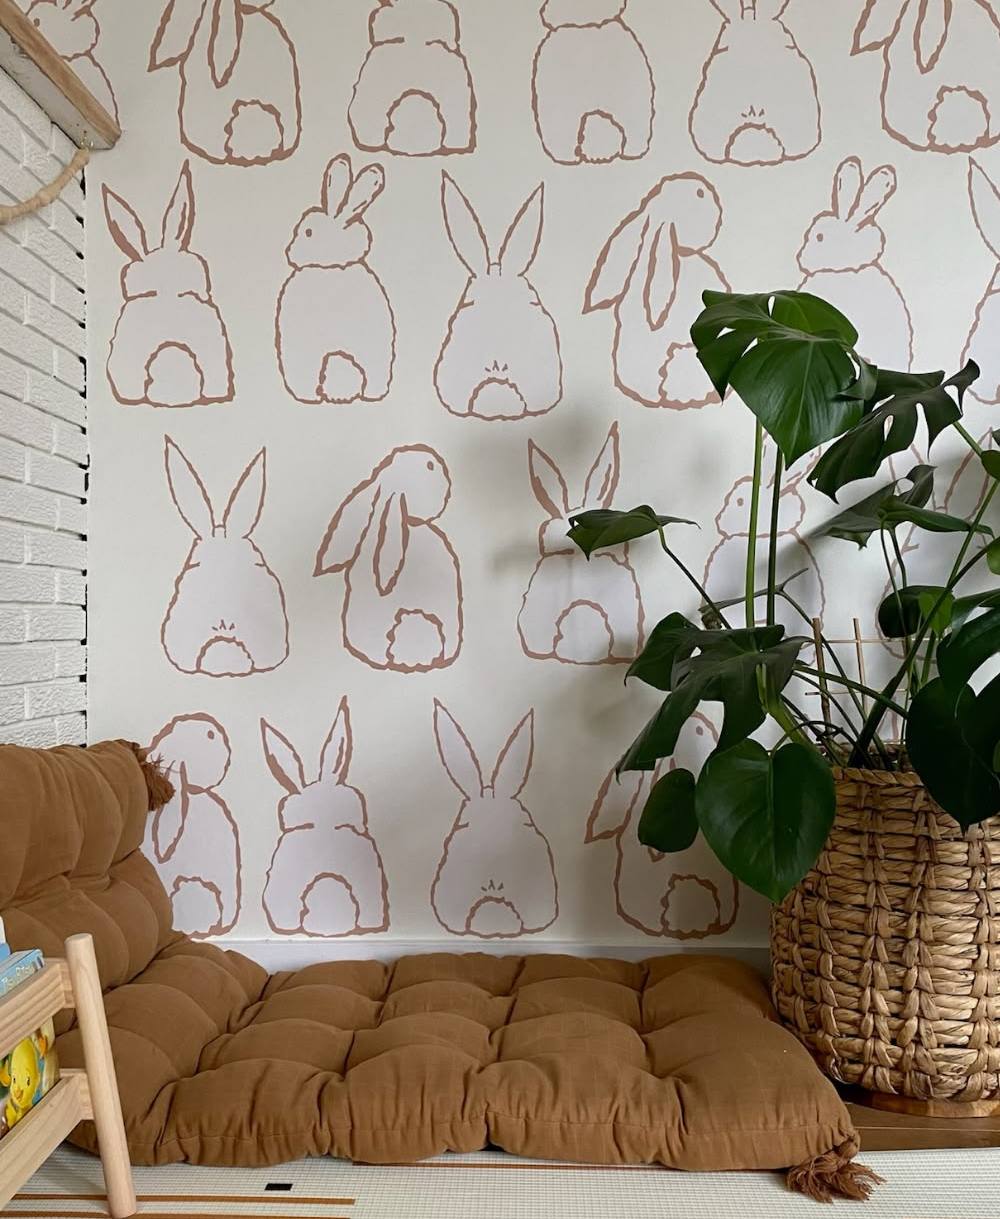
For a rental especially, peel-and-stick decals give you a lot of the visual impact of a themed wall without the commitment (or the deposit risk) of wallpaper or a mural.
Just know that “removable” varies wildly by brand — test one decal in a hidden spot before committing to a whole wall.
19. A Rug That Can Actually Be Cleaned
Toddler rooms get spills, accidents, and the occasional crayon incident. A machine-washable rug or at least a stain-resistant low-pile option will save you real stress compared to the plush shag rug that looked great in the nursery phase but is a nightmare now.

Pro tip: Pick one “theme” element, not five. A dinosaur bedding set, a dinosaur wall decal, a dinosaur rug, a dinosaur lamp, and dinosaur curtains together reads as a costume, not a room. One or two theme pieces against a neutral base ages much better, and it means you’re not redecorating from scratch the second they move on to a new favorite animal.
Lighting
20. A Dim, Warm Nightlight
Skip anything bright white or blue-toned for overnight use — a warm amber nightlight is less disruptive to sleep and less likely to feel like an invitation to wake up and play at 4am, which, ask me how I know.

21. Blackout Curtains
Especially useful for early risers or anyone dealing with long summer daylight hours cutting into nap time.
This was, without exaggeration, the single change that made the biggest difference in my son’s nap consistency — more than any bed, any routine change, anything else on this list.
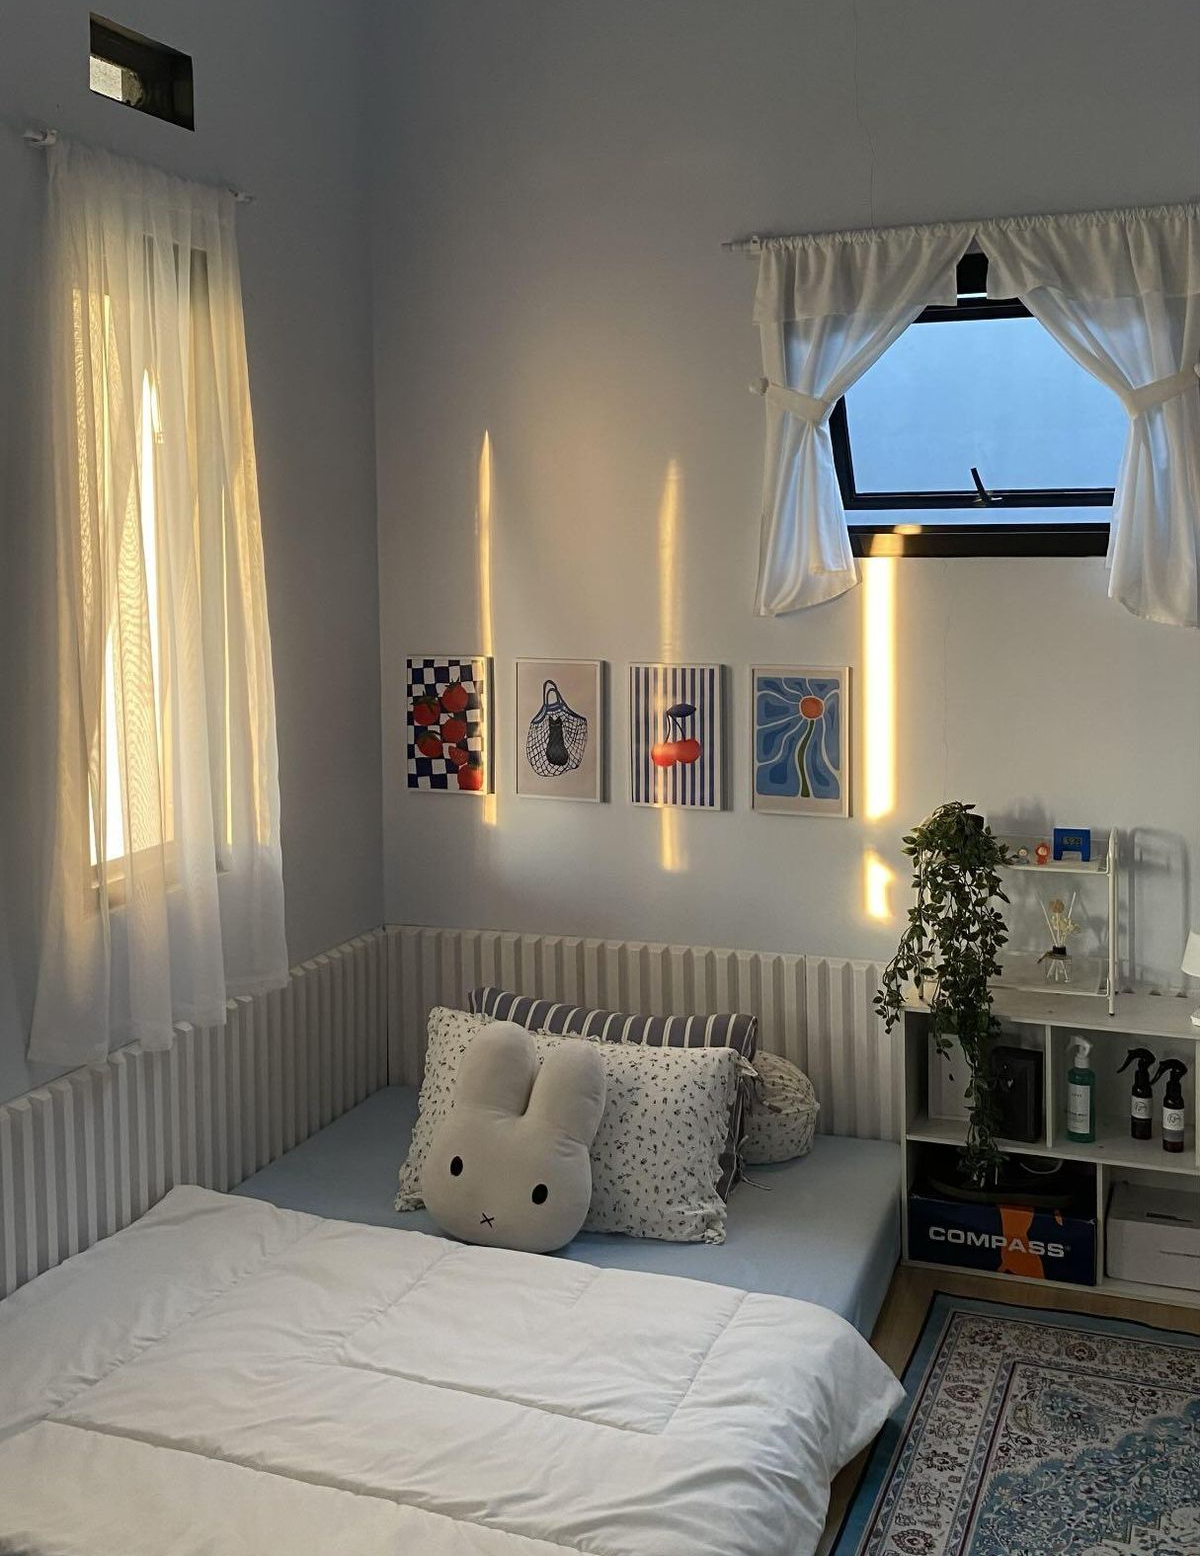
22. A Toddler-Safe Lamp or Dimmer Switch
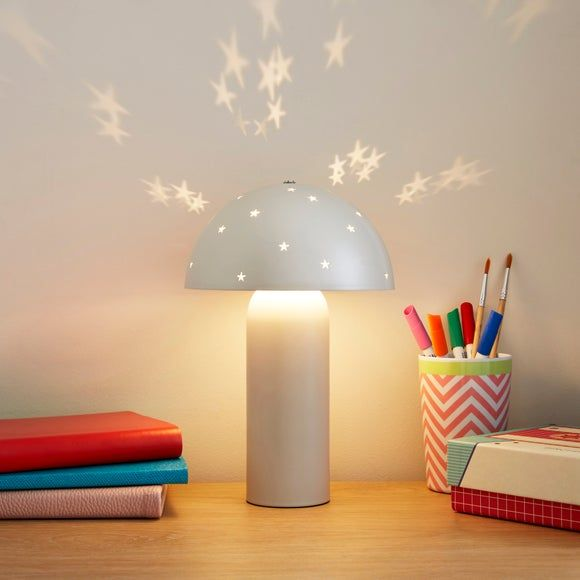
If they’re old enough to want the light on themselves at bedtime, a low dresser lamp (not a floor lamp with an easily tipped base) or a dimmer on the main light gives them a little bit of control, which can genuinely help with bedtime resistance.
Budget & Shared-Room Ideas
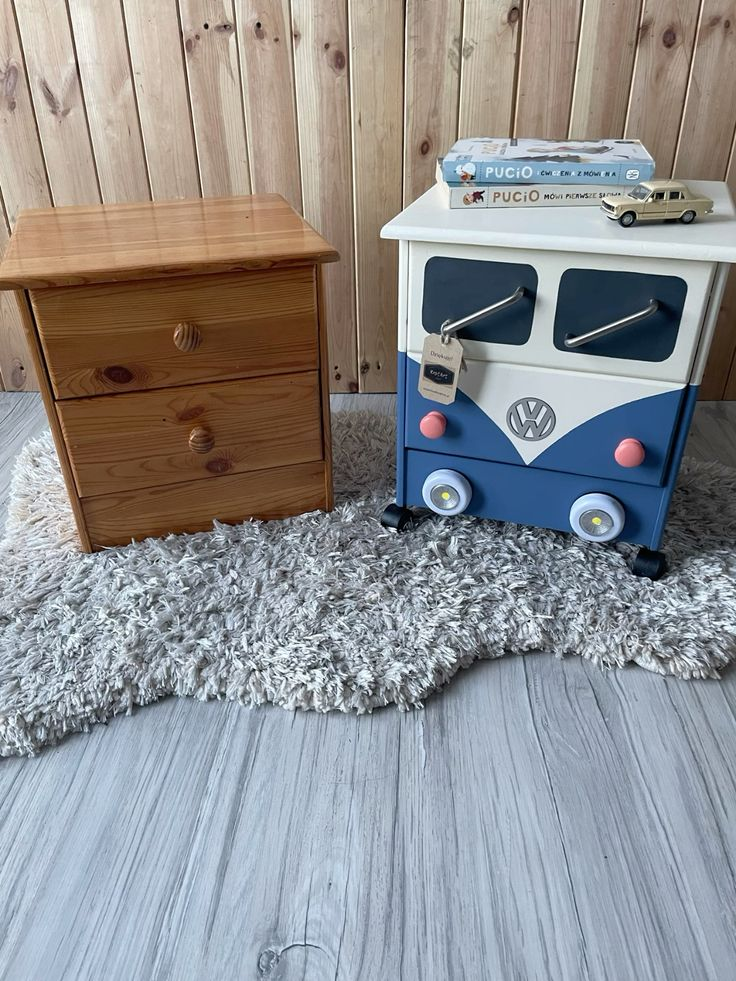
23. Repurpose Before You Buy New
A secondhand dresser with new chrome or brass pulls, a thrifted bookshelf sanded and repainted — toddler furniture takes a beating regardless of price point, so this is a category where spending less up front is a reasonable call, not a compromise.
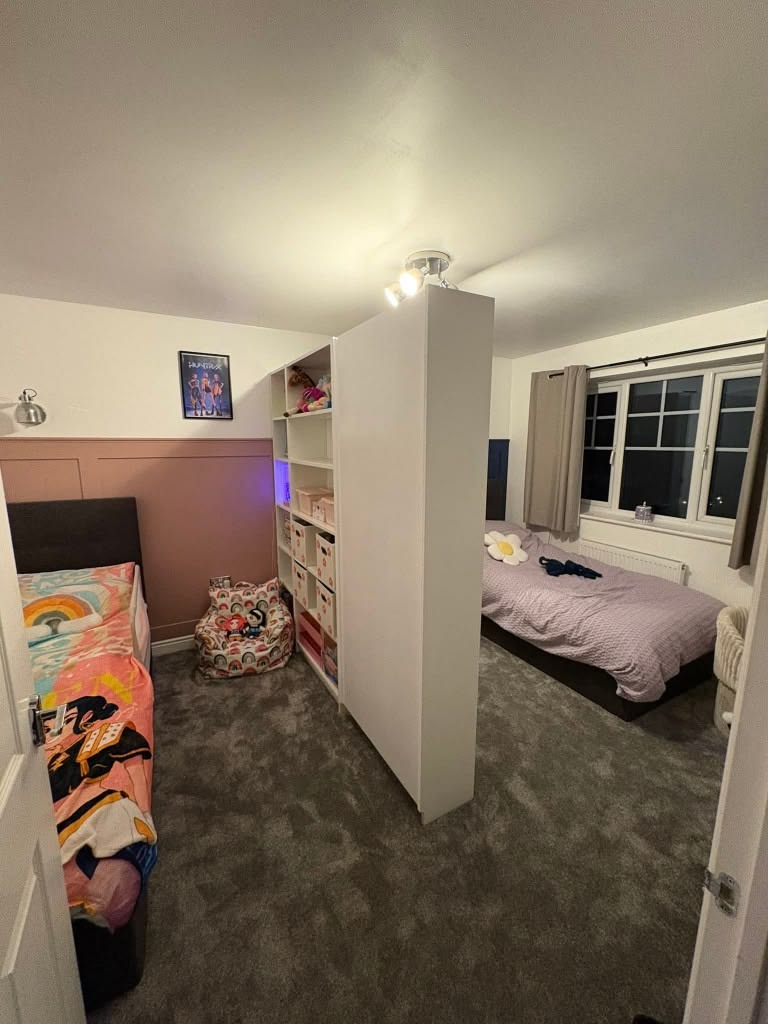
24. A Curtain or Shelf Divider for Shared Rooms
If two kids are sharing a room, even a simple curtain track or a low open bookshelf used as a soft visual divider gives each kid a sense of “their side” without a full wall or expensive built-in.
25. Furniture That Grows With Them
A crib-to-toddler-to-daybed convertible, or a dresser with a removable changing topper — buying pieces that transition through stages instead of buying twice is where the real savings are, especially if you’re planning for more than one kid to eventually use the same room.
What This Actually Costs
Roughly how I’d break this down by spend:
- Under $50: Nightlight, outlet covers, furniture anchor straps, a name sign, a reading cushion
- $50–$150: Blackout curtains, a rug, a toddler bed rail kit, a crib conversion kit
- $150–$400: A new toddler bed frame, low open shelving, a full closet organizer
- $400+: New mattress plus frame, full room repaint with furniture, a complete room redo from scratch
Where I’d Start
If I were doing this over again, in order: safety first (anchors, cords, outlet covers), then the actual sleep setup, then blackout curtains, and everything else after.
The decor pieces are genuinely the last priority even though they’re the most fun part — a toddler room that’s safe and lets them sleep through the night is doing its job long before it’s doing anything for a mood board.
Everything after that is just making it feel like theirs, which you can build up slowly instead of all at once.


Leave a Reply